Party Time at Vintage Thymes

Last night I participated in the one-year anniversary celebration at the Vintage Thymes Monthly Market -what a blast from the past!

History PlanterThere was delicious food and drink, great live music and sooo many shoppers (the line to get in started forming at 4:30!) I have been involved in this vintage market for a few months now, and have been continuously impressed by the owners, Robin and Nancy,

Vintage Thymes Founders Robin & Nancyas well as the many talented vendors,

Vintage Shades of Grey Mantel

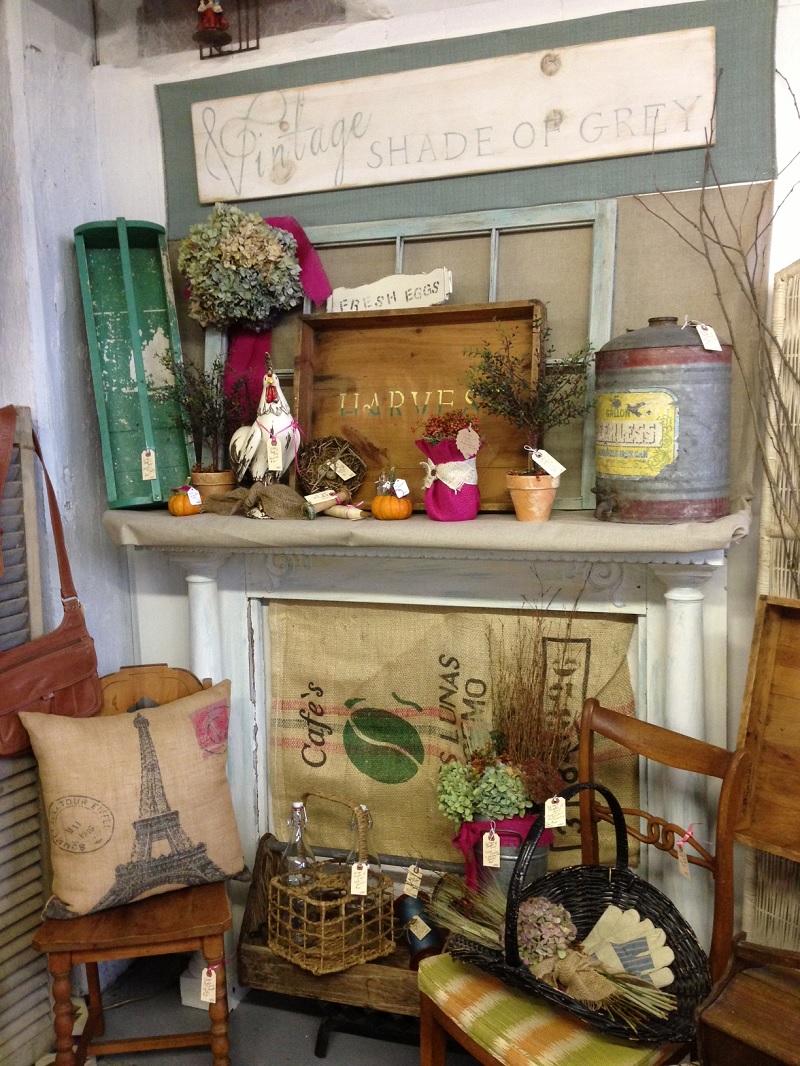
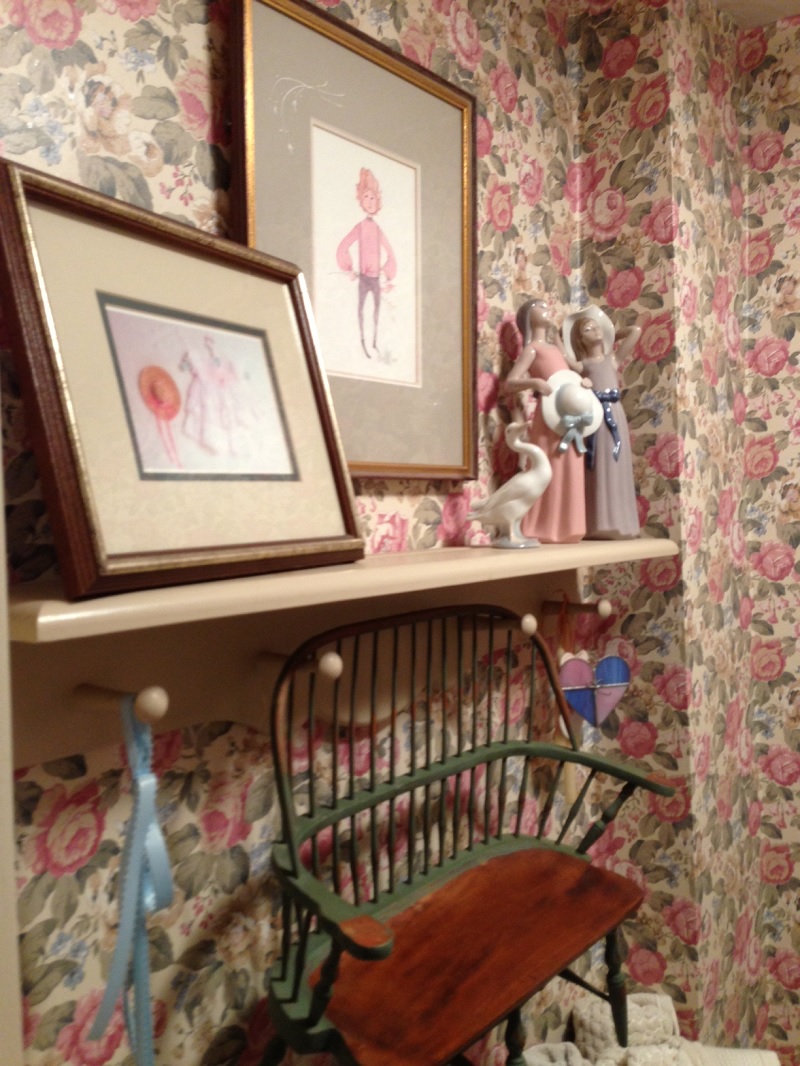
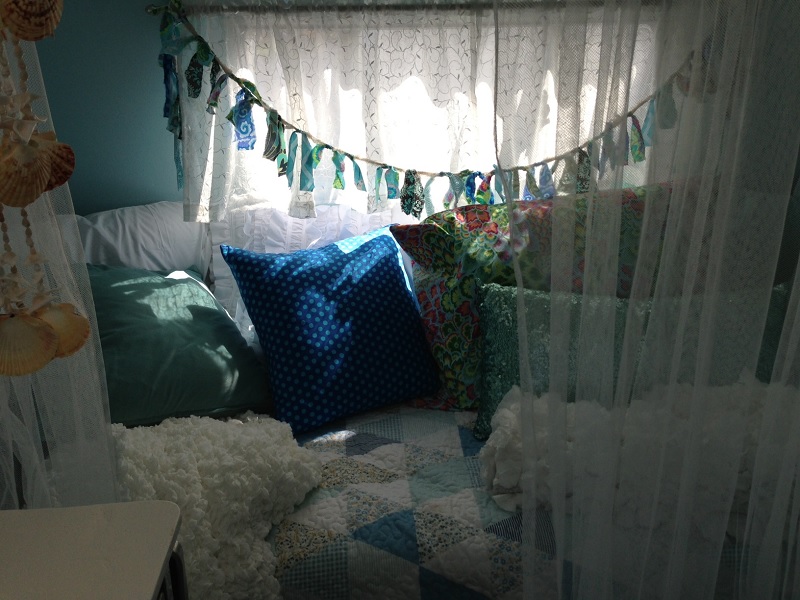
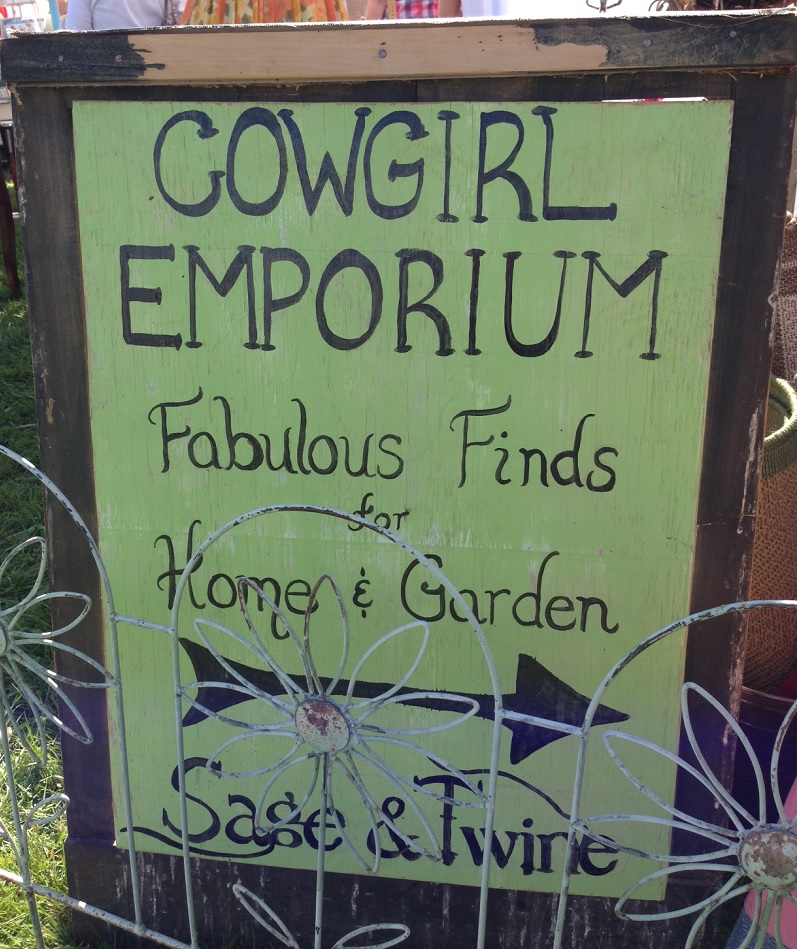
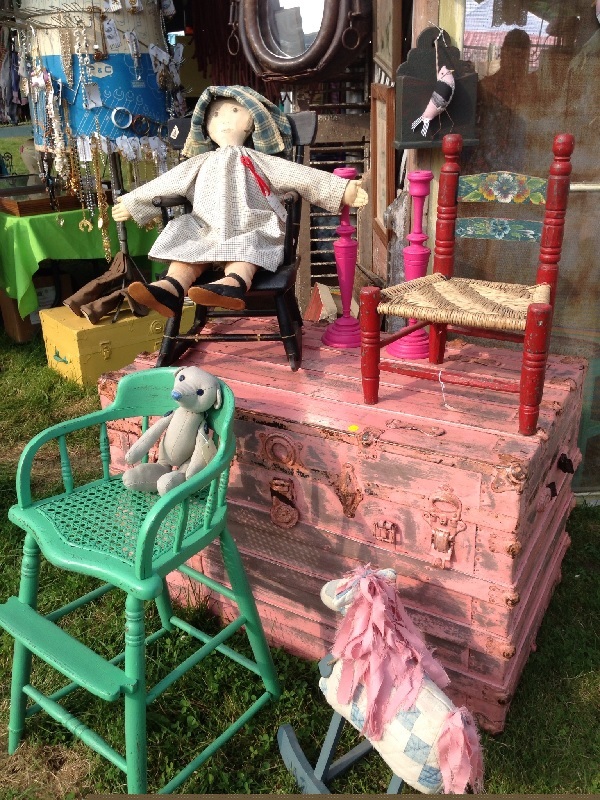
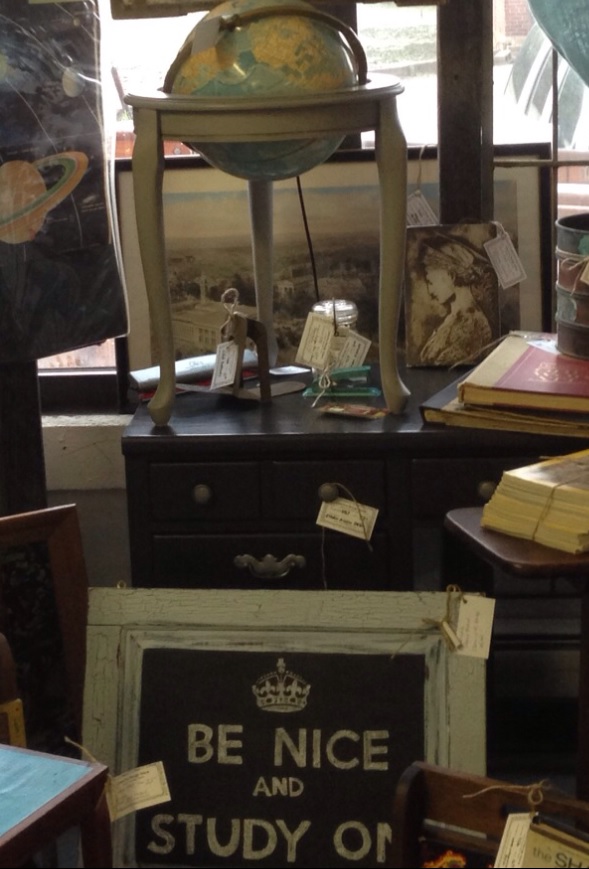
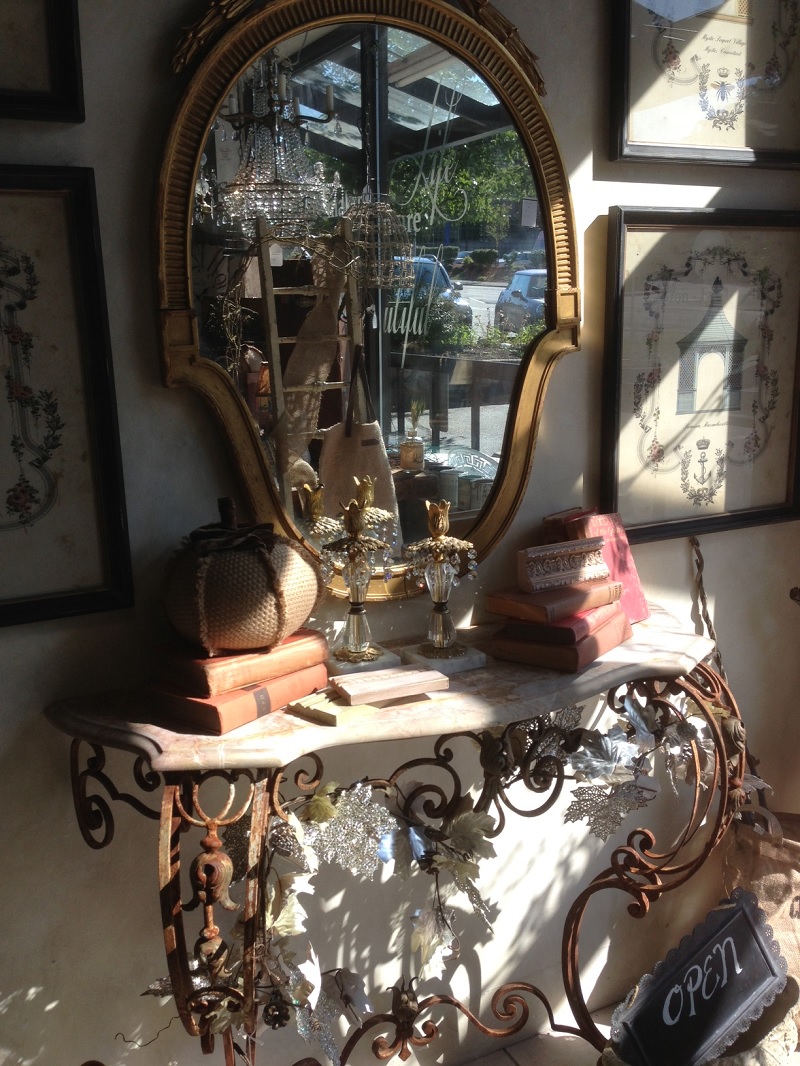
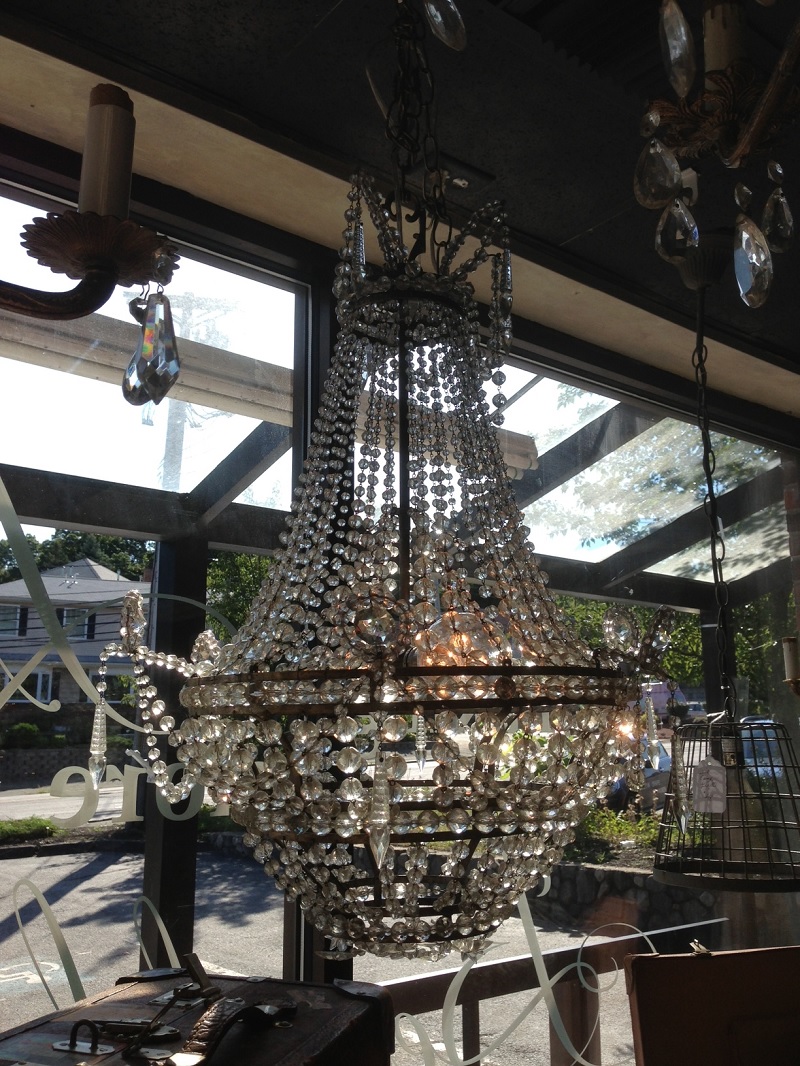
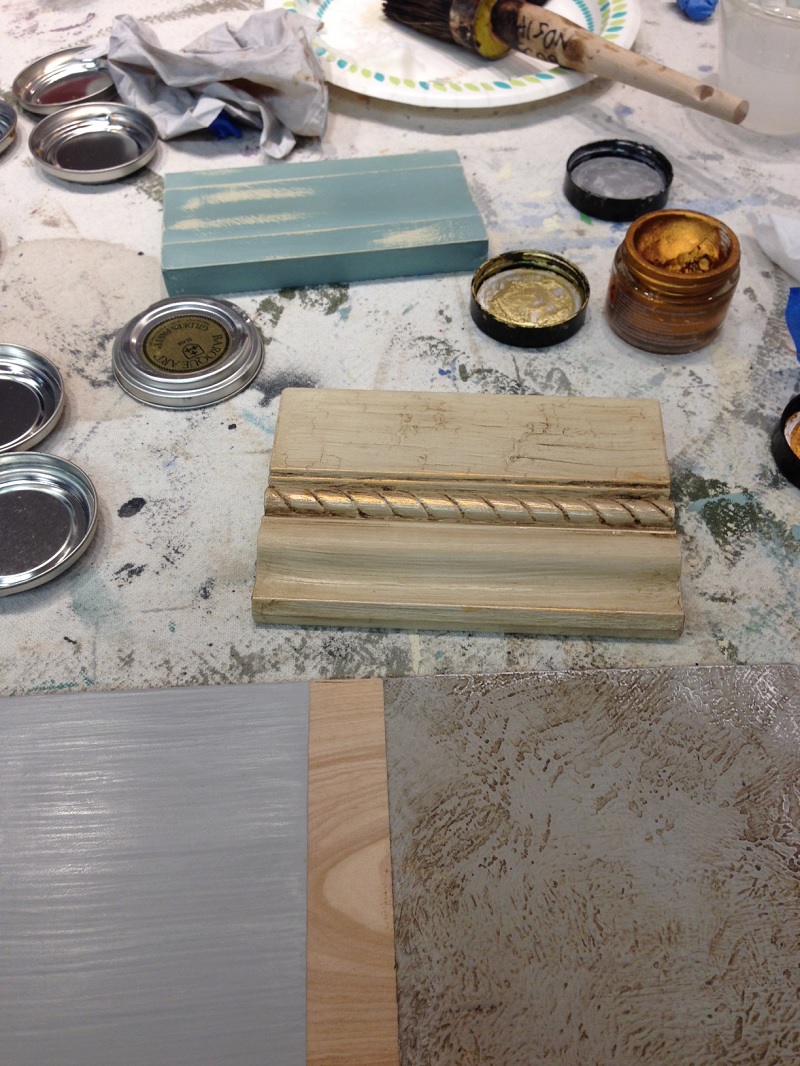
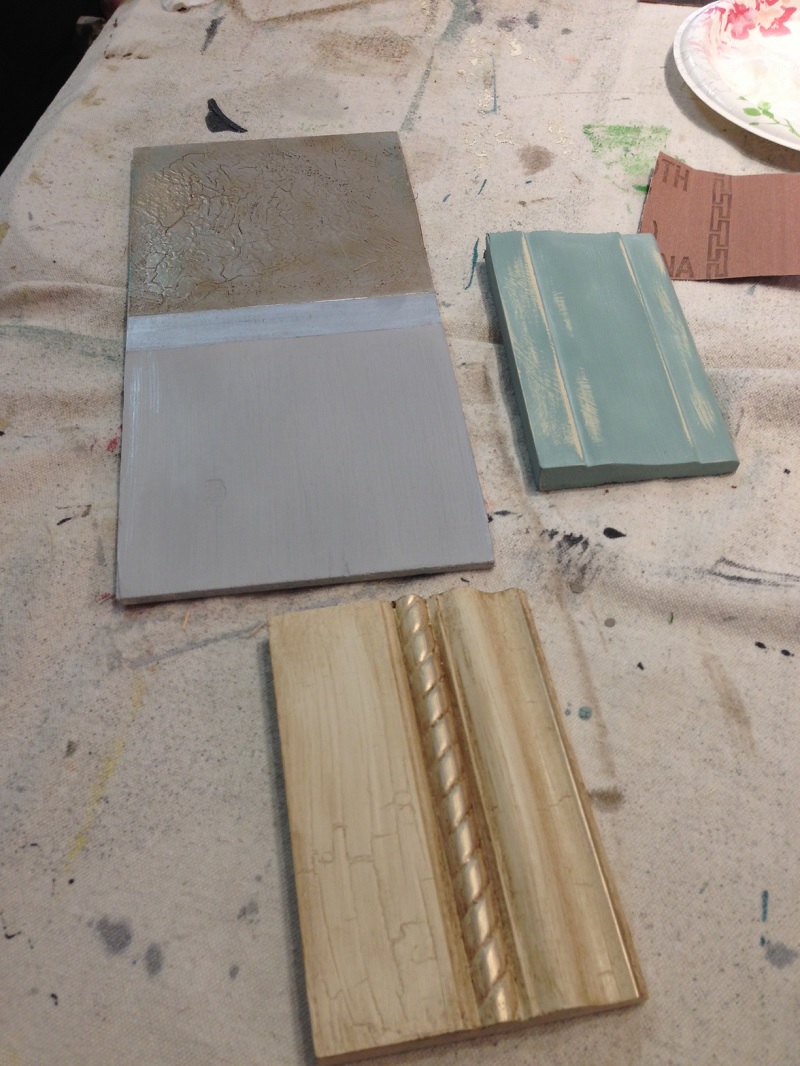
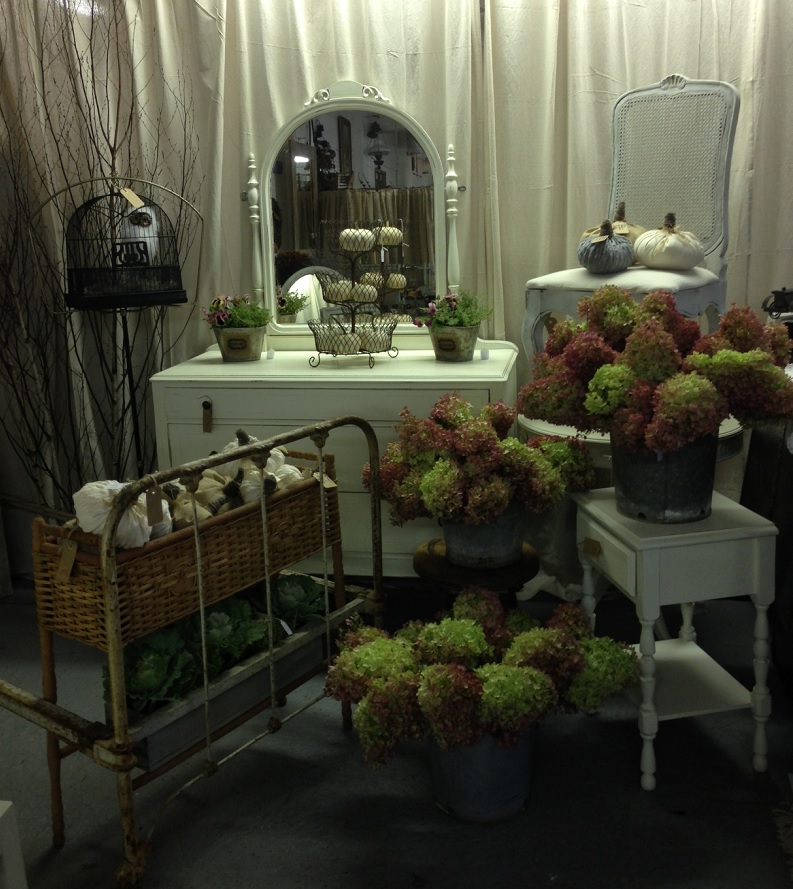
who pull out all the stops to create breath-taking vignettes within the confines of their booth spaces. (this is my space : )

Country Design Home

This month, in particular, was more fabulous than ever, IMHO!

Vintage Bike Vignette
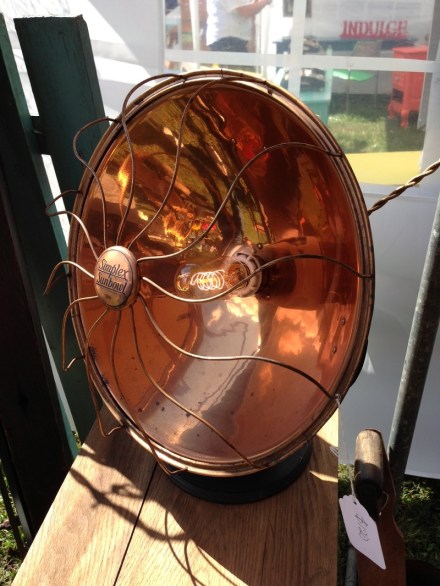
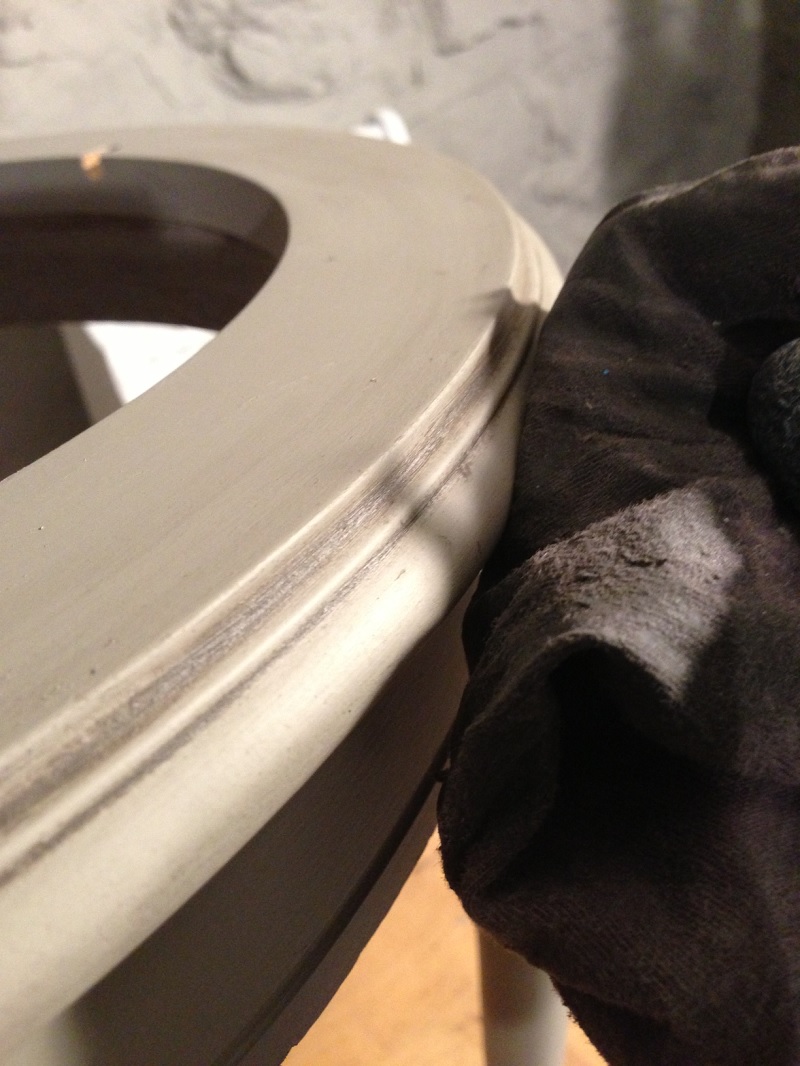
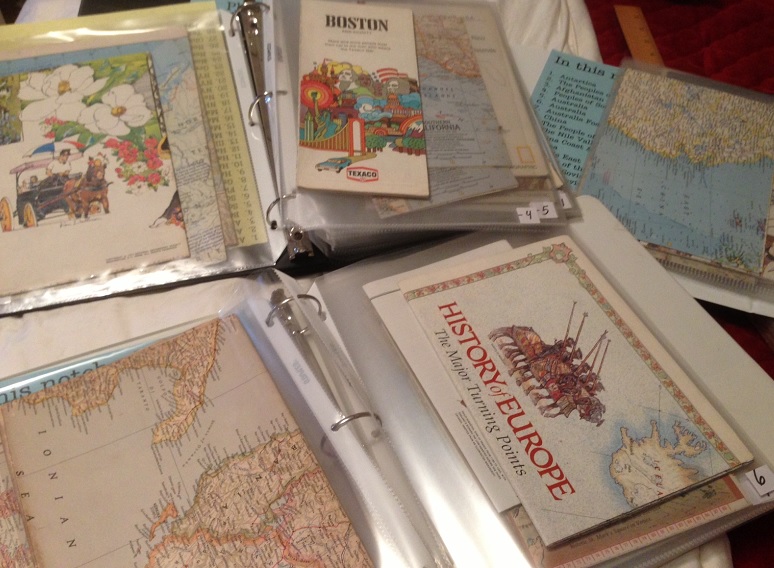
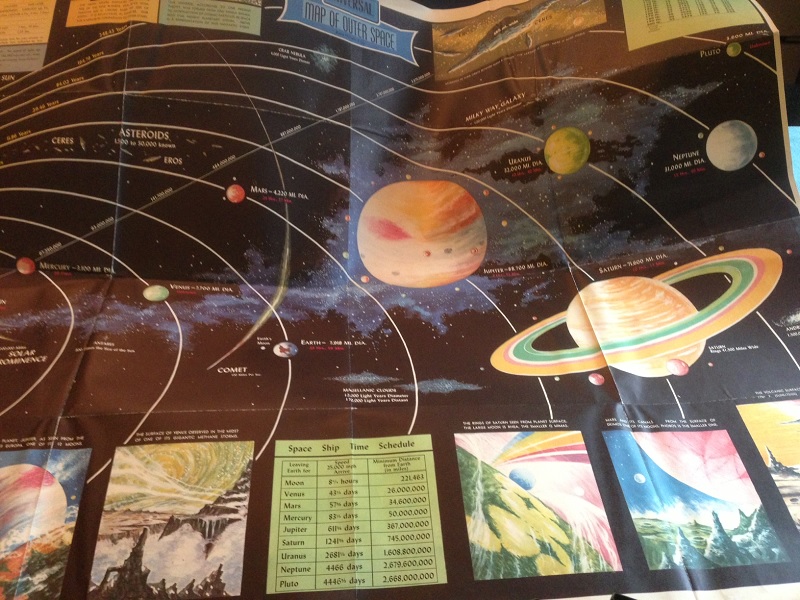
The range of vintage items available, from rustic tin pigs
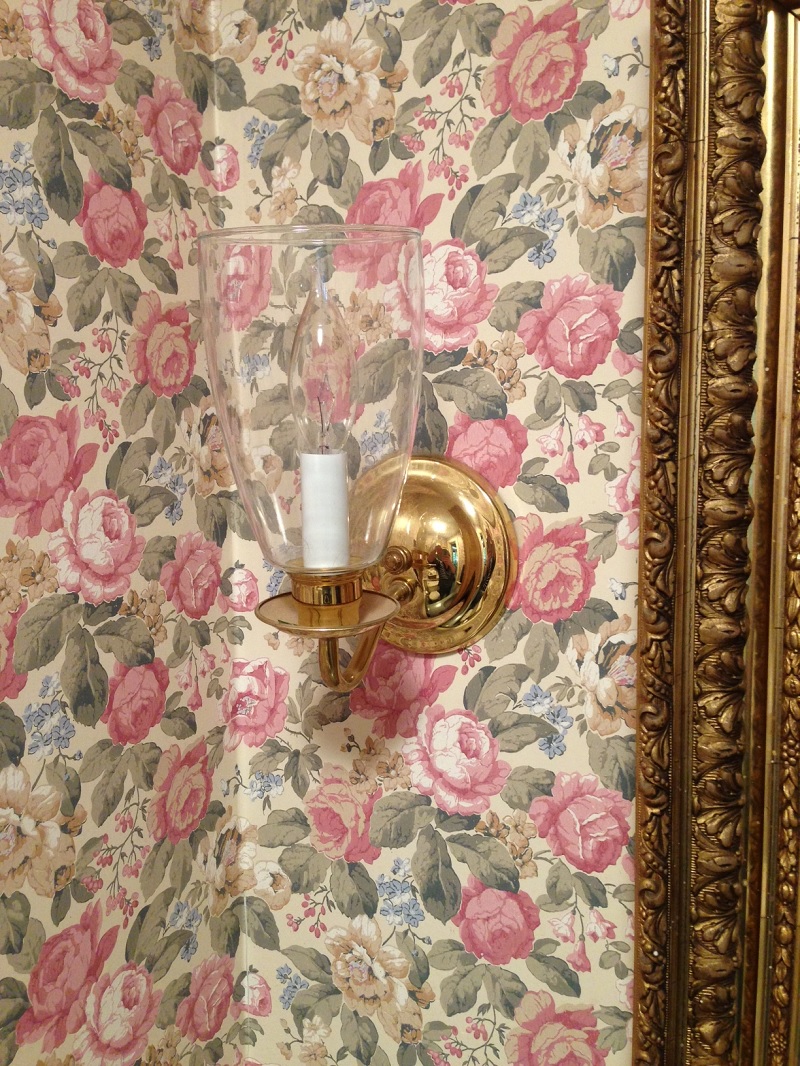
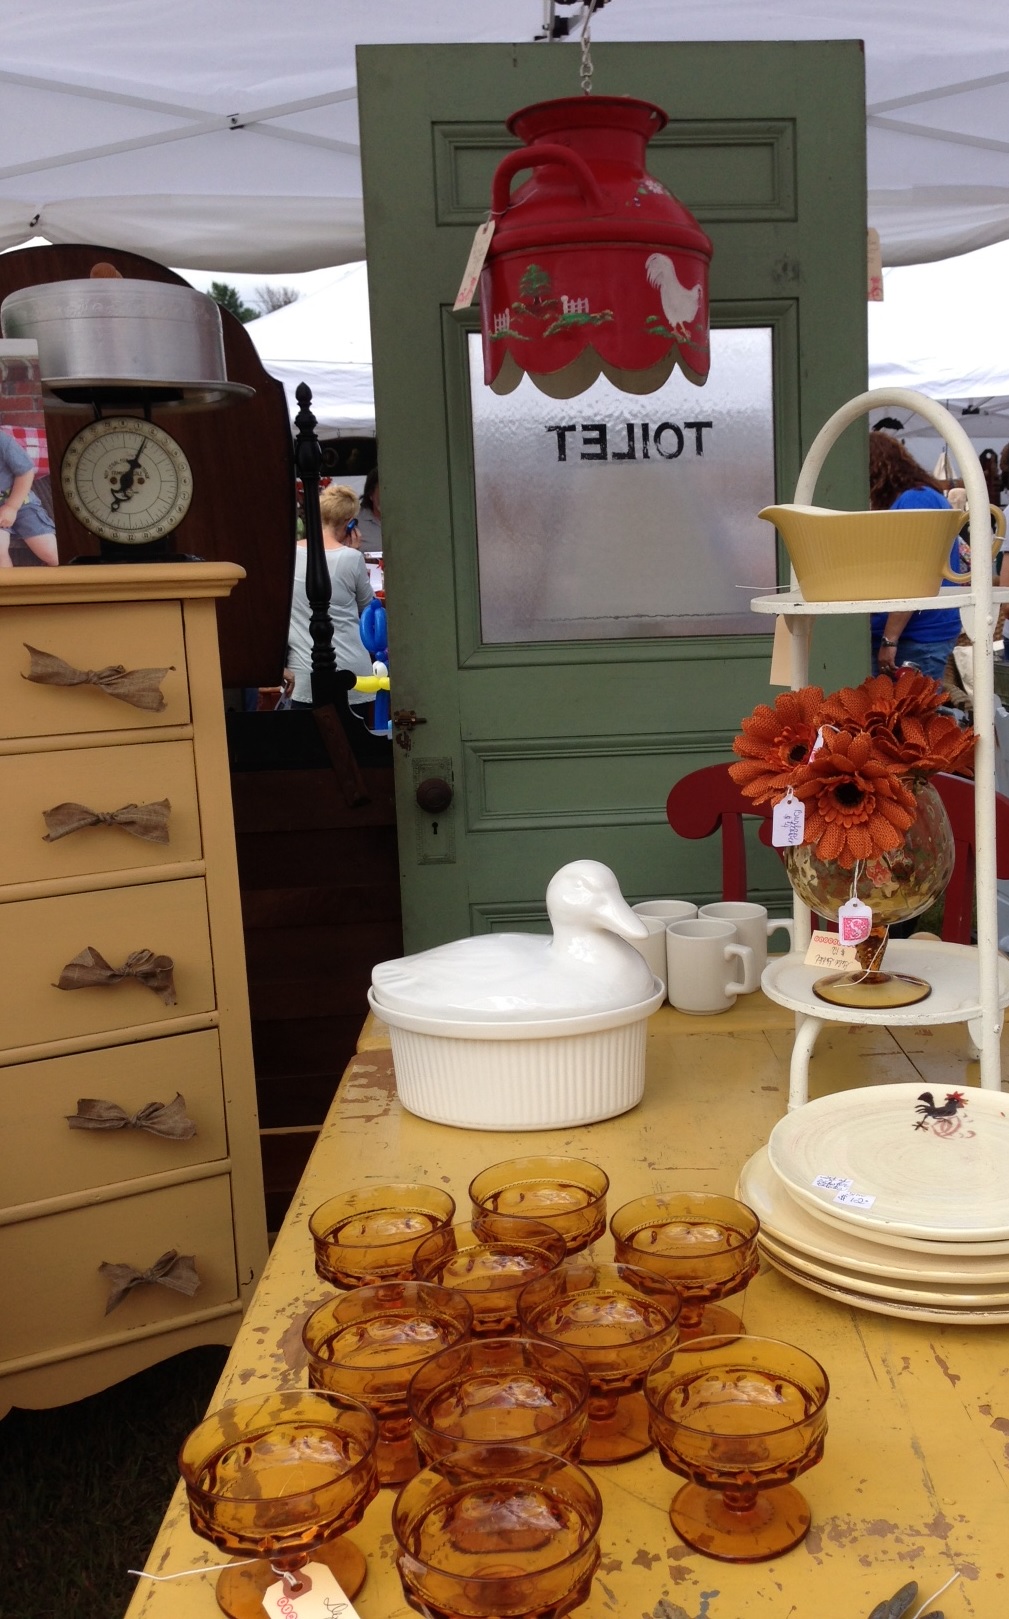
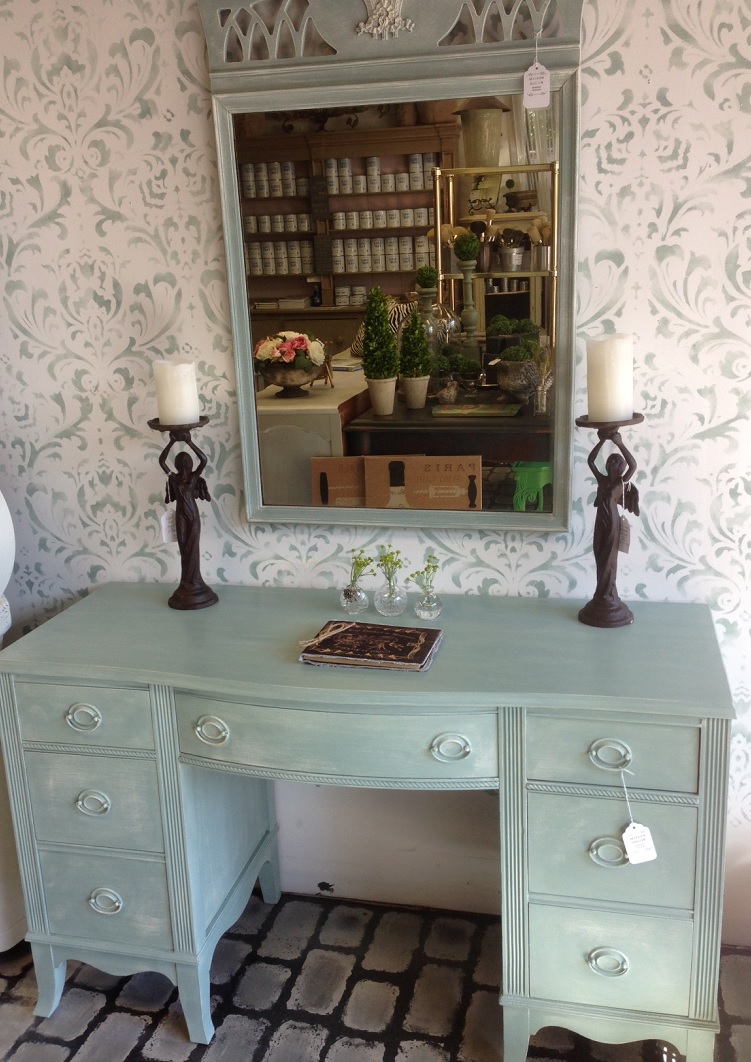
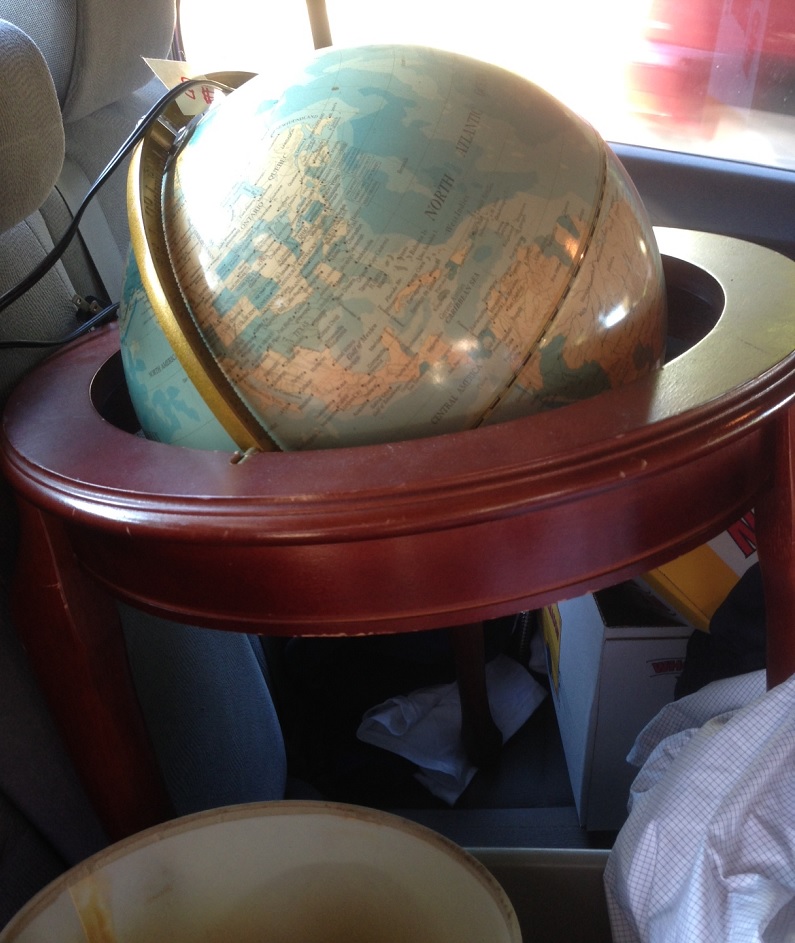
Big Tin Pigto gorgeous florals

Vintage Shades Floral
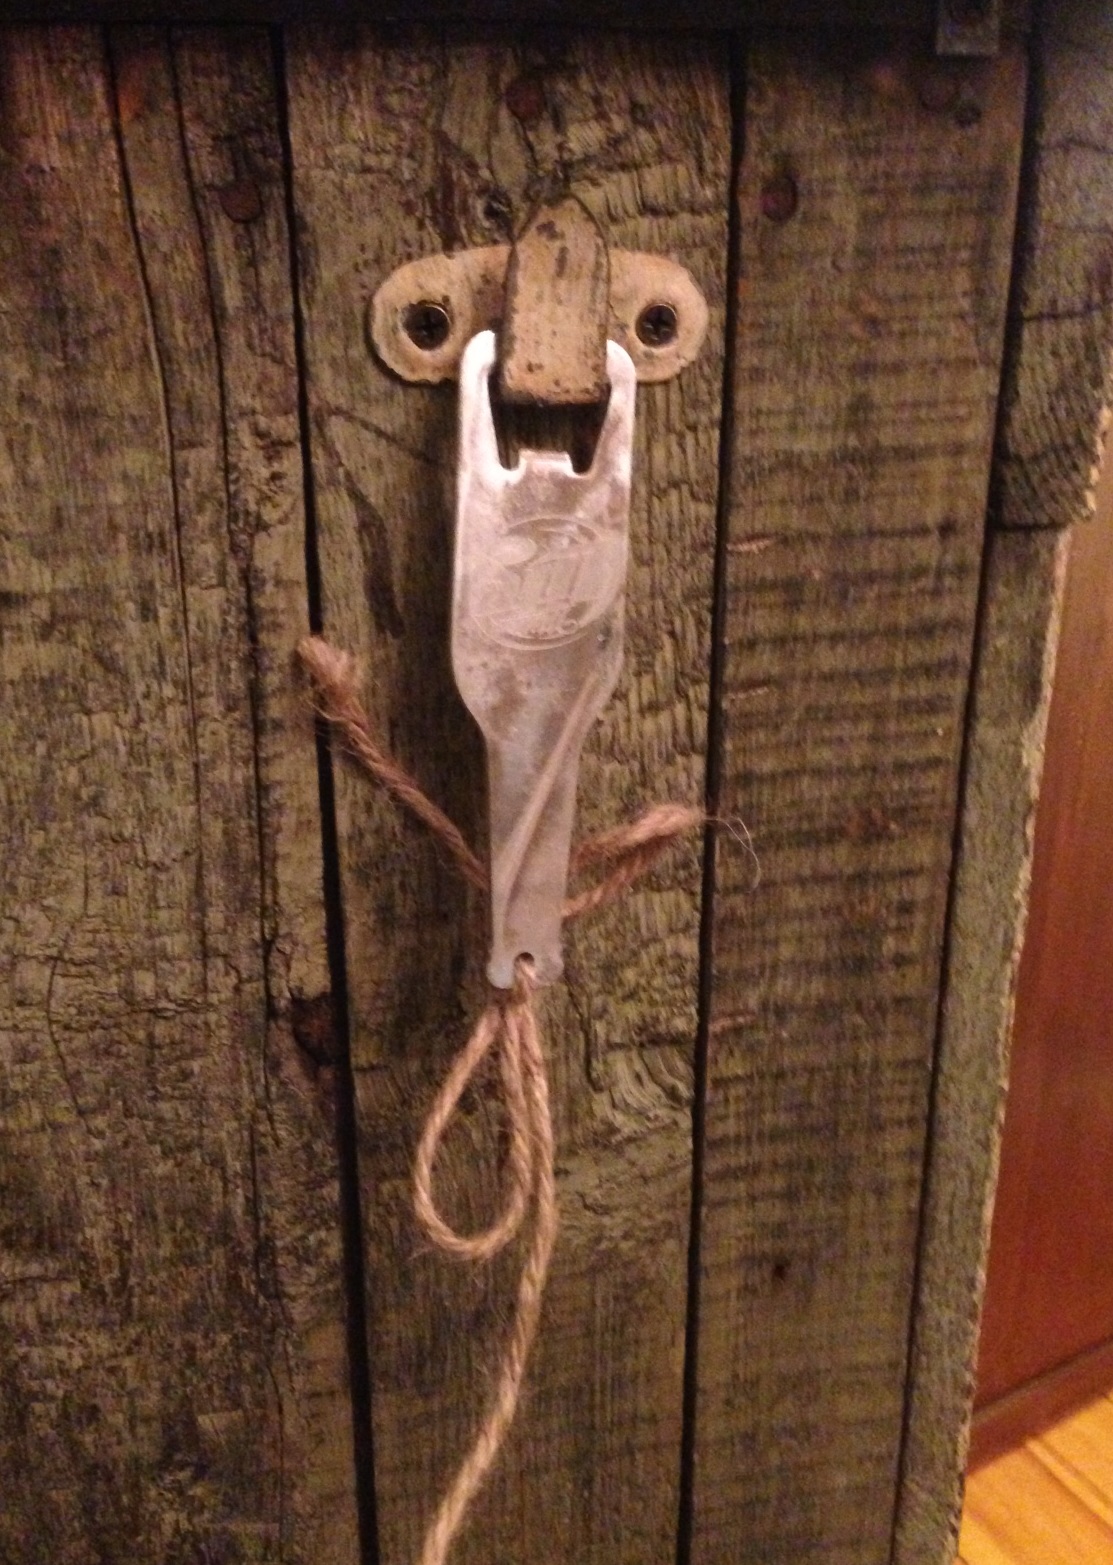
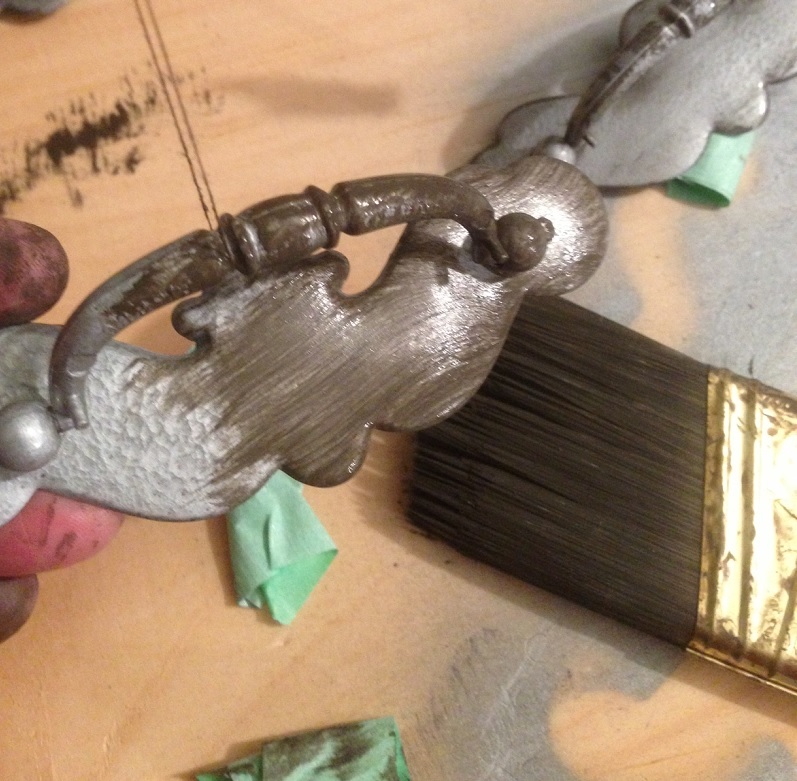
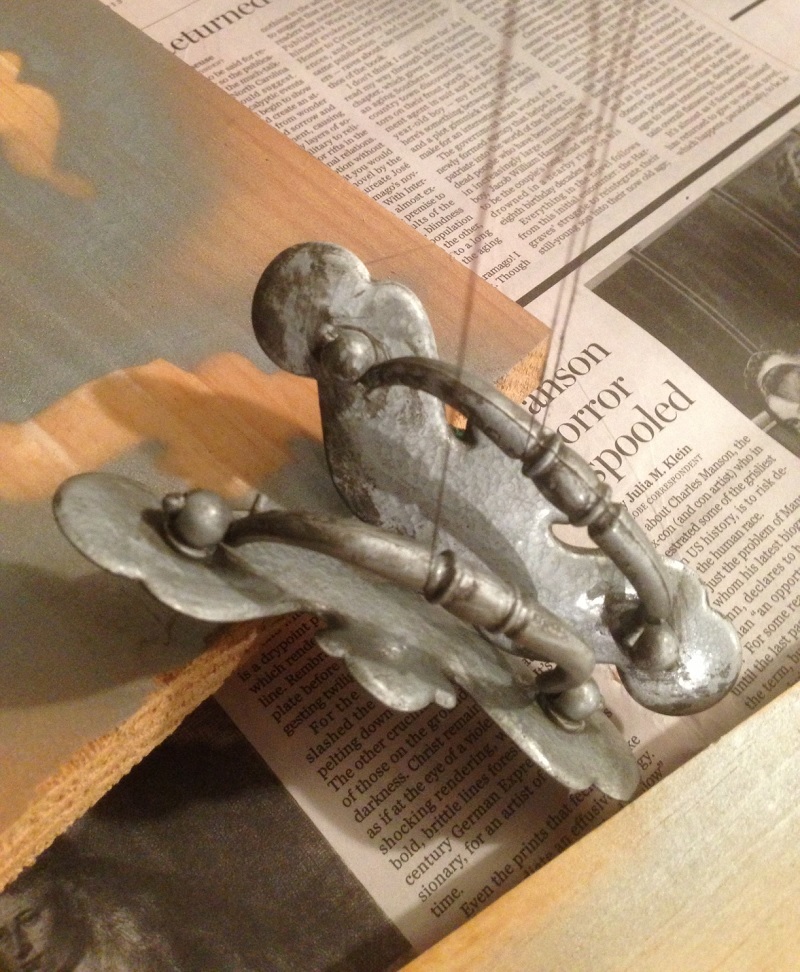
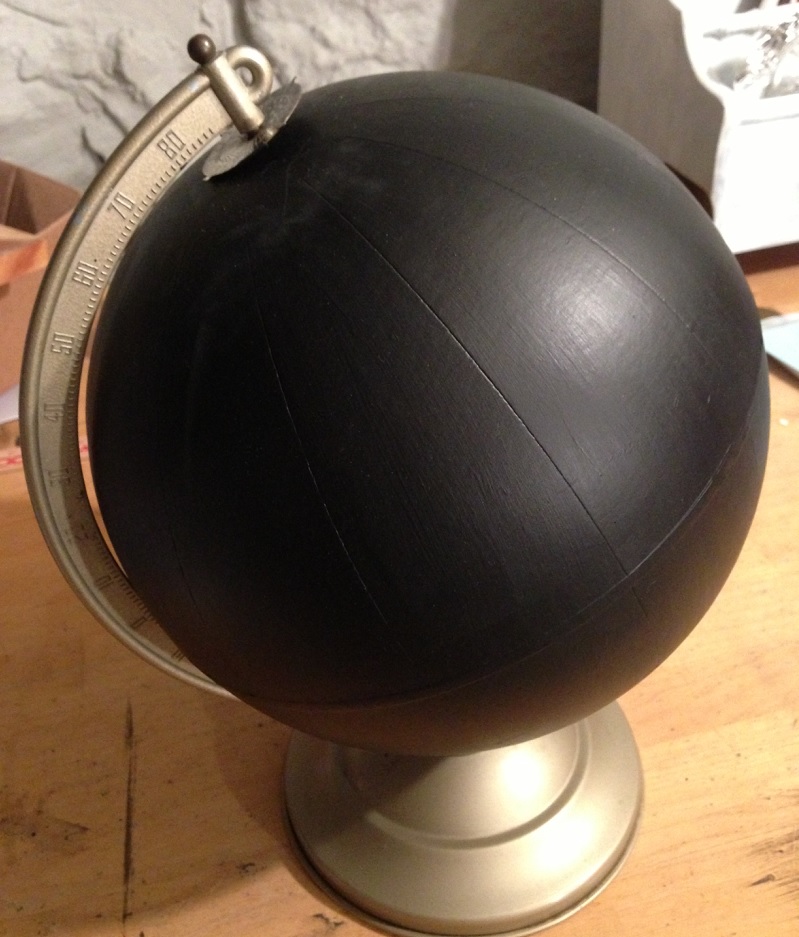
to ingeniously funky remade home wares-whoooo would think that two old saws could be so adorable?!

Saw Owls
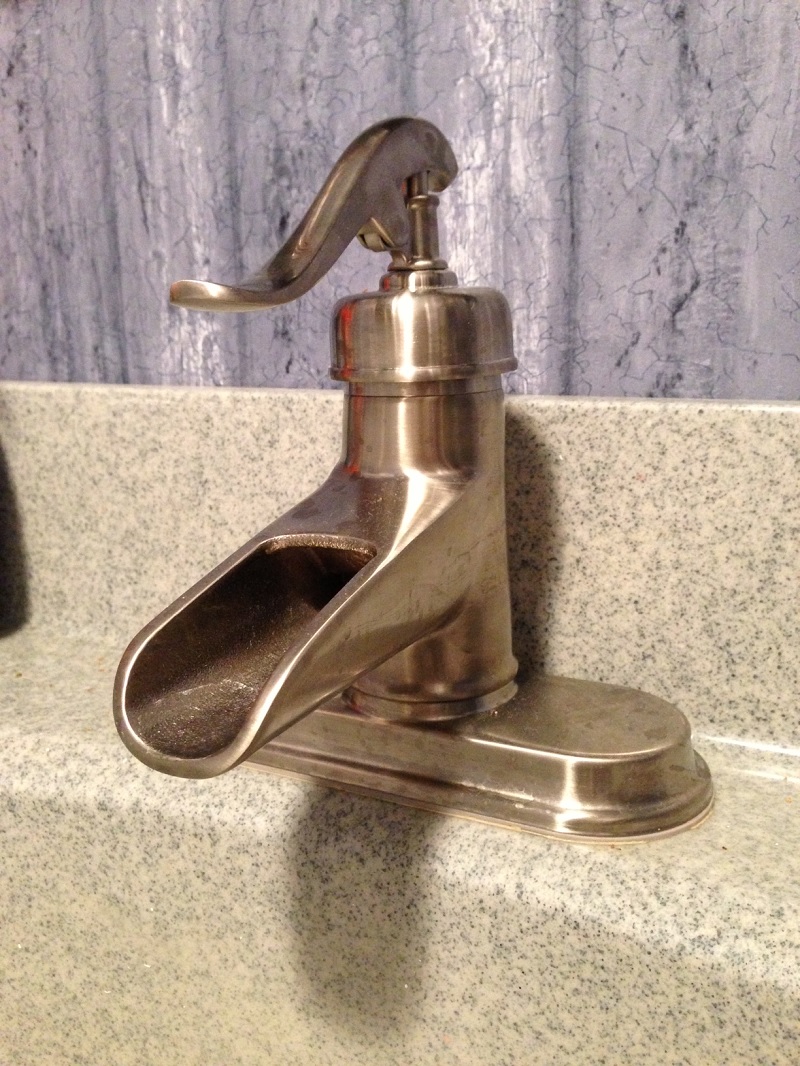
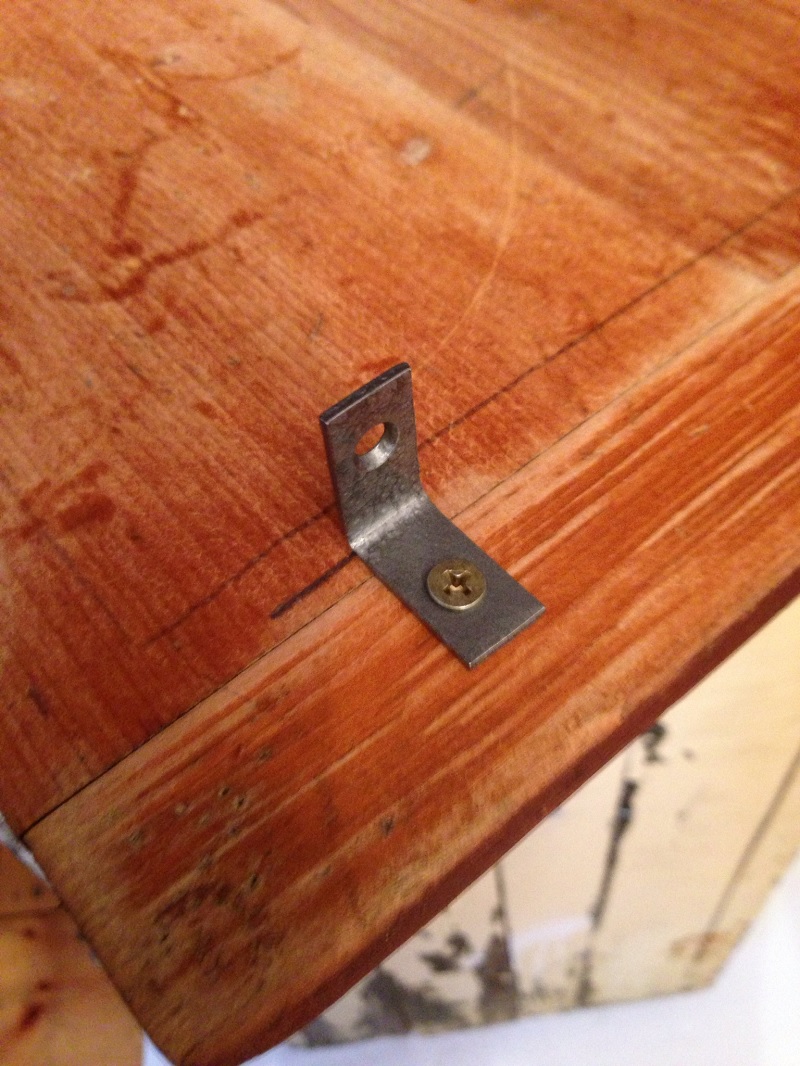
was overwhelming, and I noticed that many shoppers stayed for hours trying to take it all in and find some perfect pieces for their homes and shops.

Harvest Thyme
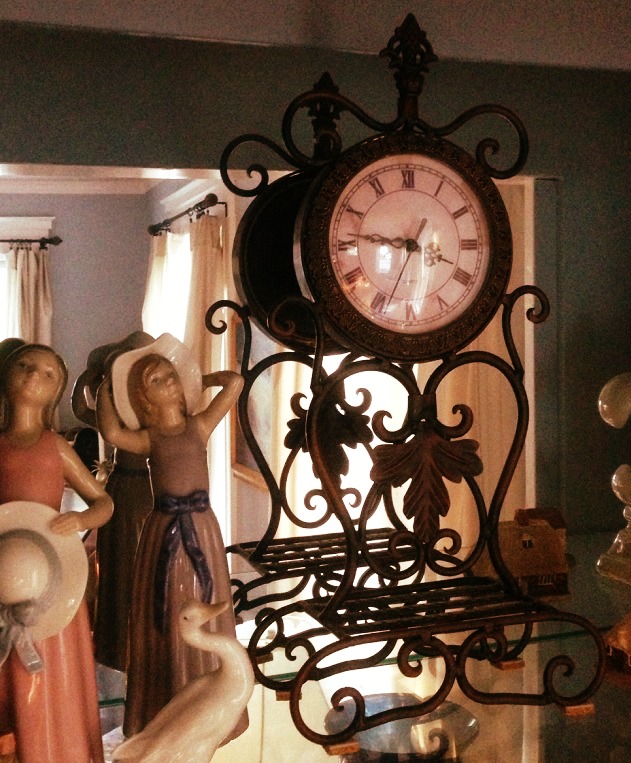
I had a chance to take a few pics before the mayhem began

Autumn Wares
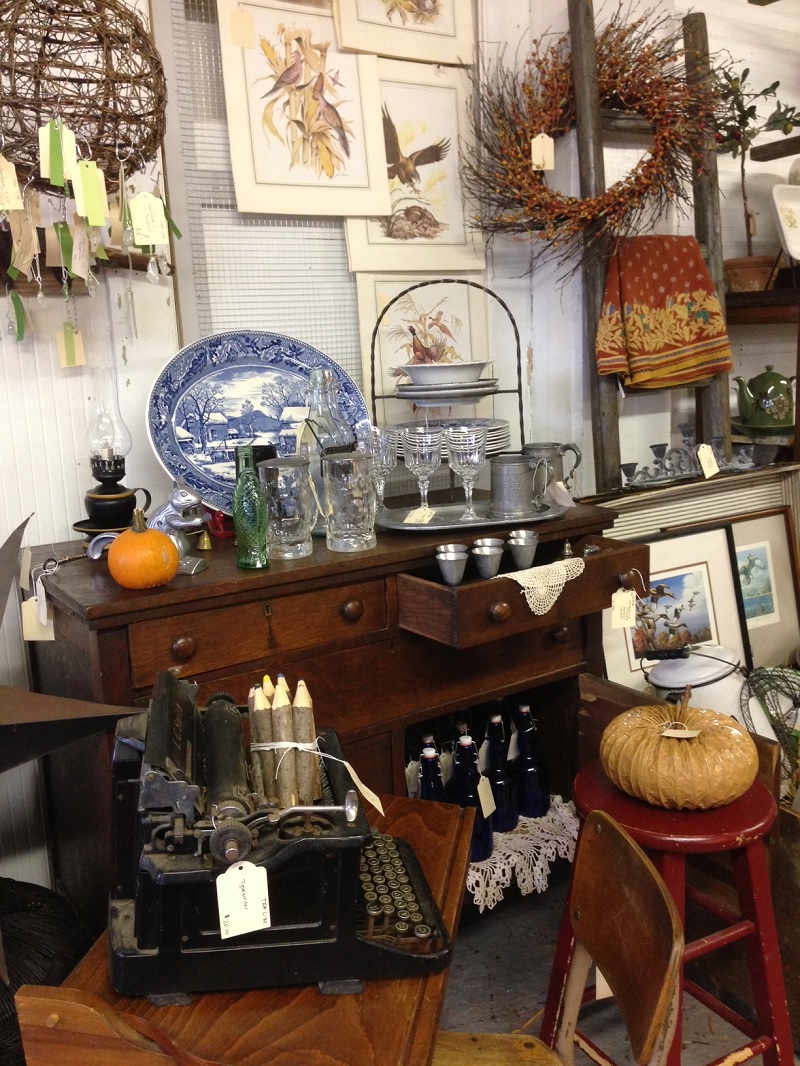
to give you an idea of the breadth of talent that is showcased in this monthly event.

Vintage Thymes Trunk(Disclaimer: some of the items in these pics were sold last night, but I assure you there is so much more to see and purchase over this long weekend!)

Vintage Cream and HydrangeasSo, if you have a chance to get down (or up) to the south shore this weekend, make sure you head on over to the WinSmith Mill Market to take it all in.

Starfish Tablescape

And, on Sunday, a special treat-there will be an outdoor anniversary fair as well, with music and food trucks and more vintage goodies with over 30 dealers! Have a happy harvest weekend, everyone! Susan

Cabbage Roses to Country Charm

The 80’s called and they wanted their dusty rose cabbage roses back. So I obliged. And our downstairs 1/2 bath, that used to look like this

Before Mirror
now looks like this! (I need to apologize for the not-so-great-pics. Do you know how difficult it was to squeeze into a 5 x 8 bathroom to take these?!)

Bathroom Completed 2

Many of the DIY projects in this tiny bath have been featured on my blog, including the vanity transformation, from boring beige

Vanity Before White Coffee

to rustic navy

After Tile and Vanity

the American flag art piece

Map and Sign on Wall Signed

and of course, my Oh Deer Buck Towel Rack.

Oh Deer Towel Rack
So what was once pink and beige with roses and LLadro dolls and shiny brass fixtures

Before Dolls and Statues

is now all dolled up with the new color palette of navy and green and polished nickel fixtures. The inspiration came from the fabulous wallpaper.

Bathroom Color Palette

This paper, that I scooped out of a clearance bin over a year ago for $10, has the appearance of old barn walls with textured crackled vertical striping. The woodwork, once Benjamin Moore Swiss Coffee, is now Benjamin Moore Snowfall White.

After Toilet Side Vintage Vignette
The floor, previously smoky pale blue tiles (many of which were broken or cracked)

Old Bathroom Tile Removal

is now a stunning slate subway tile I picked up in a clearance bin at Lowes for $1.12 per s/f!

Slate Subway Tiles

Love our new faucet from Home Depot, which resembles an old well pump.

Faucet

The sconces used to be shiny brass and hung next to an ornate, floral gold mirror.

Before Cabbage Roses and Brass Sconces

but when I (my daughter found these, actually, but as soon as I saw them I had to have them! She and I installed them together, so thanks Kate!)

Sconce Closeup

found these at Home Depot I knew they would be the perfect complement to the rustic old mirror Coach had picked up at a yard sale. I just cleaned it and added some Annie Sloan Soft Wax for a glowing finish.

Mirror Wall Complete

This cute little tin shelf came from a downtown shop, and its the perfect size for holding tissues, soaps and some reading material.

Tin Shelf Complete

Love this feature wall. Well, this was the feature wall until I was blow-drying my hair the other morning and the needlepoint picture ($1 at a flea market, oak frame from AC Moore with a coupon) that was resting on the shelf got blown off the shelf, taking the brown wood vase with it, smashing them onto the new slate floor. Luckily, the floor was spared any damage.

After Toilet Side Vintage Vignette

So now this is the feature wall.

Toilet Wall After 2

This was a budget makeover, with the only major changes being a new toilet, new faucet and the sconces, all from Home Depot. The towels, candle holders, soap dispenser, toilet paper holder and scatter rug were from Home Goods, of course. Everything else is reclaimed, refashioned and repurposed, like these beautiful Mason Jars, once filled with preserves, now preserving the past while serving as functional containers.

Mason Jars Edited

The only thing I am still on the fence about is the sink. It is old, and has lost most of its shine, but it is granite. And blue.

Sink Wall Edited

My original intent was to paint it white using epoxy paint. But, after reading the scary warning label (my nervous system has taken enough hits lately…)

Warning Label

and knowing that there is virtually no ventilation in the tiny space, I decided to pass for now. So blue it stays, but it does look like a sink you might find in an old farm bathroom, so I’m OK with it. This, by far, has been one of my all-time favorite transformation projects in our home. It captures the essence and stays true to our country design home style, don’t you think? Stay true to your Tuesday style! Susan

Rustic Rolling Bar Cart

DIY Tutorial- Rescuing and Restoring and Reloving an old cabinet into a Rustic Rolling Bar Cart.

Country Design Home Bar CartThis antique, beat up yellow cupboard has been sitting patiently in the barn since the spring, when I scored it on my way out of Todd Farm on a sunny Sunday.

Cupboard Todd FarmThe vendor let it go for cheap because he didn’t want to load it back into his car. It was next up on my DIM(Do It Myself) list this past weekend, so I finally had to decide out what to do with it. The inside writing indicates that it was removed from an old hardware store in Haverhill,

Bar Cart Hardware Coso my first instinct was to return it to its former nuts and bolts glory. But it really is too awesome to be hidden away in a workshop or storeroom, so now it’s a rolling bar cart! Better to be holding Jack Daniels than jackhammers, am I right?

Bar Cart Finished Kitchen SignedHere is the How-I-Did-It:
1. Washed the whole thing down-inside and out-with disinfectant cleaner-who knows where this thing was before I acquired it?!

Bar Cart Topless2. It was a bit wobbly and was missing the top, so I cut up some old pieces of scrap and glued and nailed it all back together so it’s nice and solid.

Bar Cart Top Braces3. No painting necessary, pretty awesome the way it is with all of the old chipped and splattered paint. But I did matte poly the inside to seal up any odors or dust.

Bar Cart Urethane InteriorThis thing is very old and rustic, so I wanted to make sure it stayed clean inside for storage purposes.
4. Added wheels to the bottom, so it can be easily moved-have bar, will party!

Bar Cart Wheels5. The new top was salvaged from an aged piece of wood-a yard sale find.

Bar Cart Top Old Table TopWashed it, sanded it, stained it and then waxed it to keep the old weathered appearance.
6. Attached the top to the base with some “L” brackets.

Bar Cart Attaching Top with L BracketsYou simply flip the top over, attach one half of the L to that, then place it onto the cupboard and screw it into place, for a nice secure surface.
7. The hardware we had in some bins in the barn. Who knows where this stuff comes from?! But whenever I seem to be looking for something specific, it magically appears. In this case, a towel hook for one side…

Old Hookand a bottle opener holder for the other.

Bar Cart Bottle Opener8. The front panel needed some sort of embellishment, and I found this old rusted window lock. Perfect!

Bar Cart Front Adornment9. Here is the finished cupboard filled with bar stuff. Pretty cool, huh?

Bar Cart OpenedI’m really happy with the final results. Looks great in my country styled kitchen!  Stayed tuned for more exciting junque transformations. In the meantime, its Monday, so make it a marvelous, magnificent, magical one. Susan

Grand (Af)Fair at the Farm

Pettengill Greenhouse Display AutumnDespite the dire forecasts, this past weekend’s weather turned out to be gloriously sunny, with a hint of fall air-perfect for the vendors and guests of the Vintage Bazaar at Pettengill Farm!

Pettengill Farm Pumpkin VignetteThis fair appeared to be bigger (judging from the amount of traffic streaming into the parking lot-we ended up in hog heaven)

Hog Wild at the Vintage Bazaarand better than ever. Each time I have ventured up to the fair I have been absolutely overwhelmed by the creativity and artistry of the vendors who are there to showcase their wares. This fall’s talented group was no exception. Since I cannot possibly showcase them all in this blog, you can go to MyBazaarLife and check out the full listing. But here are a few of my personal favs…
This is the interior sleeping area of the adorable vintage trailer from Good JuJu. Oh, my…

Vintage Trailer Interior JuJuSo perfectly pretty in cool aqua blues. Can you imagine catching some (much-needed)  R&R in this little haven? Well, someone did, because it was SOLD!Cowgirl Emporium teamed up with Sage & Twine to create a rustic, colorful spot filled with cowgirl find and accessories.

Cowgirl Emporium w Sage and Twine

  I did have a pair of cowboy boots once. Spent a fortune for them in Wyoming. Wore them once. Sold them on Ebay. Could have done this…

Cowgirl Boot Rack

Great way for a cowgirl to store her vintage jewelry. Once again, The Greeley Girls were offering their gorgeous line of vintage clothing, jewelry & accessories.

Vintage Hats and Scarves the Greeley GirlsThis vintage necklace pretty much sums up my day as I am strolling through the fields, enjoying the blue grass music and taking in all of the sights and sounds of a country fair.

Happy by The Greeley Girls 2

Pretty little succulent plants in vintage containers from Fleurish Home and Garden. I don’t have a green thumb, but I am fairly certain I could keep these alive, at least for awhile…

Succulents by Fleurish Home and Garden

Petite Michelle Louise & Evelyn And Rose had combined to bring this lovely neutral French Flea Market palette to the fair.

Evelyn Rose & Petite Michelle Louise Vignette

Inspired French, romantic, homemade decor. I adored this vintage suitcase filled with Parisian goodies, both old and new. C’est Magnifique!

Evelyn & Rose Suitcase

The Linens Lady’s tent was sooo bright and cheerful, filled with aprons and quilts and colorful tableware. Imagine wearing one of these beauties while prepping your Thanksgiving dinner!

Vintage Aprons Linen Lady

Soap confections by French Country Chick Soaps that looked yummy enough to eat.

French Country Chick Soaps

Red Tractor Vintage was featuring awesome light fixtures made from re-purposed, recycled anything. Loved this copper sunbowl.

Copper Sunbowl by Red Tractor Vintage

Someday I am going to get me one of these. Meet Ruby the gorgeous vintage truck at Barnstormers.

Ruby by Barnstormers

At last year’s fair I featured a pic of a large planter filled with glass flowers by Creative Glass Works Boston. It became one of my most re-pinned pics on Pinterest. Apparently glass flower gardens are a thing. A very popular thing. And rightly so. Can you imagine this one perfect flower-no watering needed?

One Perfect Bloom from Glass Art

Piano Keys as art.

Piano Keys Art by Naturally Unique

When I happened upon this work by Naturally Unique, I was so impressed with the creativity and ingenuity using my three “r”s principle-recycle, refurbish, relove-music to my ears! These piano keys, which could have ended up in a dump are now restyled into works of art.

Simplicity Bike

Simplicity, new to the Vintage Bazaar, where I discovered this so very cute hanging light fixture made from an old tin milk can. Linda has a shop-in-a-shop at Flukes and Finds in Newburyport. I may just have to go there to rescue this light, if it wasn’t sold at the fair…

Simplicity Shop

And then, for me the show-shopper by The Yellow Zebra. This baby grand piano restyled into a spectacular rolling bookcase. The background was pasted with old sheet music and the piano was painted black. Amazing. Did I say that loudly enough? AMAZING.

 Piano by The Yellow Zebra

And, continuing to restore and reuse, they transformed the piano top into this sign. Words cannot accurately depict the coolness factor here.

Grand Piano Top Sign The Yellow Zebra

If you missed the fair this time around, you’ll be excited to know that The Vintage Bazaar is hitting the road and taking its show to the next level! You will have a chance to see some of the vendors at the upcoming Boston Antiques & Design Show and Sale in Wilmington, Ma this October. More info to follow. In the meantime, have a terrific Thursday everyone! Susan

It’s Vintage Bazaar Time!

It’s Wanderlust Wednesday, and normally I write about places we’ve already been in the past. But today, I wanted to give the heads-up

Funky Chicken

that the Vintage Bazaar at Pettengill Farm

Vintage Bazaar

is taking place this weekend, September 21 & 22 in Salisbury, Mass. This is one of my all-time favorite country fairs, featuring live bluegrass music, great food trucks and over 125+ craftsmen and artisans creating one of a kind pieces for you to take home and treasure!

Vintage Cash & Cari

Many of my old favs will be rocking the farm, along with some inspiring new crafty folks. Here is a sneak peek at the newest members of the Vintage Bazaar flock:
Pop & Circumstance

Pop and Circumstance

Simplicity (loving all the red and white and buffalo plaid!)

Simplicity

Happy Days Vintage

Happy Days Vintage

Bottles & Bonfires (ah, sipping wine by a bonfire…how romantic)

Bottles and Bonfires

Sundaes Best Hot Fudge Sauce  (oh, man, this just keeps getting better and better)

Sundaes Best

There is so much to see and do, including a kid’s tent and pumpkin bowling (!?),

Family Fun

dreamy trucks

Dream Vintage Truck

a Sunday vintage motorcycle show (remember this pink beauty?!)

Vespa Pink

and shopping, loads of shopping!

Vintage Bazaar Tote Bag

The Vintage Bazaar will be open Saturday and Sunday from 10-5 on the grounds of Pettengill Farm

Pettengill Farm

So don’t be chicken, come down to the fair! Hope to see you all there! Susan

Drawer Pull Puppets

Did you ever decide that you wanted to paint some drawer pulls, but the pulling part that is hinged to the face plate keeps swinging back and forth while you are trying to hold it still to apply the paint? So frustrating! Simple solution: drawer pull puppets!

Pull Puppets

All you need is a place to hang the pulls while you paint, some thread, (you can use string, but the thinner the better so you don’t see the lines),

Thread and Scissorsscissors, painters tape and some newspaper, and of course, the paint. In this case I used Rustoleum Hammered Silver paint purchased at The Home Depot.

Hammered Rustoleumto give the old pitted brass a new old distressed look. Cut the thread and loop it over the wire. I used our cable wires in the basement that are attached to the beams in the ceiling over my work space.

Thread and wire

Now, obviously, if you have a nice, decorated basement, you would not be spray-painting in there anyway. I, on the other hand, have become a basement dweller surrounded by old pipes and cobwebs, concrete floors, hanging exposed wires and gray stone walls. No worries about ruining anything. So, I hung the hinges to just above the work table top, then taped them underneath to the table to stop them from swinging-uggh!

Pitted Brass Pulls

(if I ever tell you I want to add a puppeteer to my bucket list, remind me of this post, please).

Puppets in Window

Spray painted them, one coat needed. This paint adds a cool textured finish to the metal.

Hammered Silver Paint

Now, I wanted to add a little more interest to them, so I dry-brushed some of the Behr Stealth Jet Gray on top, the same color as the desk I had painted.

Antiquing pulls

Then I wiped most of it away, leaving just a hint of the darker gray to match the desk. Allowed to dry, then cut them down.

Hanging Pulls

This is the point where I typically show you the finished piece. Sadly, I forgot to take that pic! (sigh, I really need a camera crew to follow me around to take pics. Too many things to remember!!) Happily, I sold the desk at the Vintage Thymes Market this past weekend : ) But it did look pretty awesome, and that’s my unbiased opinion.

Desk Drawer Pulls

Have a non-distressing Tuesday everyone- stop hanging around and go do something today!! Susan

The Master in Class at Maison Decor

Recently, I had the good fortune to observe an Annie Sloan Chalk Paint class instructed by Amy Chalmers, owner of Maison Decor in Reading, Mass.

Amy Chalmers

With the perfect blend of skill, patience and great humor, Amy was able to successfully educate the attendees of the class on the basic techniques of using chalk paint to make their life more beautiful.

Maison Decor Life More Beautiful SignI first met Amy about a year ago, when I ventured into her store in Malden (now being used primarily as a workshop). Although we chatted that day about her blog and her company, I hadn’t really had an opportunity to learn about her own design experience until now. When questioned about her art background (when you see her shop, you know there is a very talented artist in residence), this was her response:

Amy Painting Armoire“I did study art at Northeastern and our program involved taking classes at the Museum of Fine Arts, which was amazing. But I was an English major in creative writing and art was my minor. I just always was the artsy kid, and my dad built me my own special art table when I was 12…it was modeled after an architects drafting table with a raised work surface and it had lots of cubbies on one side for me to put my art supplies. My parents just encouraged my creative leanings and I am glad they did. I painted a mural on my bedroom wall in high school~so it was just something that I found very natural. I think it was my first grade art teacher that ignited the fire inside of me, I was so excited about my art classes with her, and I remember thinking that I wanted to grow up to be an art teacher!”

After her schooling, Amy got into fabrics, making slipcovers and drapes, and started her own business in her late twenties sewing custom pieces. Interior design work followed, and for over 20 years she had her own business specializing in window treatments and color selections. Focusing primarily on residential interiors, she did do an occasional commercial space, including the McDonalds in Fanueil Hall in Boston! (what Annie Sloan colors are in that yellow and red palette?!)

Chalk Paints on Windowsill at Maison Decor

Fast forward to the present, where Amy spends the bulk of her time in the Reading Shop as an Annie Sloan “stockist” and teacher, offering painting workshops while creating and selling gorgeous pieces of furniture and decor, all finished with Annie Sloan Chalk Paint.

Maison Decor Chalk Paint SuppliesEntering into the store from Main Street, you feel as if you are stepping into an old chateau in the French countryside.

Maison Decor Shop VignetteHer style is quintessential French Country: loads of soft, muted colors, (Duck Egg Blue, oh yum!)

Duck Egg Bluestunning crystal chandeliers

Maison Decor French Crystal Chandelierand vintage pieces, all restyled and refinished using Annie Sloan paints and finishes.

Blue Painted DresserShe and her sons, Justin and Colin, also working in the business, created this cobblestone floor using sponges and chalk paint. Magnifique! FYI-the guys teach a “men’s-only” class, for the gents who would like to learn the painting techniques while not surrounded by women. Or maybe not.

Maison Decor Cobblestone FloorI arrived a bit early on workshop day, checking out the work table at the back of the shop, all set with the necessary tools and aprons her participants would need.

Maison Decor Class PrepOnce the class got rolling, Amy was a great teacher, at first educating her students on the paints, the company and furniture styles, but then it was time to get messy!

Time Clock @ Maison Decor

Amy’s charming teaching style is stand-up comedy meets mad scientist meets art professor.

Class PaintingShe knows her stuff, and is eager to impart her vast knowledge and expertise to her students, demonstrating technique and patiently answering any questions from her class. This is a hands-on workshop- no boring lectures here!

Amy Chalmers Teaching ClassAfter a few hours of painting and glazing and using blow-dryers (you’ll have to take the class to find out what those are for : ) the final reveal: These were Amy’s demo pieces:

Completed Samples, Teacher

and here are some samples from one of the class members: pretty close, agreed?

Completed Samples, Student

If you are interested in learning about Annie Sloan Chalk Paint, and if you don’t know what that is, check out Pinterest (and if you don’t know what that is, you clearly have not been reading my blog…)

Annie Sloan Chalk Paint

This unique paint, originating in England by a former rocker, is slowly making its way through the US and changing the way American craftspeople re-purpose and restyle their furniture.) Or, you can head over to Maison Decor at 150 Main Street in Reading, and learn everything you need to know from the master, Amy Chalmers, in one of her continually added workshops. They stock all of the necessary supplies there, or you can order online.  And if you do check her out, tell her Sue from Country Design Home sent you! Have a charming Sunday, Susan

A Global Intervention

It’s Wanderlust Wednesday, and as much as I would like to be jetting to some fab location on the globe, this week I have to settle for repurposing a couple of globes instead. My shop in this weekend’s Vintage Thymes Market is all about back to school, and I have so many maps and globes, it’s a bit ridiculous. So a couple of them got a little makeover. A plain Jane, run-of-the-mill globe is now a chalkboard- thanks to some Benjamin Moore Chalkboard paint.Unpainted Globe

Super easy to do: literally take a globe (we found all of ours at yard and estate sales for just a couple of bucks), paint on a coat of chalkboard paint to cover. Wait a day. Add a second coat.

Globe Chalkboard Painted 2 coats

Wait a couple of days. Now you want to “size” the surface so when you write on it, you can change it easily by wiping with a damp cloth.

Chalking the Globe

You literally take the side of the chalk and paint the entire surface until it looks like an inverted snow globe…then wipe it with a damp rag.

Chalked Globe

The finished globe-guess this is what earth looks like at night when viewed from Mars. Kinda cool, right?

Chalk Globe Completed

The other great find was a standing, light-up globe-awesome! The base was an old, scratched and scraped cherry wood.

Stand Globe in Car

So I hit it will some steel wool and Liquid Sander. A little goes a long way. I think I’ve had this can since 1999!

Klean Strip Liquid Sander It cleans and preps the surface and creates a solid bond for the paint to adhere. I use this when I don’t want to use a white primer or chalk paint. The paint is Behr’s Enduring. I used two coats and then, to finish, I mixed some Annie Sloan Soft Wax with a bit of Behr Stealth Jet (my newest color obsession-it’s dark charcoal with a hint of chocolate)

Soft Wax and Paint Mix

and painted that into the crevices and molding edges to highlight the details.

Brushing On Wax

Wiped most of it away,

Rubbing Off Wax

allowed to dry, then finished the whole thing with a light coat of wax.

Stand Globe Painted

The results are out of this world!

Stand Globe Lit

Both will be available this weekend at the market, so if you happen to be wandering about on the south shore, stop by and say hello! I will be there on Friday, and would love to meet you all! Happy wandering…Susan

It’s About Time

Vintage Clocks Bubby & Bean

A few of my favorite images on the Pinterest boards are of vintage clocks. I LOVE clocks. The bigger and bolder and older the better.

Large Blue Vintage Clock Shelterness

Photo via Shelterness.com

Since I am always so stressed for time, and oftentimes so immersed in my work that I forget the hour, clocks keep me in line and on time. (Except for the time when I was so busy sparkling up my holiday wreaths that I actually forgot to go to work!) Since I don’t wear a watch, I depend on my cell phone to tick away the hours and notify me when my time is up.

CDH iPhone clocks

But old timepieces, worn and shabby and oftentimes not even keeping time, evoke memories of simpler times passed by.

Cherubs and Clocks Indulgy

Photo Via Indulgy.com

Which is why, I believe, they are so appealing in today’s interior designs. No matter what the style, they blend perfectly and give a timeless presence.

Vintage Clock Shelterness

Vintage Clock Vignette via Shelterness

You will find vintage and shabby clocks on the pages of Pottery Barn

Vintage Clocks Pottery Barn

Pottery Barn Square Pocket Watch Clocks

 Ballard Designs

Vintage Clock Vignette Ballard Designs

Joss & Main

Clock Vignette Joss and Main

Joss & Main

and, of course, on Country Design Home! These are two of my favorites- this Paris clock sits in the alcove in my kitchen

CDH Kitchen Clock

and this one graces the glass and mirror bookshelves in my living room. Both are from, where else, Home Goods : )

CDH Living Room Clock

But my favorite vintage clock is this little beauty. Sooo love this! (Anyone happen to know where I can find one of these?)

Vintage Rhinstone Clock

So it’s about time for me to get back to work! One more week til the Vintage Thymes September Market– aptly name Vintage Thymes. To see more beautifully timeless images, click here.  Have a great time this weekend everyone! Susan

Blotting a Map

This week I have been up to my eyeballs in maps-all kinds, shapes and sizes-in preparation for next week’s Vintage Thymes Market.

Maps books

My September Theme is Back to School-you won’t believe all the cool retro school stuff we have found! But the maps are Coach’s thing, and these are not the hundred plus he already has at a Ward Maps Shop in Cambridge! This is an expansive collection of are all sorts of maps: countries, cities, roadways, the heavens, the earth, the ocean floors. My favorite is this gorgeous 1950’s Map of Outer Space- the colors are amazing!

Map of Outer Space

And they will all be available next week at the shop. Well, except one. I decided I needed a blotter for the desk I have been working on-also for the shop, so I grabbed an Upper Northeast map to cut up and use for the blotter.

This is the How-I-Did-It:
Supplies: foam board cut to size, fabric or paper (or one of the maps you will be purchasing at my shop next week : ), glue, vinyl sheet (optional), backing paper or mat board, cutter & T-square or scissors, tape
1. Measure out your foam core board to the size you wish to have the finished mat. Cut with scissors or rotary cutter and T-square.

Foam Board Cutting

2. Measure out the map, making sure the design you want to show on the front is positioned correctly. Before you cut it, make sure it is very smooth with no wrinkles. You can iron paper, BTW. Just use a no-steam, cotton setting and keeping moving the iron!

Ironing Map

Cut with at least a one inch border around the edges. You will be turning these under to give the edge a smooth finished edge.

Map Edges on Board

3. Spray adhesive on the foam board, then position the cut map with even edges on all sides.

Elmer's Craft Bond

I love this Elmer’s Craft Bond glue because it is temporary before its permanent, so it gives you a bit of time to reposition if you need to. It is quite messy, however, so make sure you mask the entire area you are spraying or you’ll end up glued to the table!
4. Add a layer of vinyl (this part is optional). I happened to have a roll left over from when we shrink-wrapped the porch last fall. I know, it’s almost that time of year again, yuck. This will give the blotter a wipeable, durable finish.

Vinyl Coated

Measure out the vinyl, leaving at least a couple of inches all the way around. This stuff is thick, so you need some extra to grab on to the back. By the way, vinyl is one of those things that tends to attract dust and dirt, especially in the basement. The cleaning solution? A dryer cling sheet!

Cling Sheets
5. Cut away the corners at an angle and then fold the vinyl in like a Christmas present corner. Tape securely to the back. (don’t worry, you are not going to see it anyway)

Vinyl Corners6. Add the sides.

Side Pieces

These are great for tucking in papers and paint chips and such. Measure out two pieces of foam or cardboard as wide as you like, but exactly the height of the blotter.

Side Pieces Measured

Measure out the map paper so that there is a few inches hanging over the ends.

Cutting Side Pieces

7. Position the side pieces, spray glue them, and then fold the ends over the edges and secure to the back with tape or glue. (The only thing I would have done differently would be to fold three sides over the edges to give it a cleaner look. The more you know…

Side Pieces Taped

8. Measure out a piece of backing to finish the reverse side.

Backing Paper

You can use paper, fabric, mat board, anything you would like, but remember, you are not going to see it anyway. If the surface is delicate or scratchable, I would definitely go with felt or fabric for softer protection. Glue the backing to the foam board, covering up all the messy folds and tape.

Glue on BackingAnd …

Blotter Completed

9. Voila! You have a customized, durable blotter for your desk! Have fun customizing it to your room- the skies (or the heavens) are the limit! Have a terrific Thursday, everyone! Susan