A few weeks ago, I started a mini-reno on our downstairs half-bath. Well, it started out as a mini-reno…

While that project is still ongoing and will be unveiled shortly, my Big Rack Attack Towel Rack project is ready to share with the world! Having seen them used for decorating, both in print and on TV, I had been searching endlessly online and in stores for a white porcelain deer head to add to an old tabletop (you’ll see…) without much luck. Everything was either too big, too small or too pricey to use for a budget bathroom remodel. It didn’t make sense to spend more on an decorative accessory than we did on the new toilet. So, while in Maine a few weeks ago, I grabbed this one in a flea market for three bucks and thought “perfect!”

Apparently this is intended to be stuck to the outside of your car window so that it appears he is busting through the glass. Is this 6 inch buck head with the super cute face supposed to be scary?! And who would be driving around with a deer crashing through the window anyway? But instead of hanging him outside the window, this little guy enjoyed the ride home on the dashboard in the blazing sun to soften him up so I could reform his antlers, because they were a little smooshed together.

So while he was basking in the sun, I stuck a hair clip between the antlers, then allowed them to cool and we were good to go. So here’s the how-I-did-it:
Making a Big Rack Attack! Towel Rack From An Old Tabletop and a Plastic Deer Head
1.Used a decorative piece of wood for the base. In this case, it was a small cherry tea table top without any legs. I cleaned it, then taped off the center for a decorative painting technique.

2. I wanted an aged, colorful middle, so I grabbed my folkart crackle medium. To create a crackled finish, you paint the surface using an undercoat, whatever color you want to appear through the cracks, in this case white. Then you paint on a layer of the folk art crackle paint medium,

then add the top coat. The crackle medium makes the top coat crack apart, instantly aging it like 100 years easily.
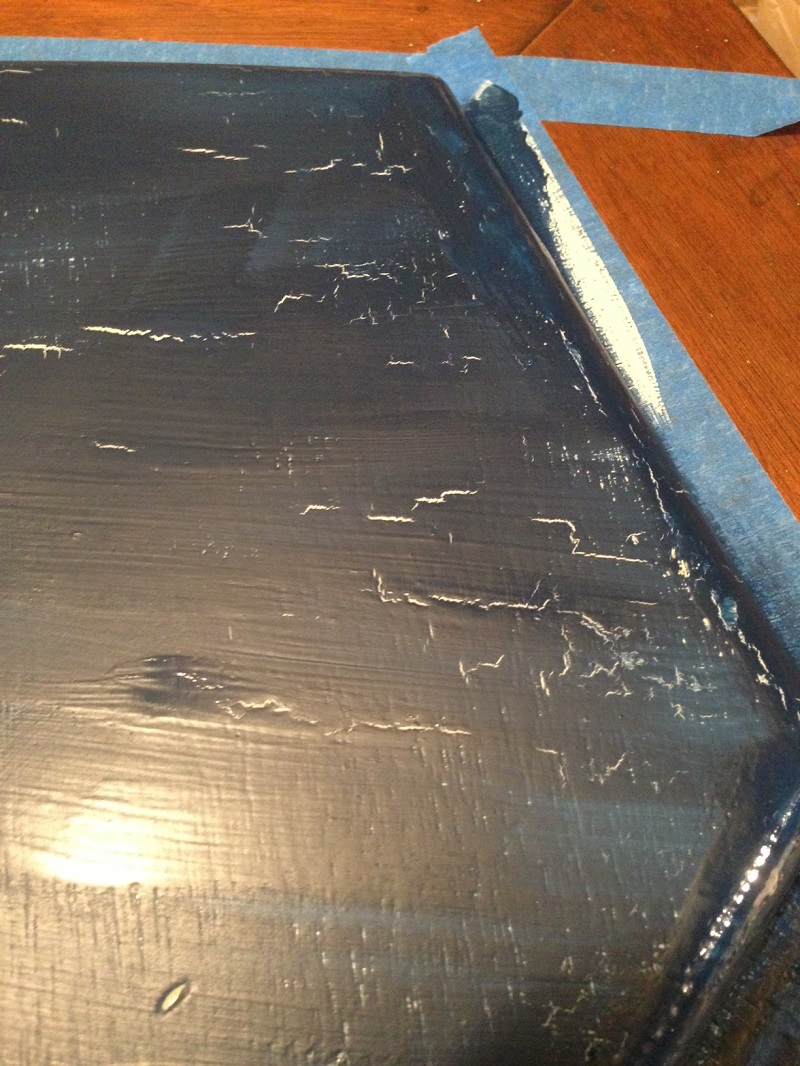
This top color is Behr Midnight Dream , a color I chose to co-ordinate with the new bathroom color scheme. 
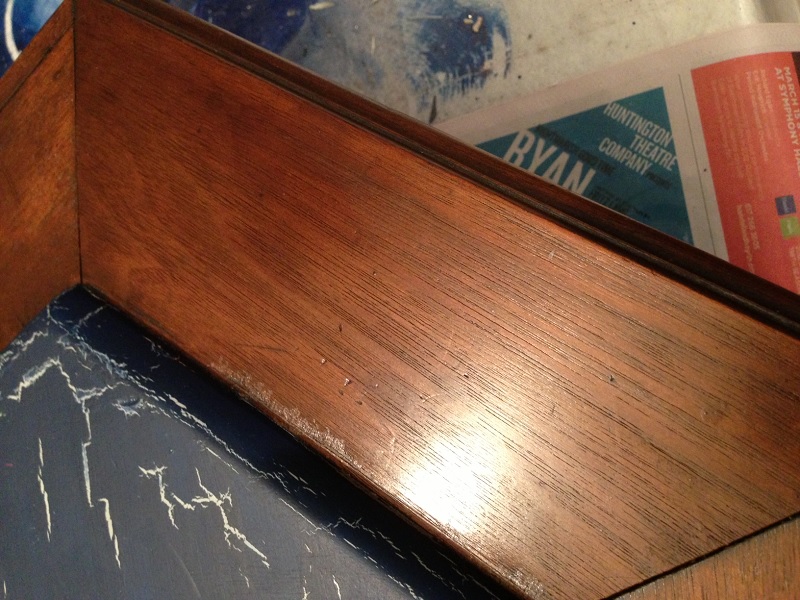
3. Waxed the frame edges to bring back the original cherry luster. Used my Annie Sloan Soft Wax for that. Really brings back that glow in the wood.
4. Propped the buck on something to allow spray painting on all sides. I placed it in an old mason jar, impaled on a screwdriver surrounded by a plastic bag (that’s even worse than crashing through a car window!) Poor deer…

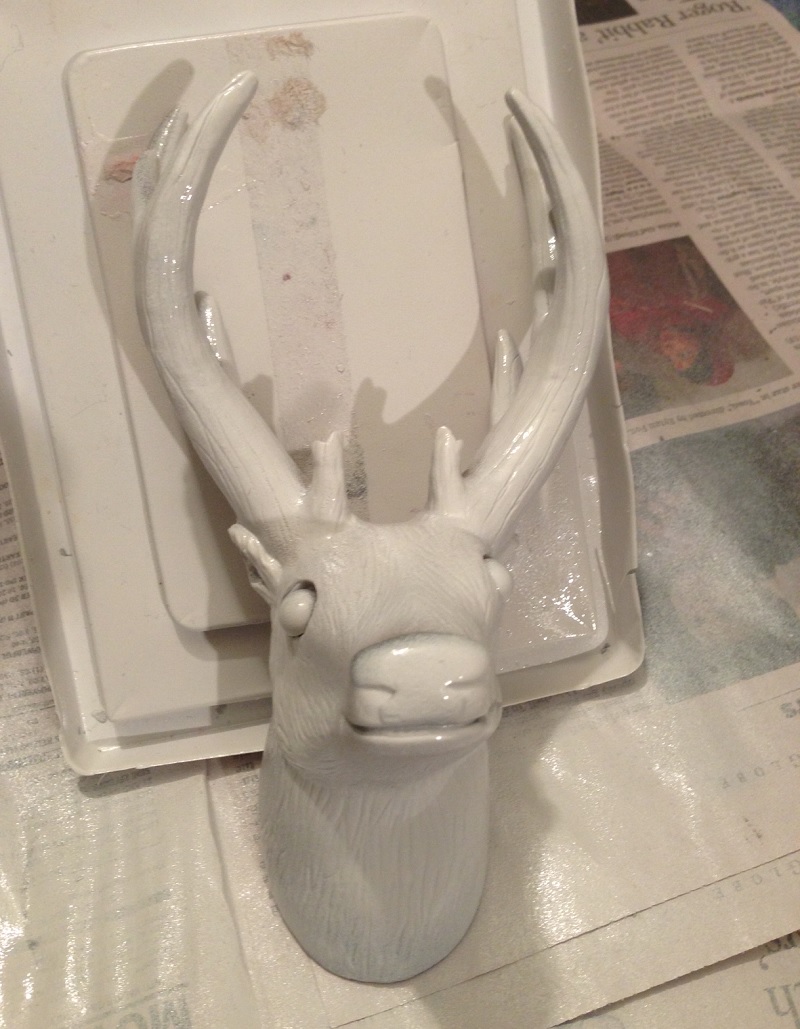
5. Primed first. Since this was plastic, I wanted to make sure the paint adhered well. Used Rustoelum Speciality Plastic Primer.

5. Painted with gloss white paint to give the appearance of porcelain. Used Rustoleum Gloss White which made it super shiny!!

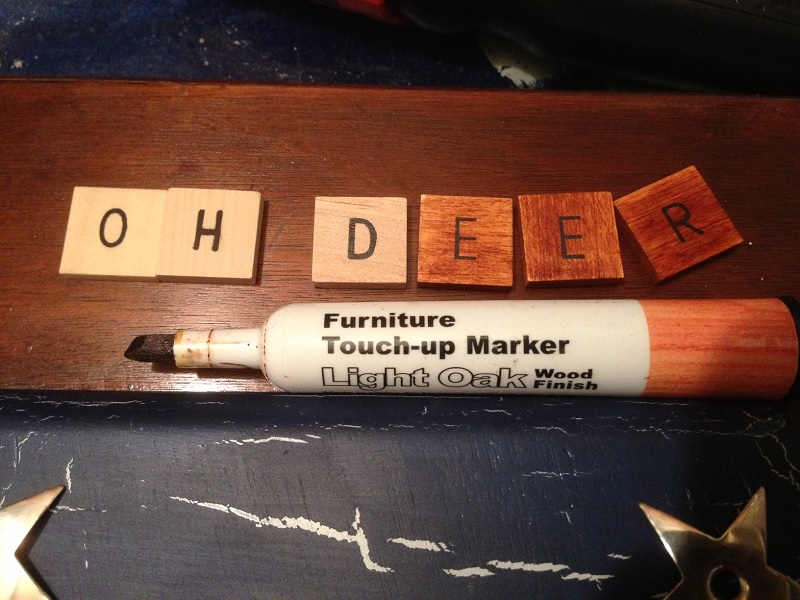
6. A friend had suggested that I use a little brass plaque to give the deer a name or tell the date of his capture. I went with some old scrabble letters that spelled out “Oh, Deer” but use your imagination. The letters were too blonde (is there such a thing?), so I used this furniture scratch touch up marker to give them a little color. Love those pens!!
7. Adhered the deer head to the center of the plaque with hot glue. Now, unbeknownst to me, while all of this had been going on, my amazing children surprised me with a beautiful large white deer head from West Elm for my birthday!! Even David Bromstad said it was a really nice deer. So there’s that.

It’s much, much larger than my daughter’s little guy Bartlet, but he wasn’t scared, so much as just a wee bit worried, perhaps?

Unfortunately, the big buck was so big it didn’t fit in the middle of the plaque! So he has to go back to whence he came, West Elm, and since they don’t have any more of the small ones, we are going to shop for another beast instead. A rhino, perhaps? Who else would have a rhino in their bathroom? So, I didn’t permanently fixate my little deer head to the plaque, just hot-glued it for now, in the event that he needs to move on to greener pastures.
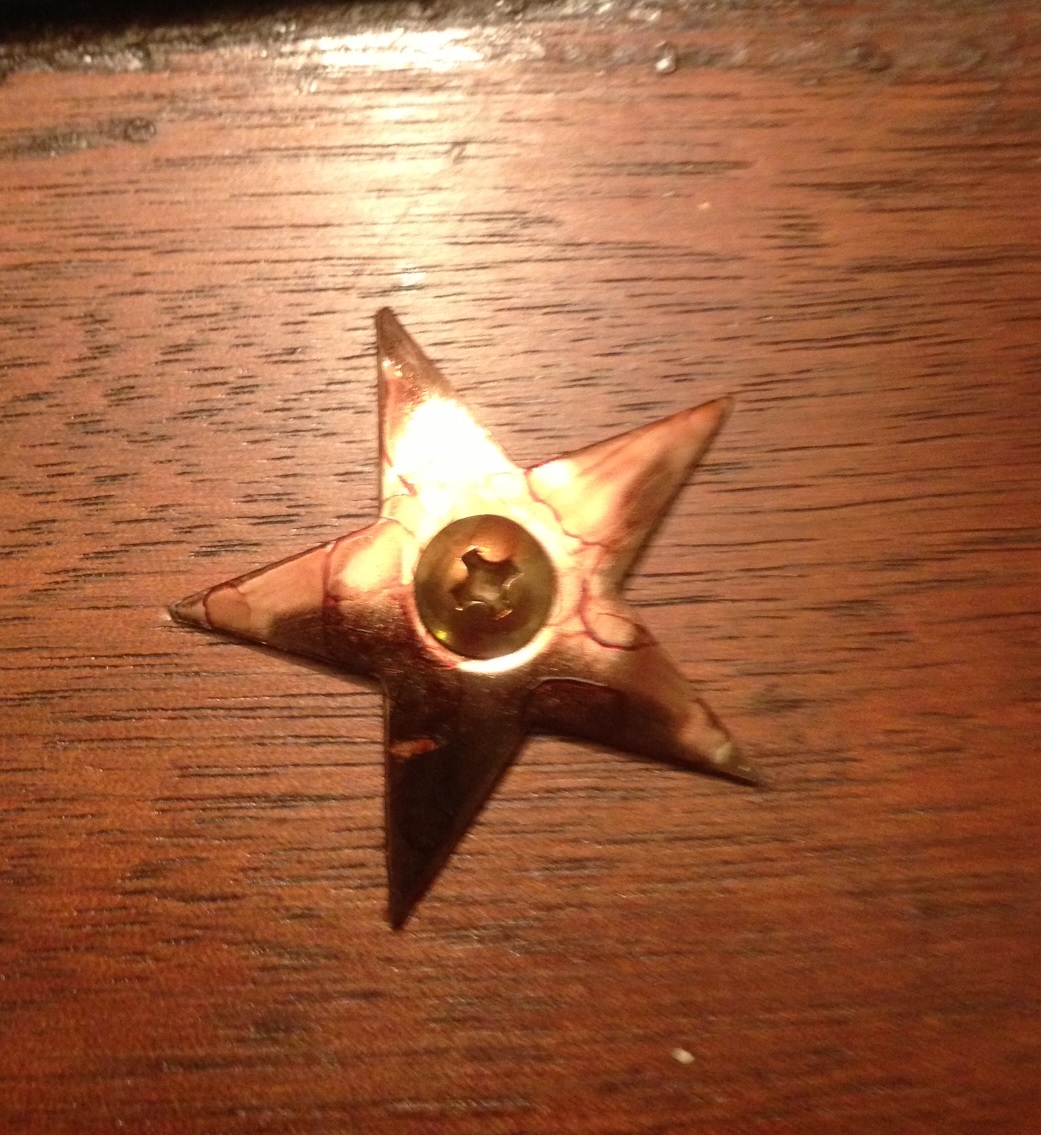
8. I needed to add a bit more rustic glam to my piece, so these metal stars were perfect. Again, used the stain marker pens to change the stars from silver to bronze. The result was kind of a mottled look, which was perfect.
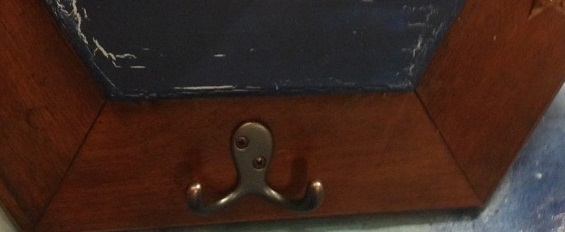
9. Attached the hook at the bottom. This is going to be the guest towel rack in the new bathroom so it needed a hook or two.
10. Stood back to admire my new Big Rack Attack Towel Rack!!
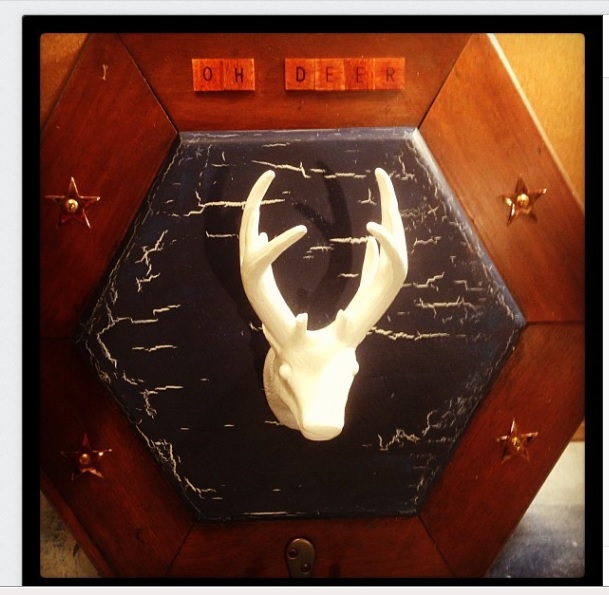
So, next time you stop by for a visit, you’ll be hard-pressed not to notice the big rack (insert joke here) Sometimes we just have to take things a little less seriously, folks. Now I just have to finish the rest of the room, seriously. Have a wicked awesome Wednesday, everyone and just remember: If a big rack attacks, turn him into a towel rack! Susan


Are you kidding? This is fantastic! Great job!
LikeLike
Thanks!! It was a lot of fun : )
LikeLike
LOVE it! Jenna @ Rain on a Tin Roof
LikeLike
Thanks! I really enjoyed creating it : )
LikeLike
Love it. Curious where did you go in Maine to shop?
LikeLike
That particular shop was Pa’s Tradin Post in Oxford. I wrote a recent post about several shops we had stopped at in Maine.
LikeLike