It’s A Sign…

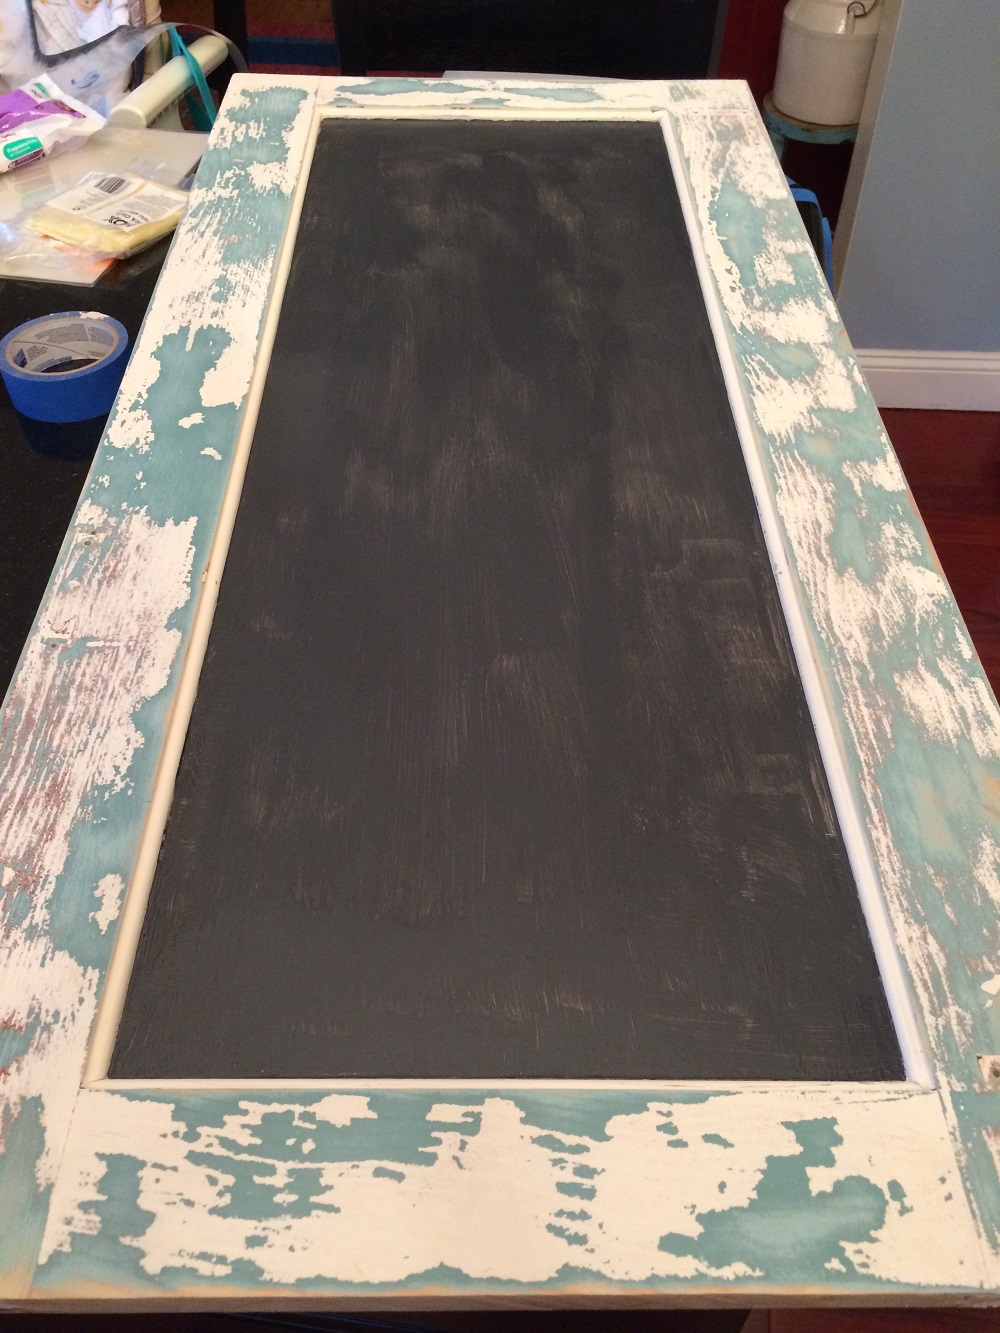
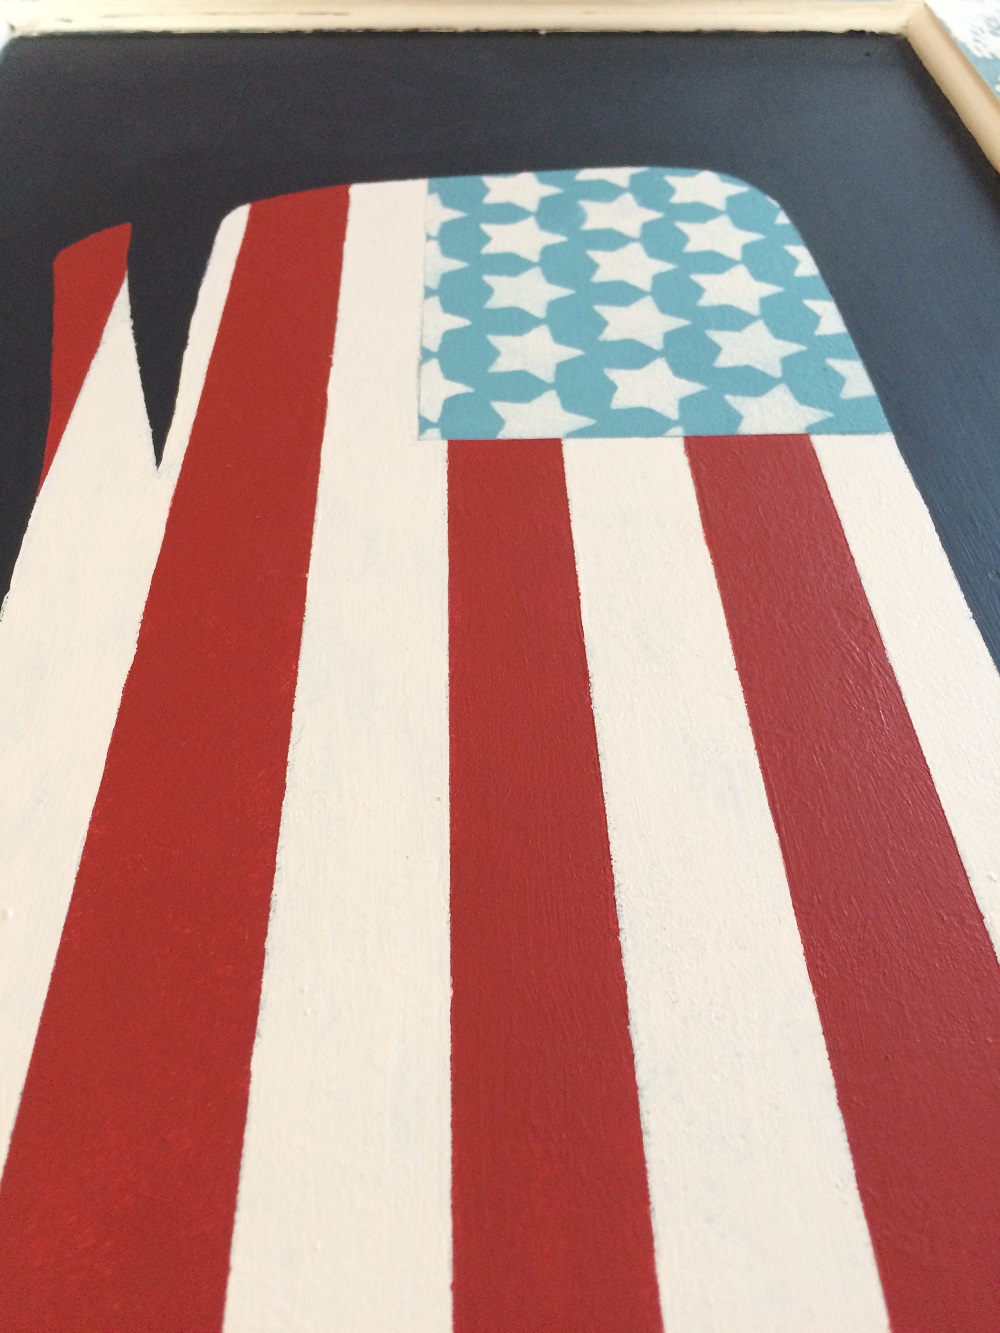
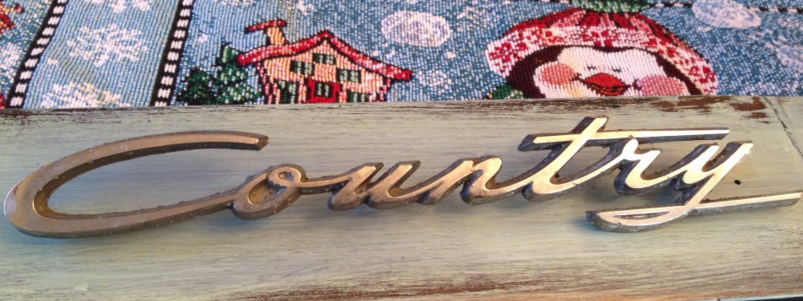
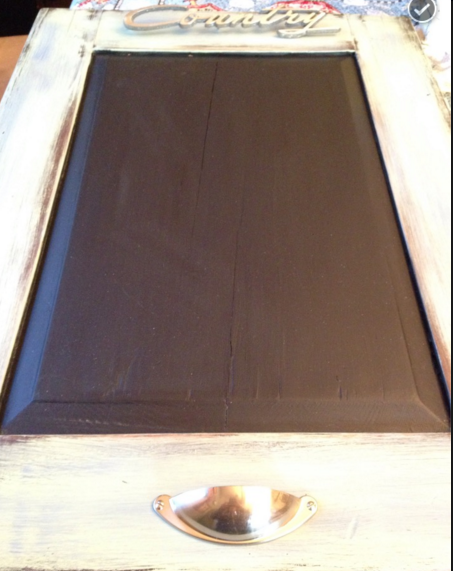
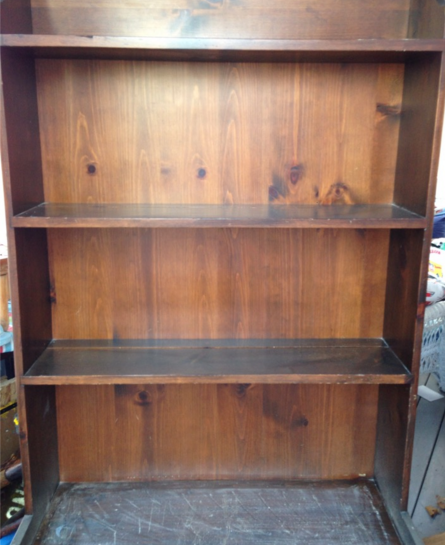
Coach and I have been very, very busy- while he’s been cleaning out his stall in the Barn at Todd Farm and finding new homes for his “junque”, (more about that later) I have been working on my block-printed signs.

Holiday Signs Country Design Home

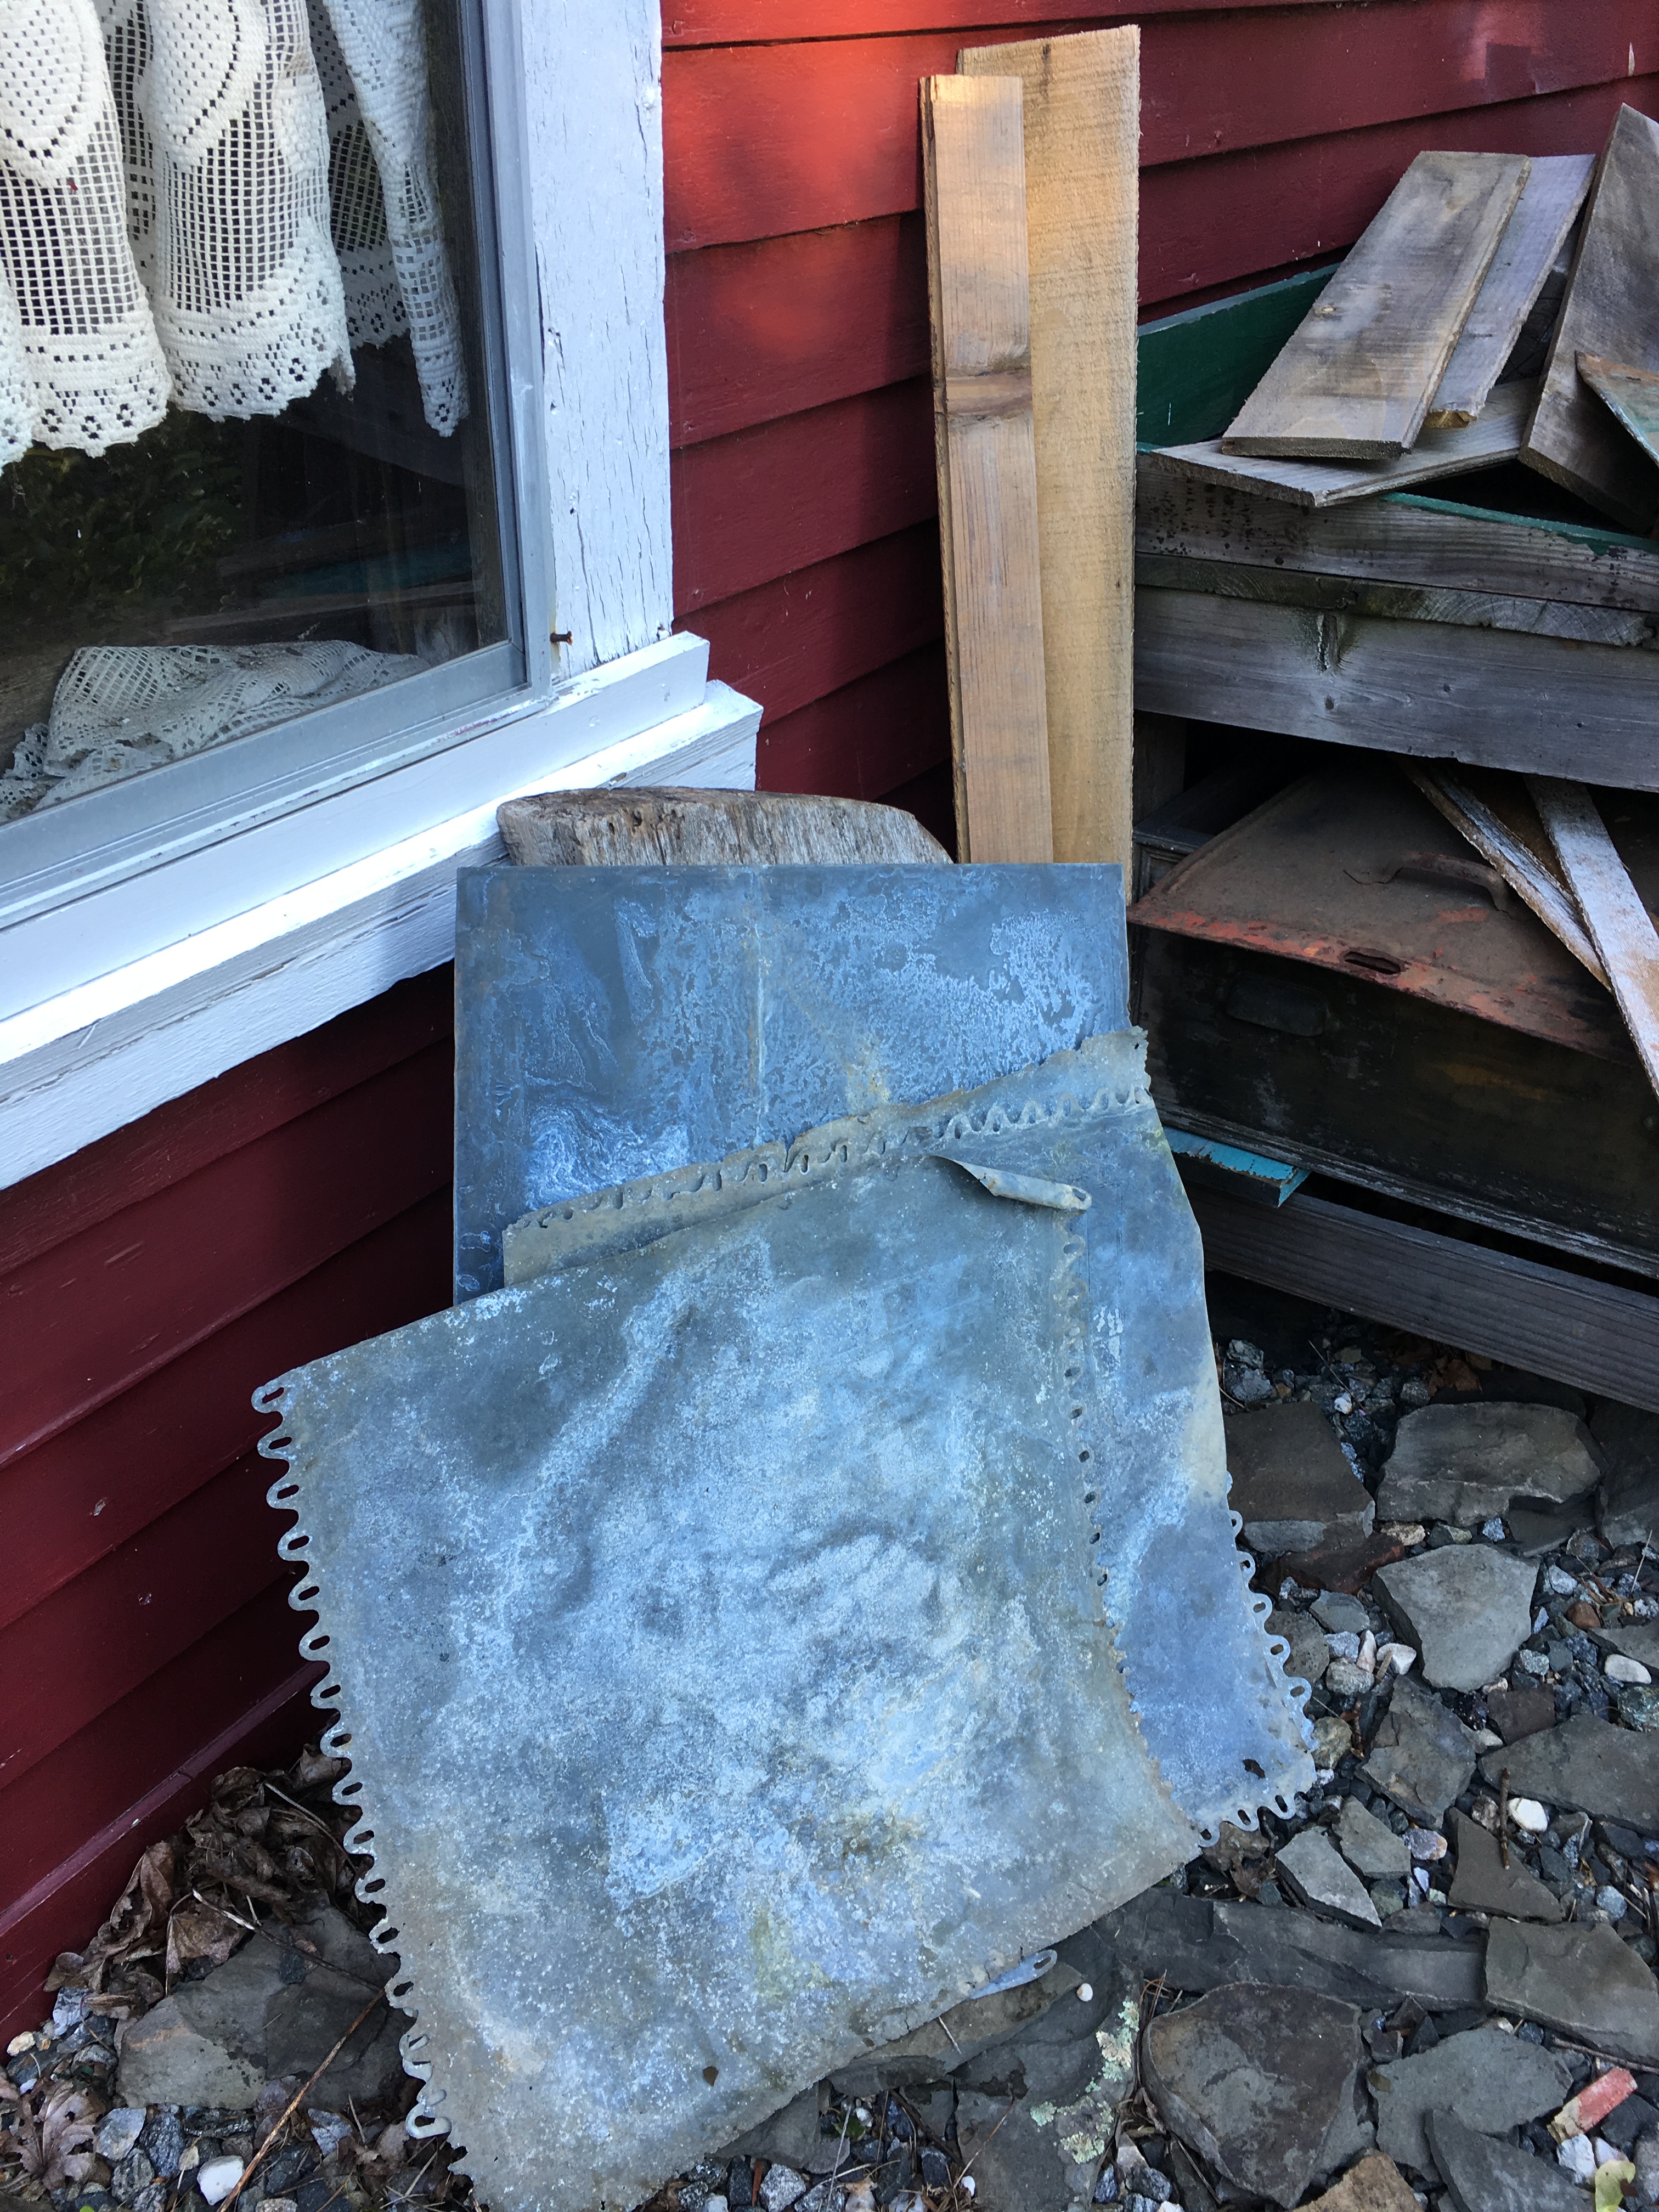
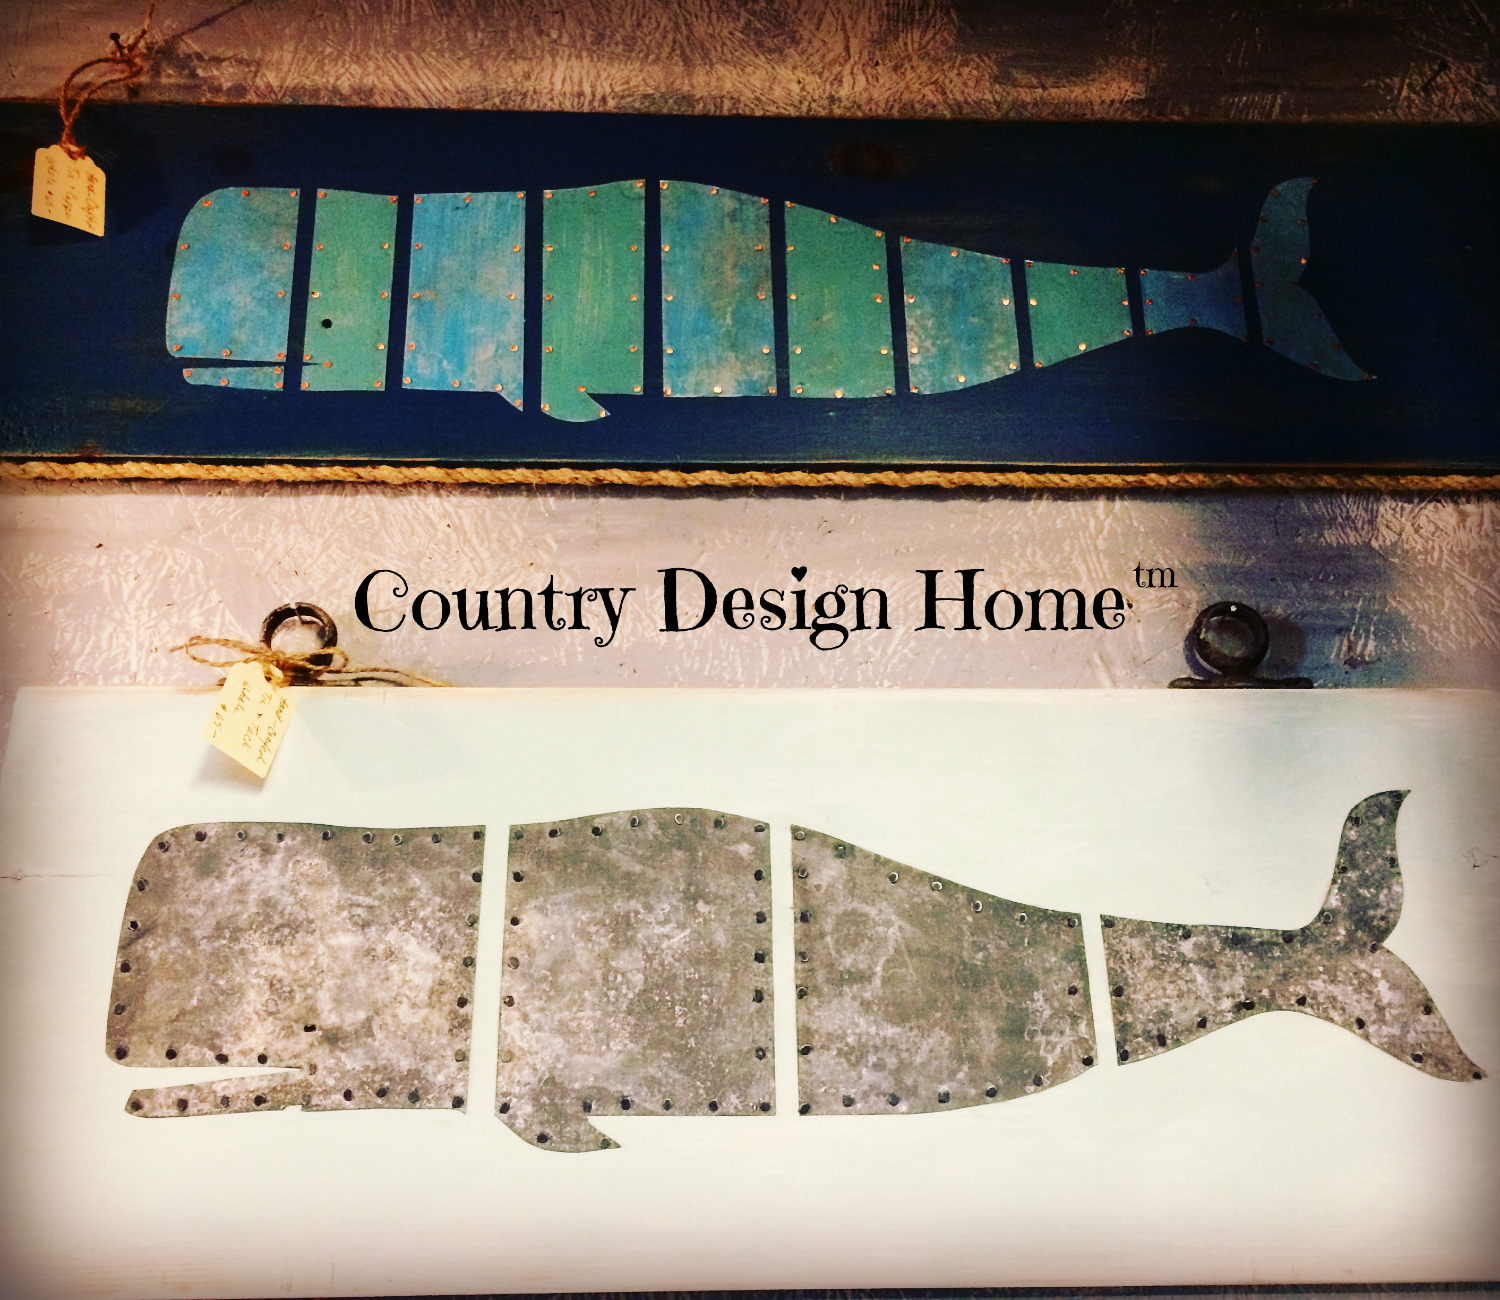
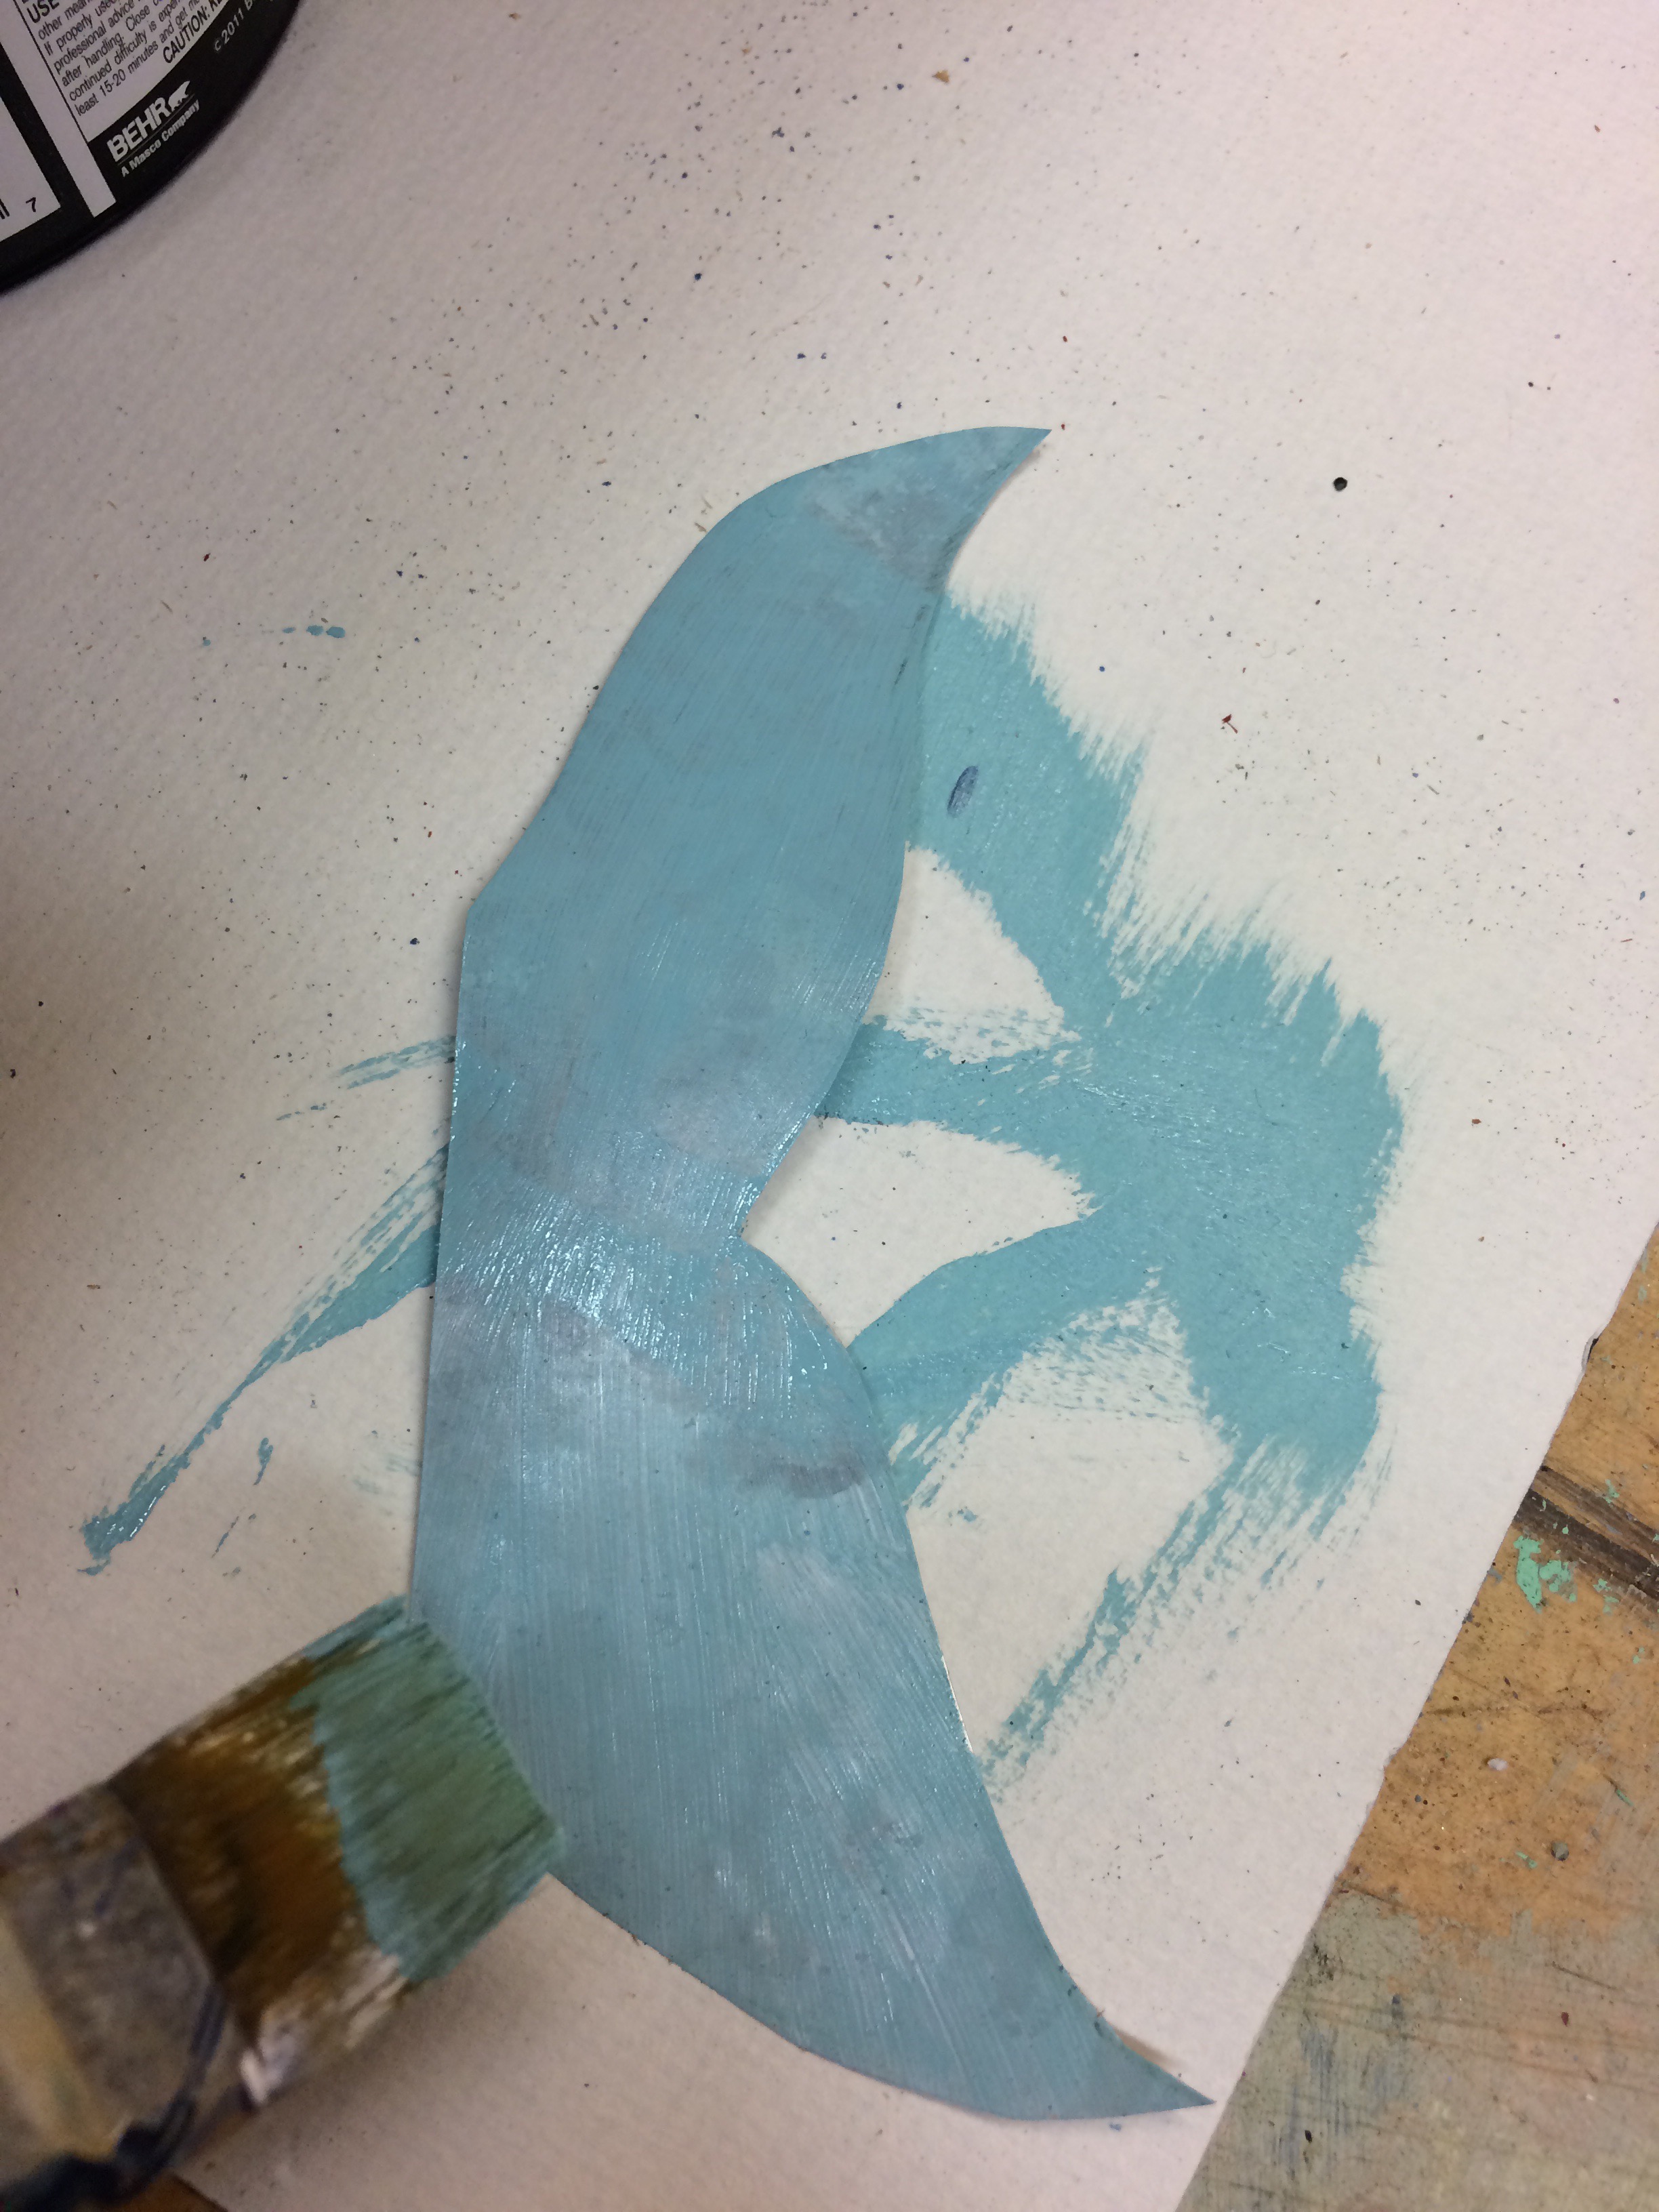
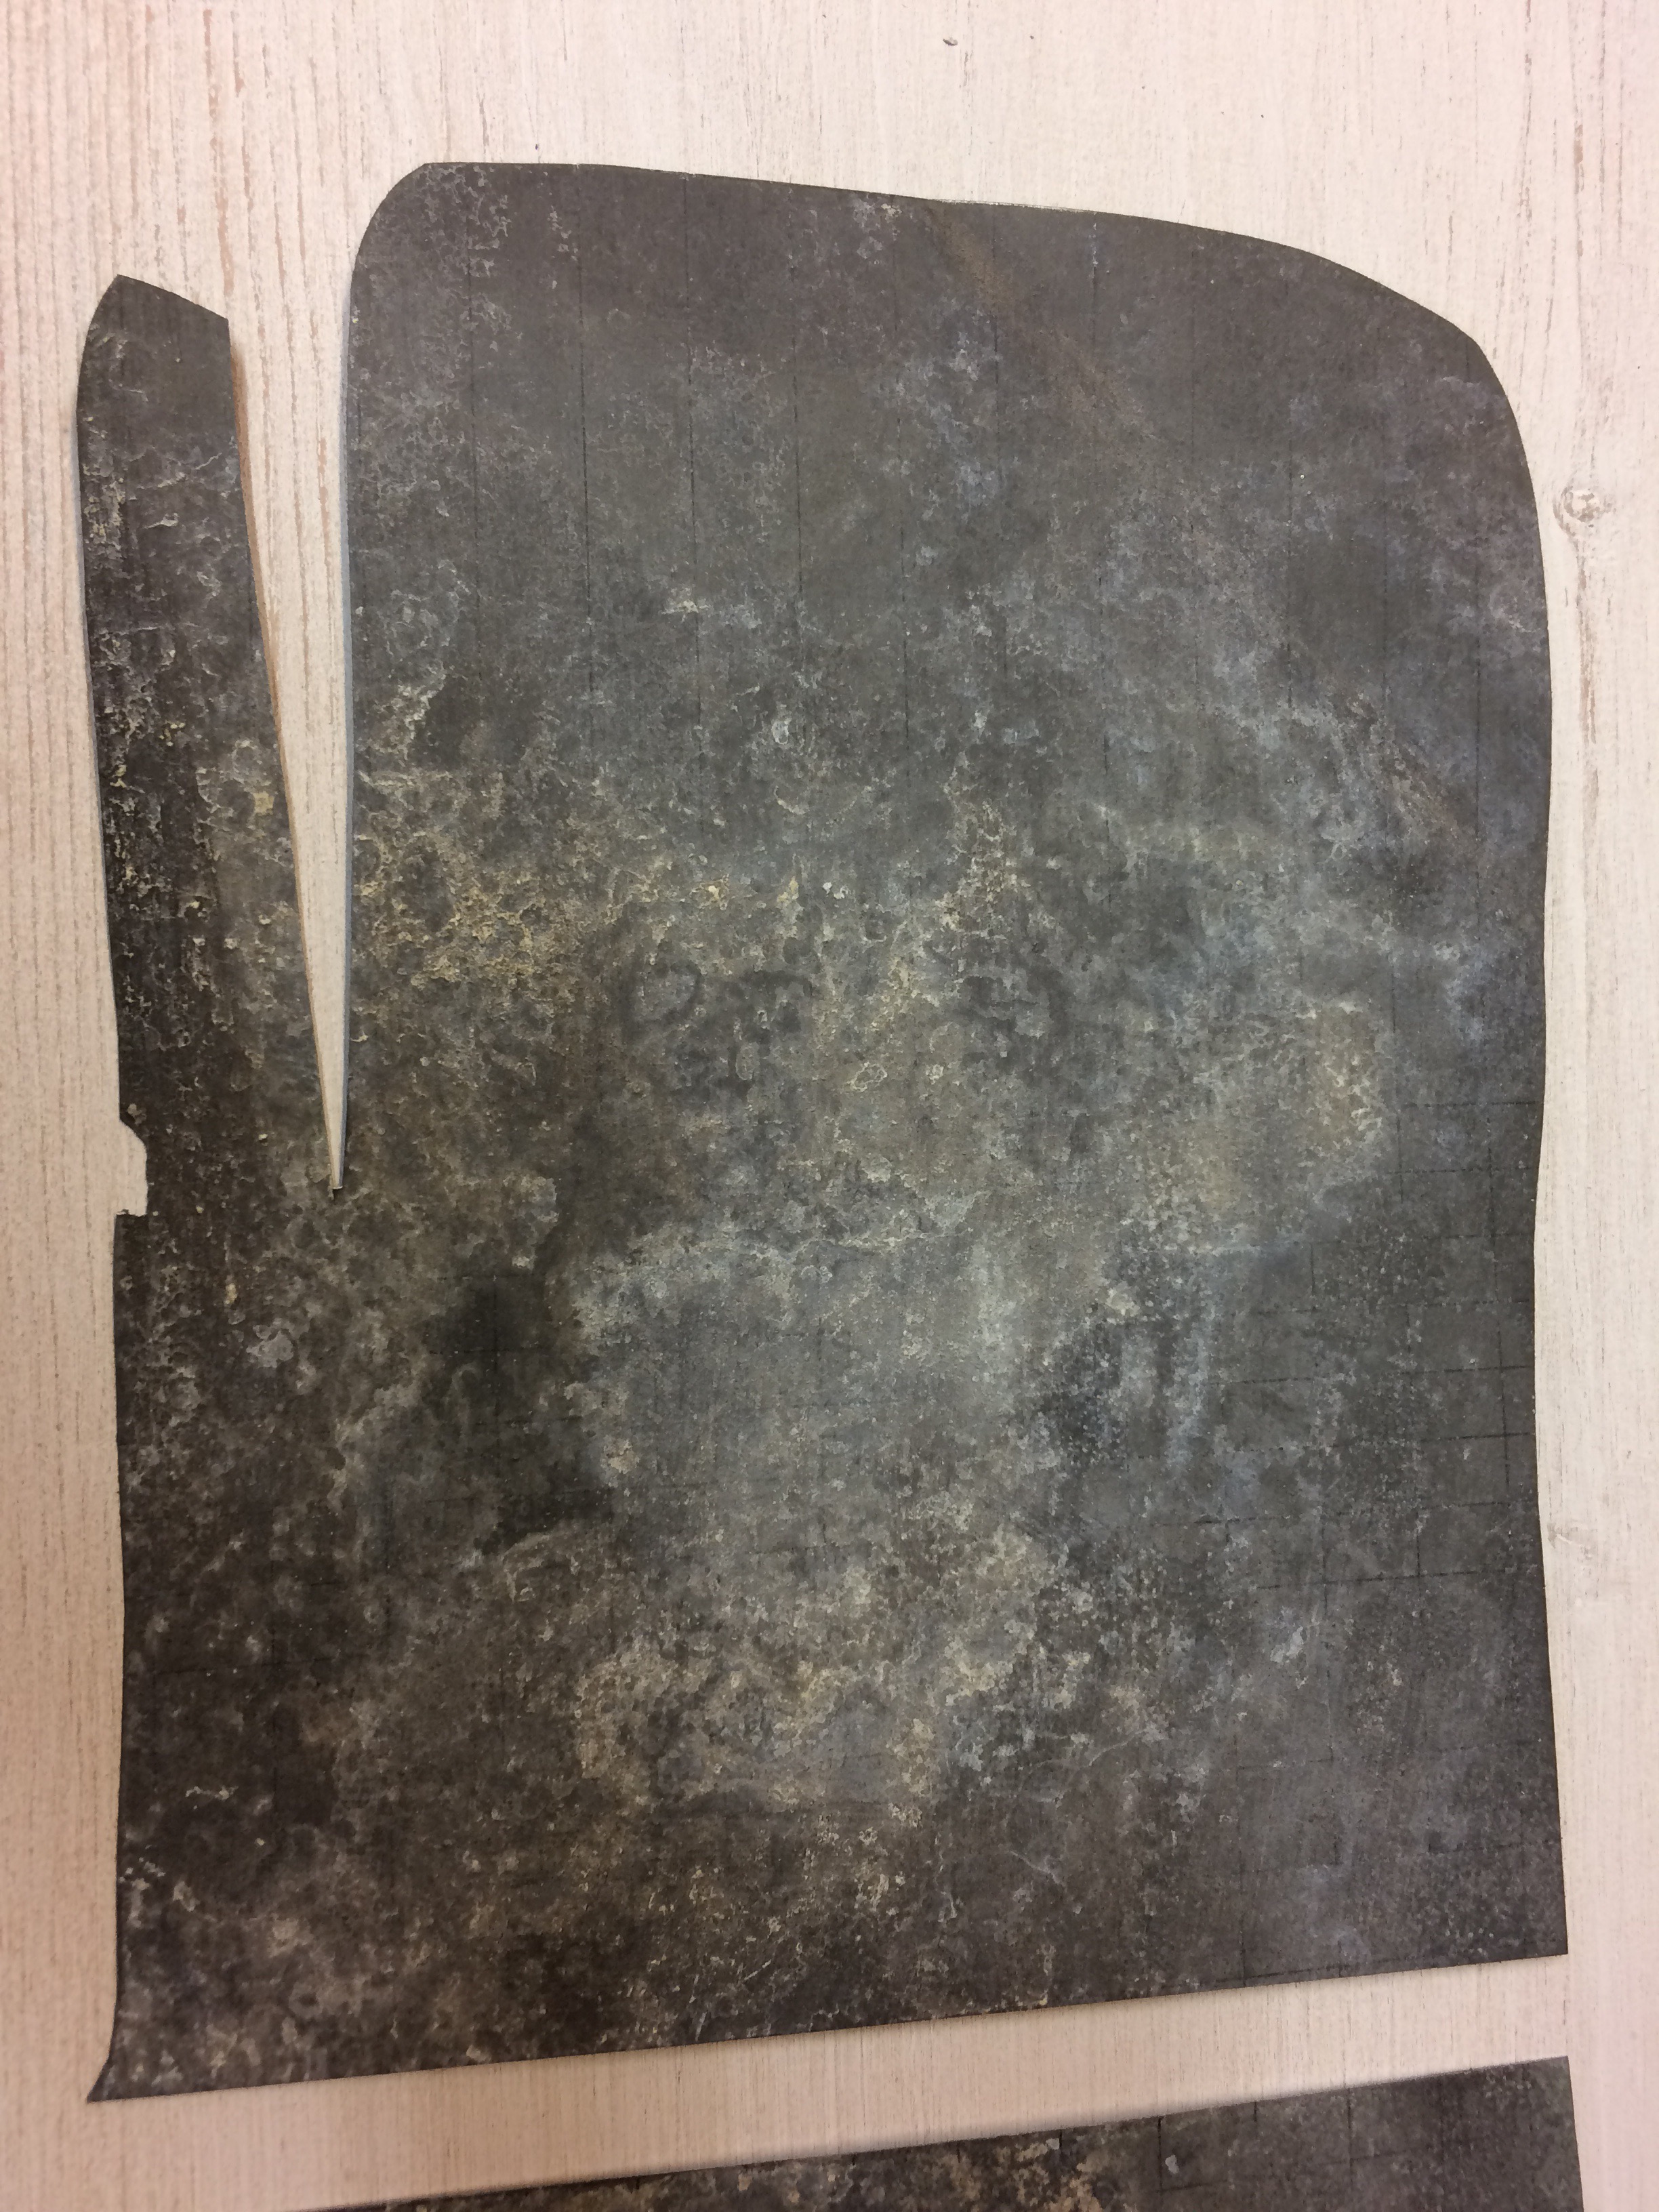
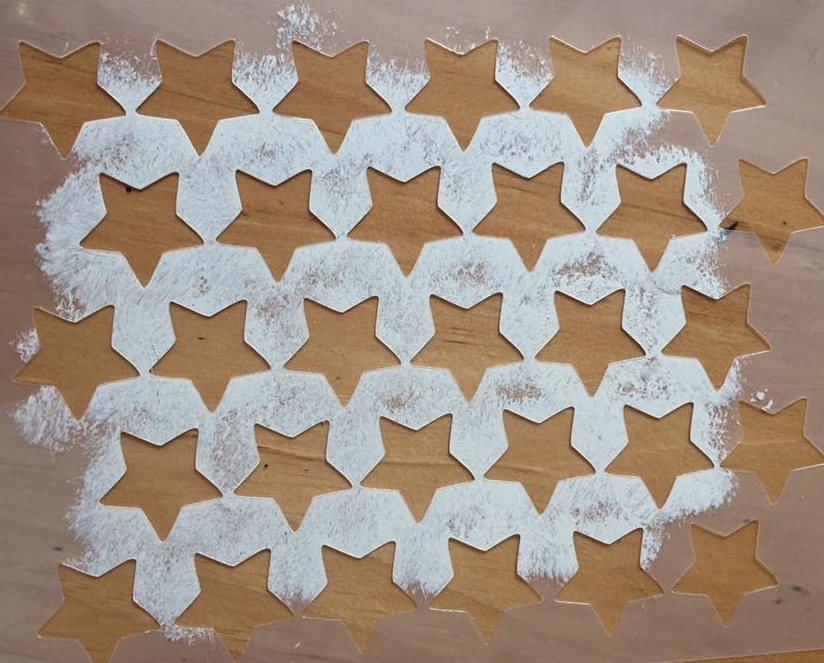
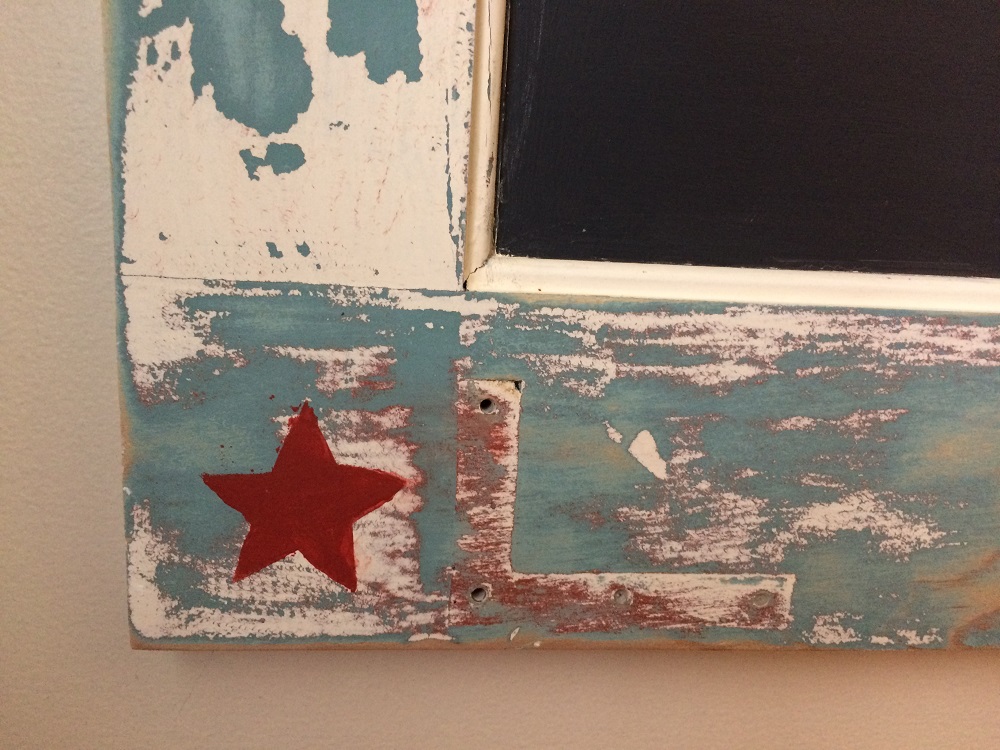
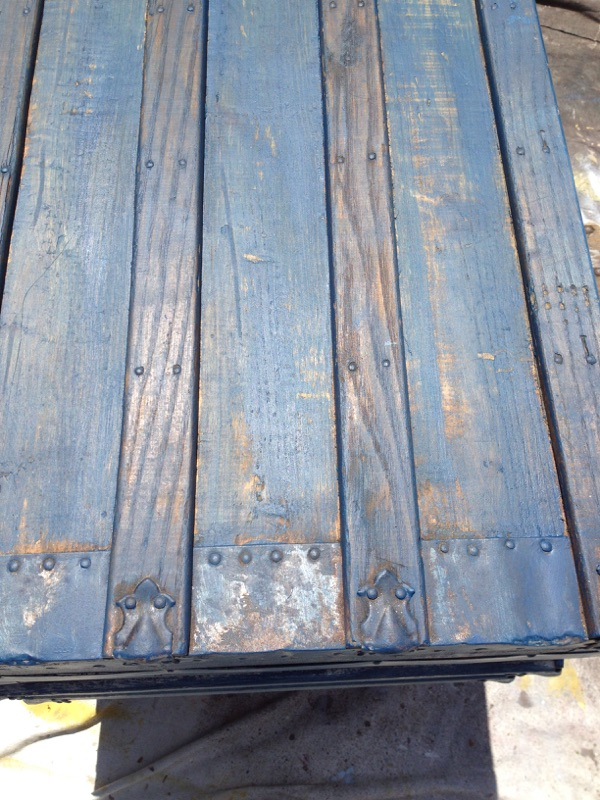
I have shared them on my Facebook Country Design Home and Instagram pages (NOT the actual DIY instructions, because that’s my secret : ) The signs are completely hand-crafted, by me, and are built using the reclaimed wood from antique crates used by a c.1800’s Boston shoe company.

Allen Shoe Co Boston Crate

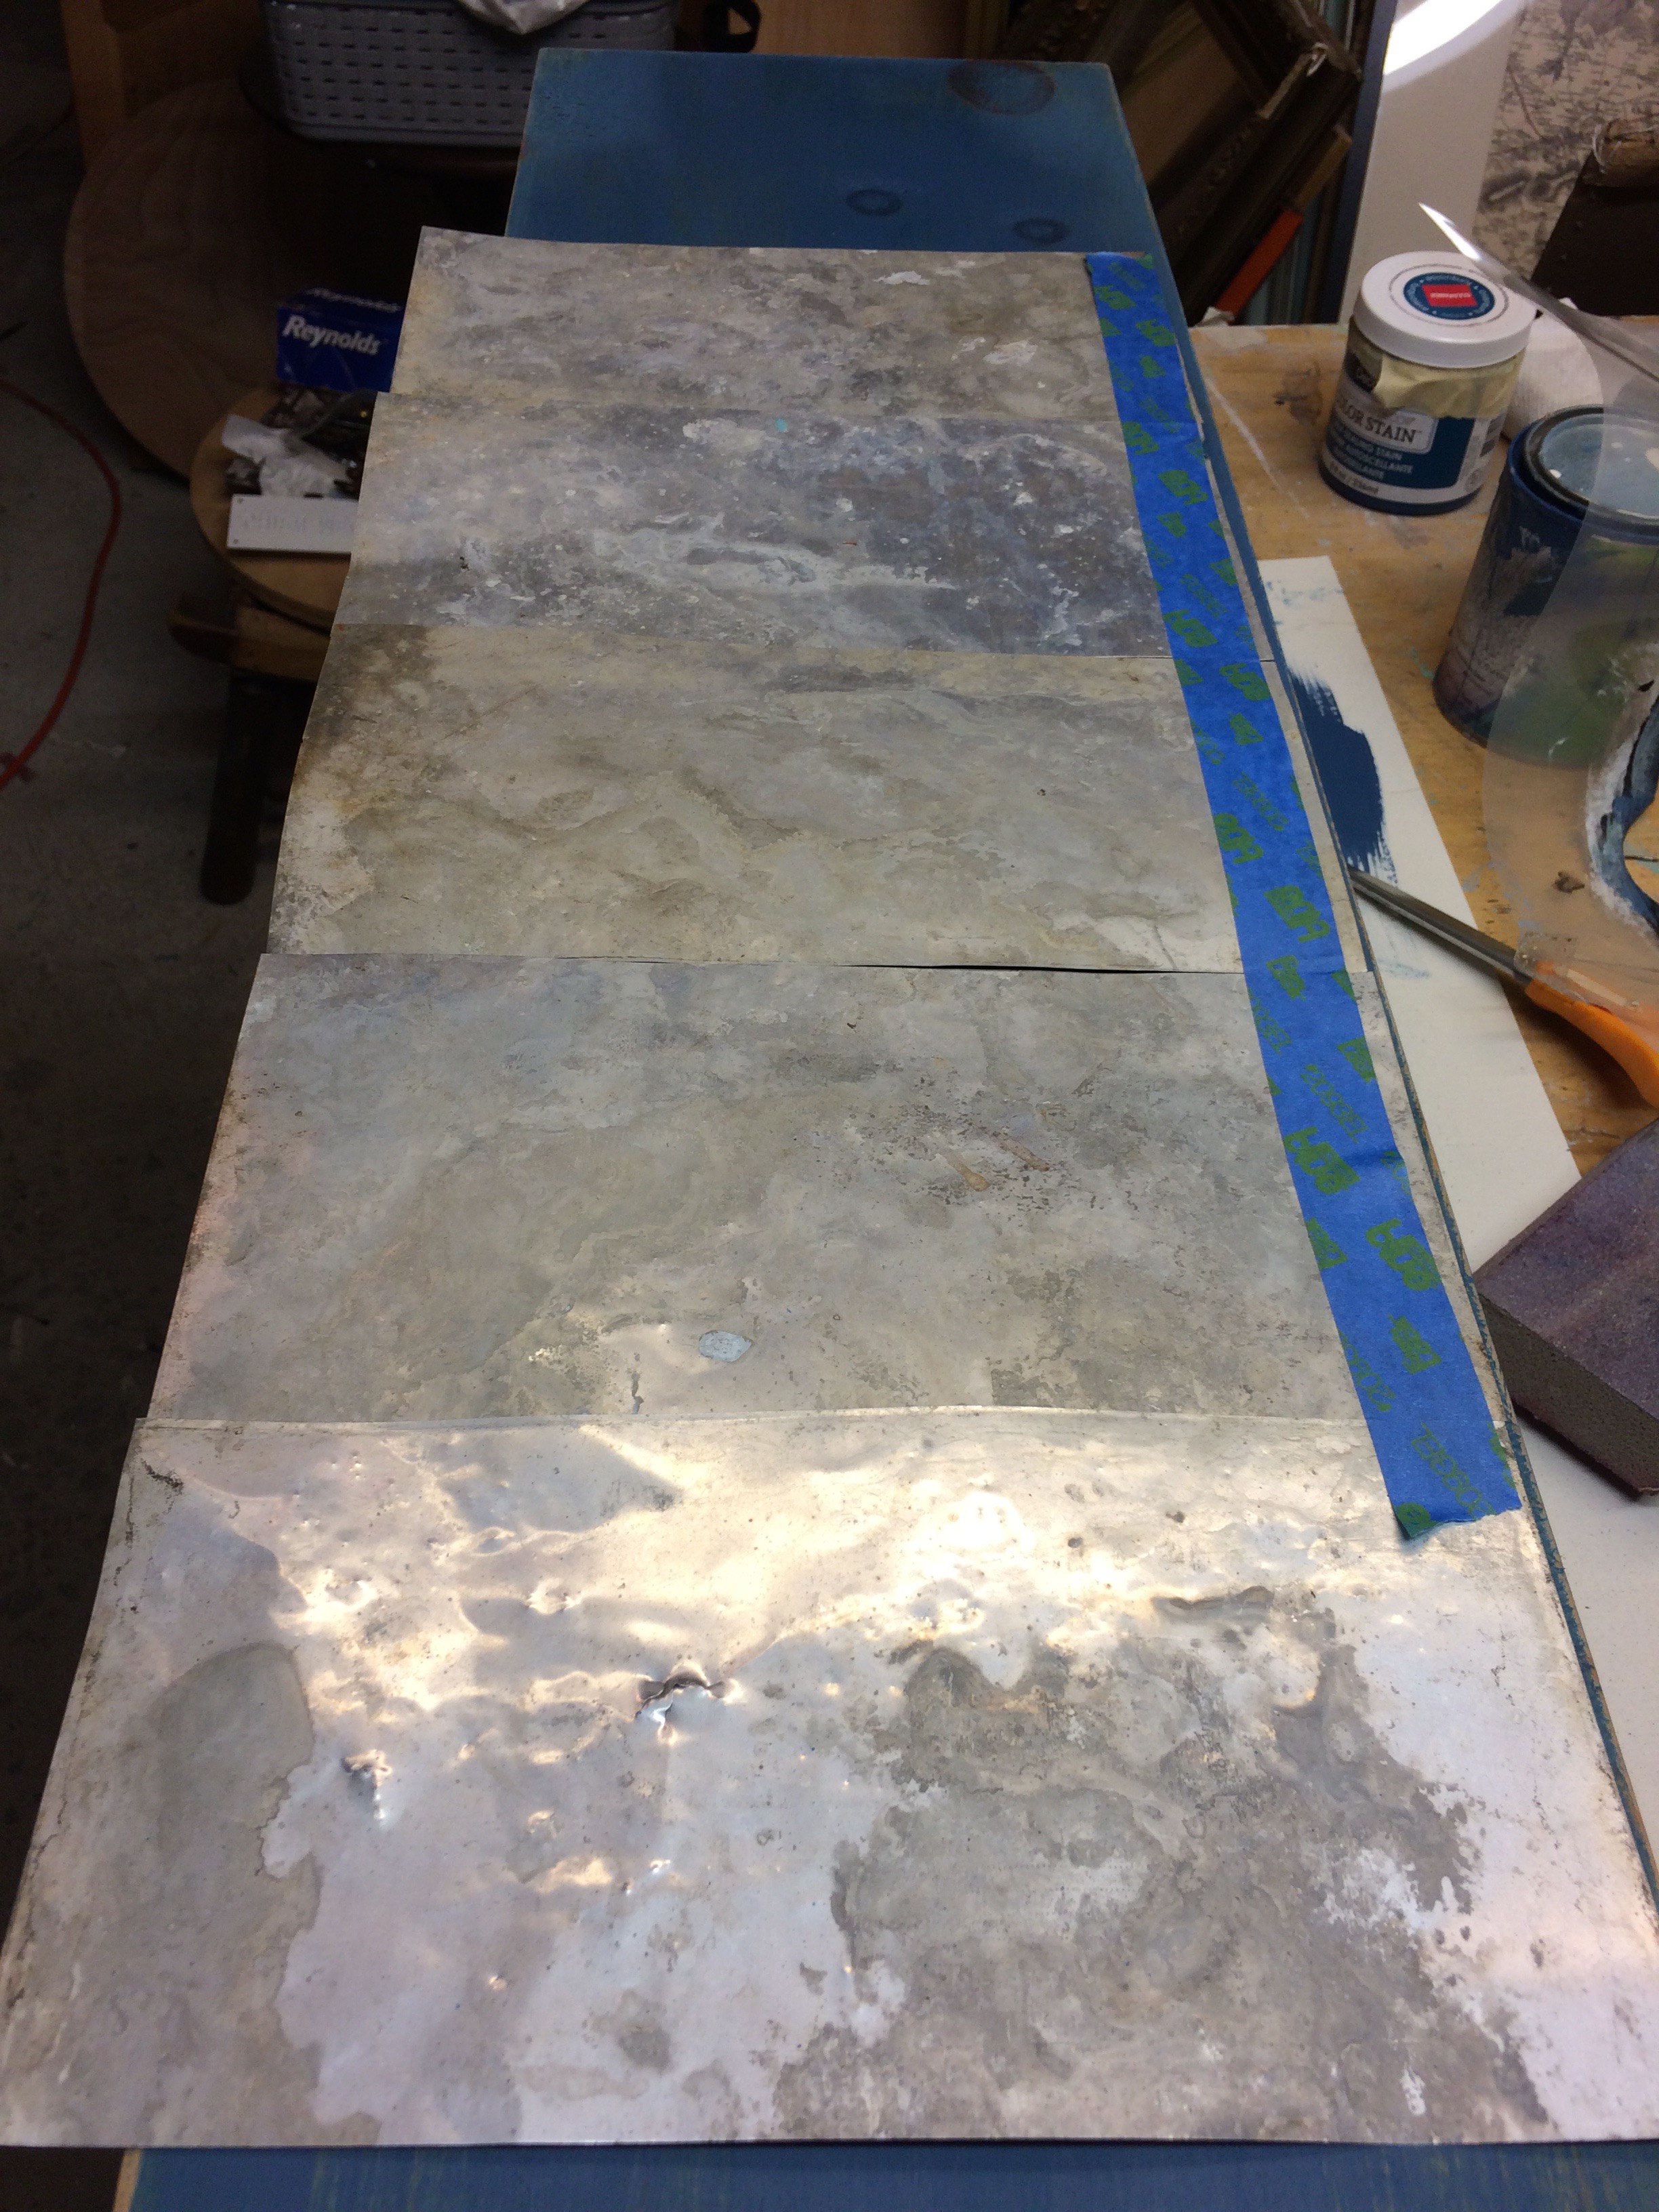
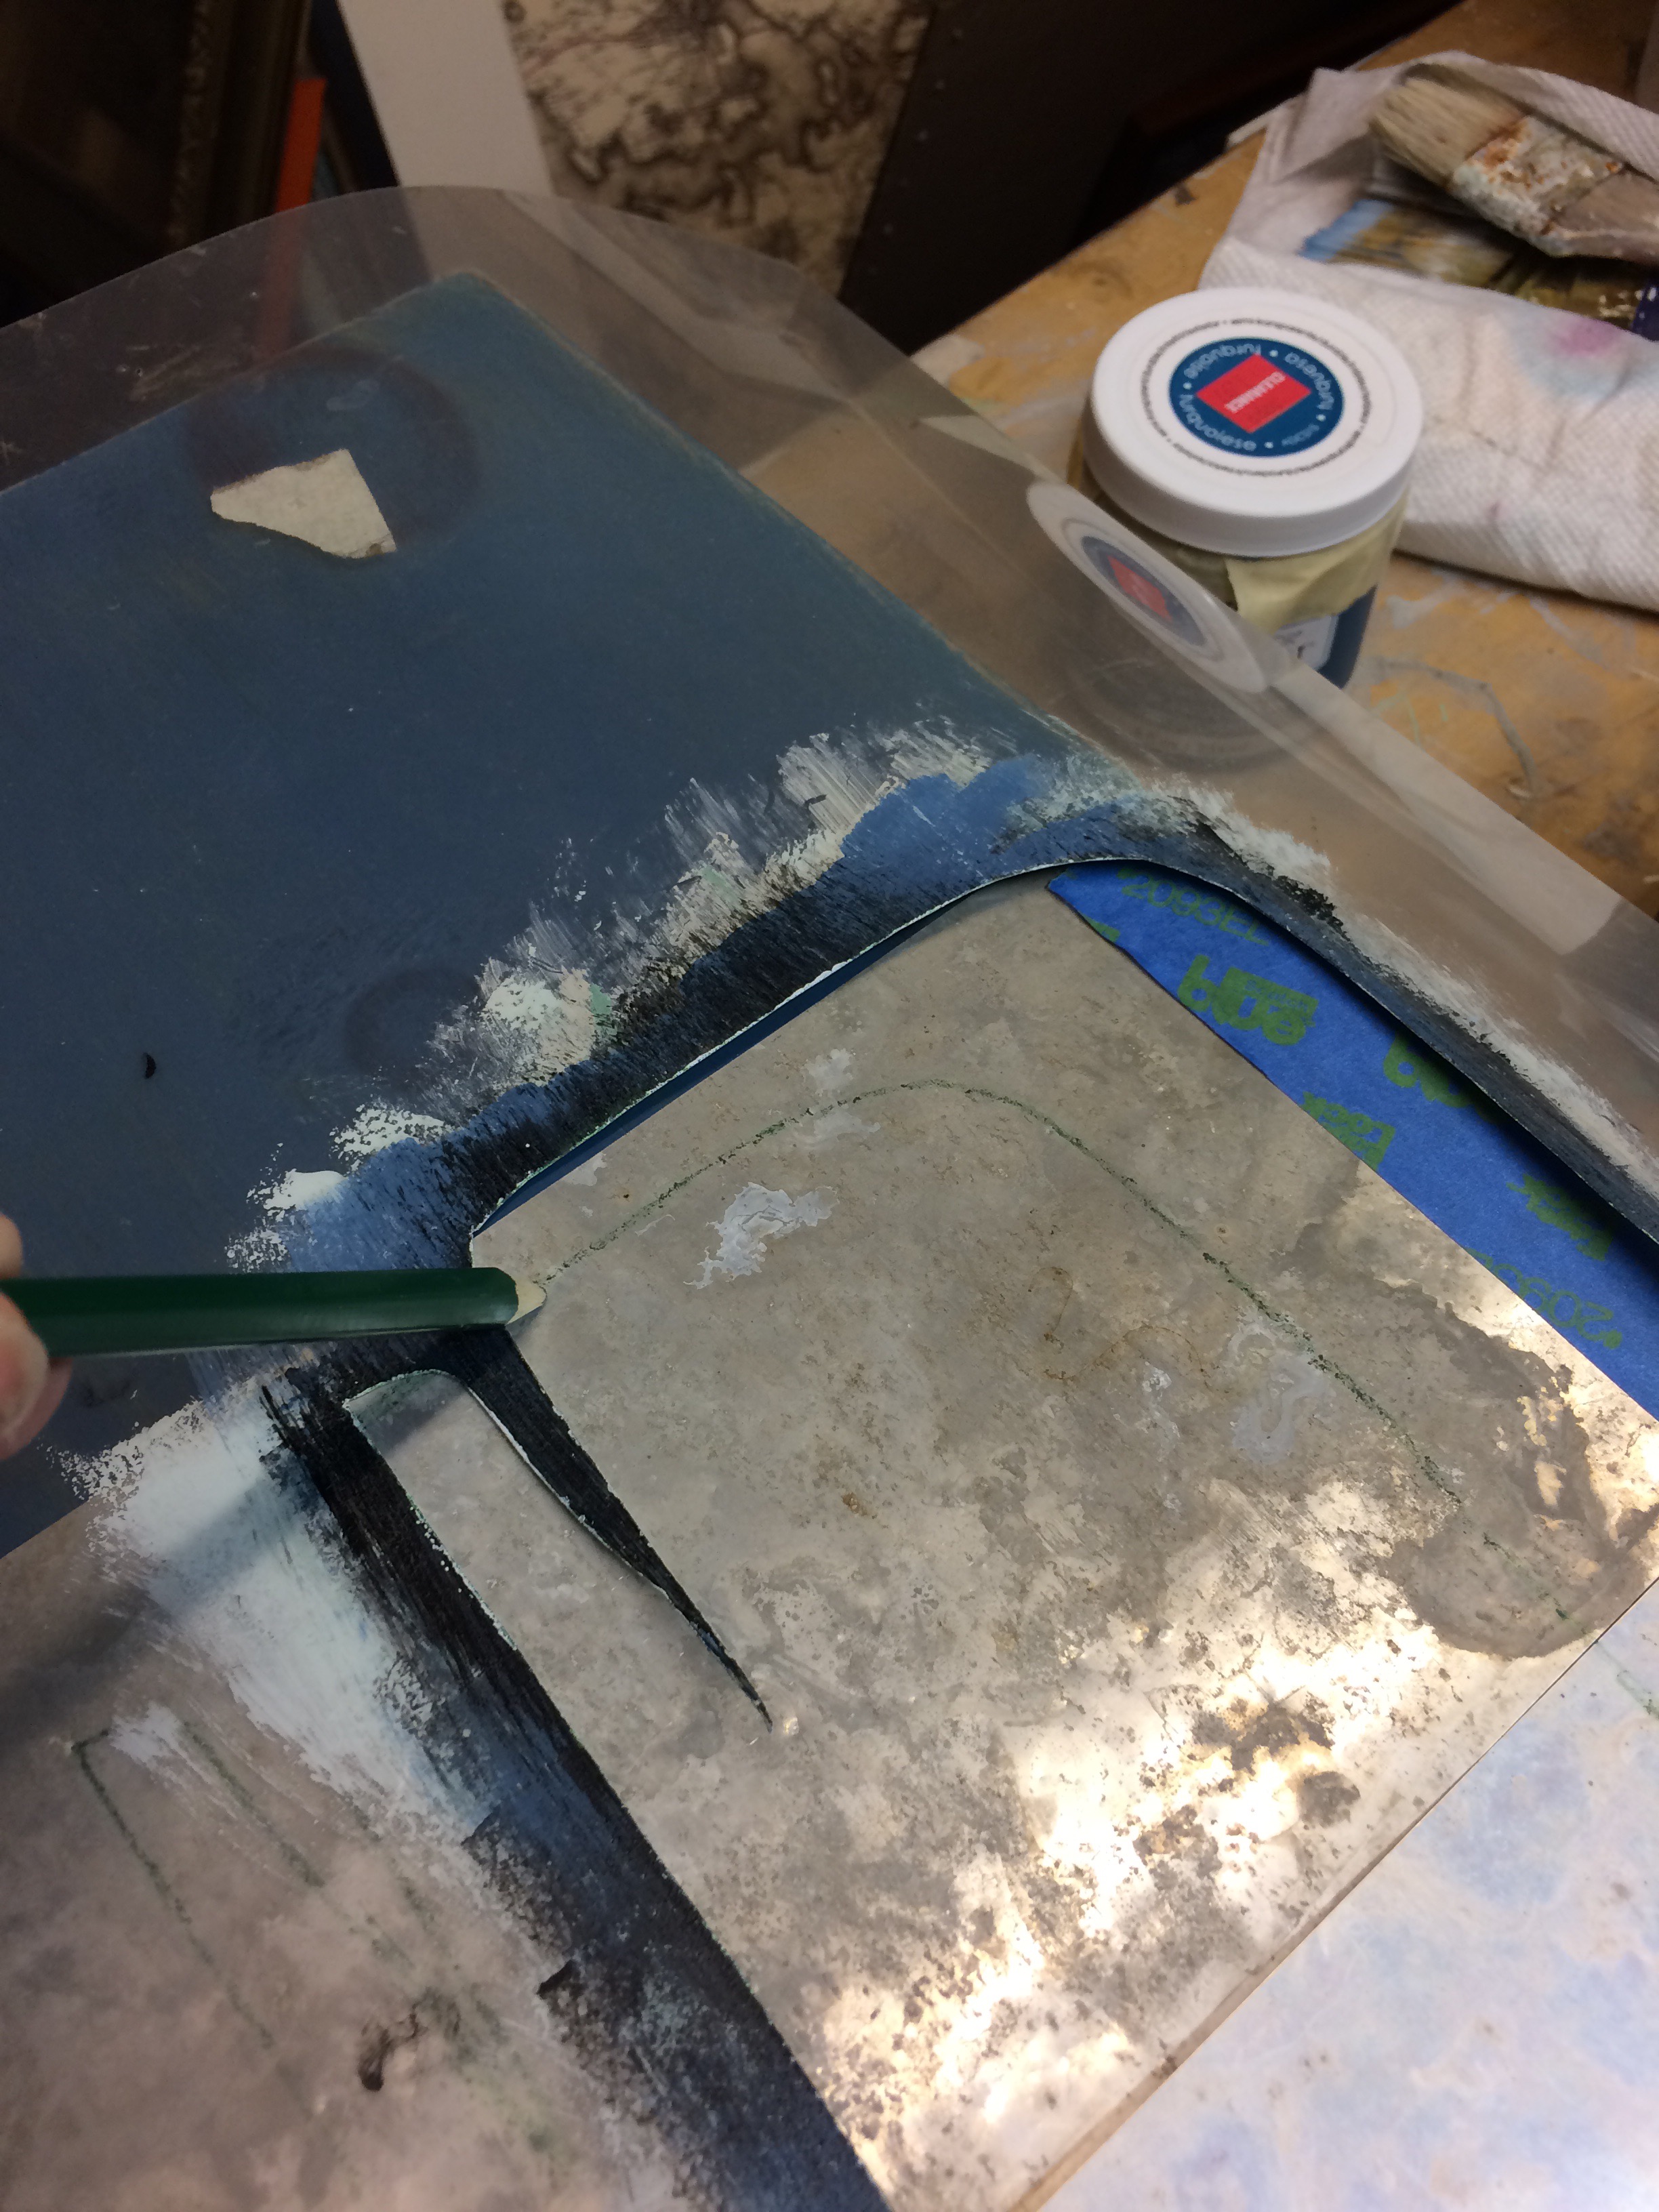
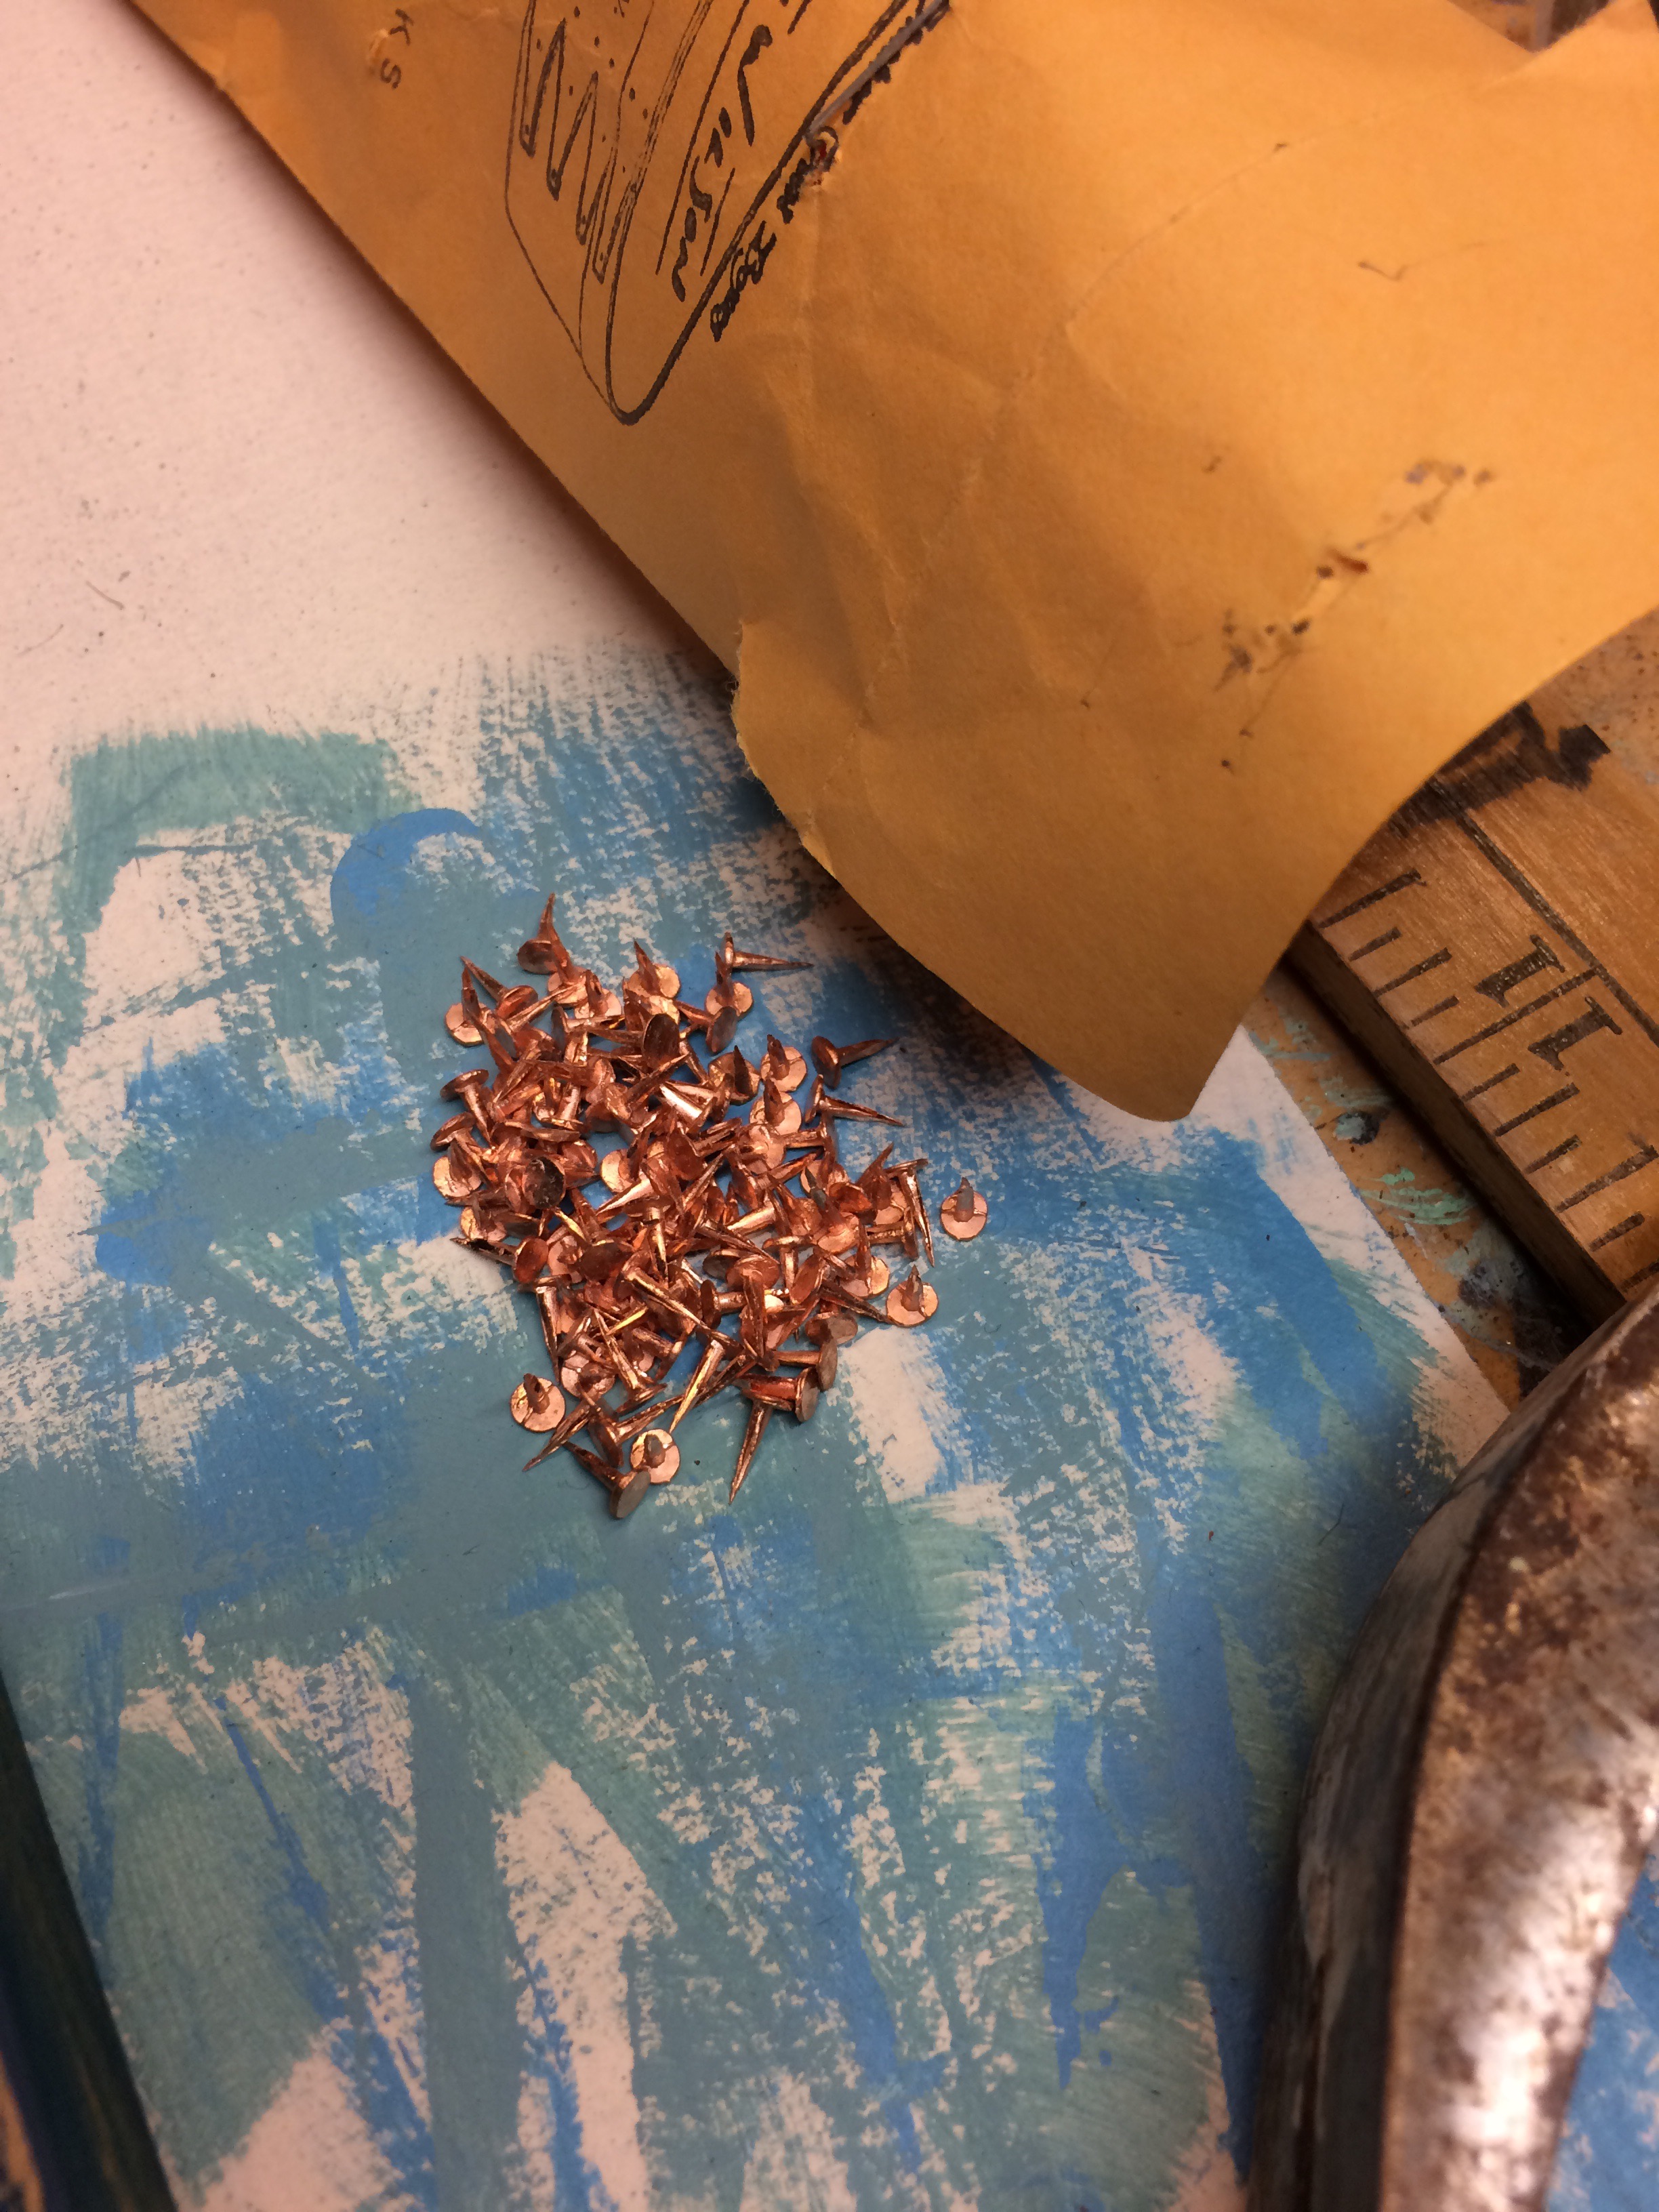
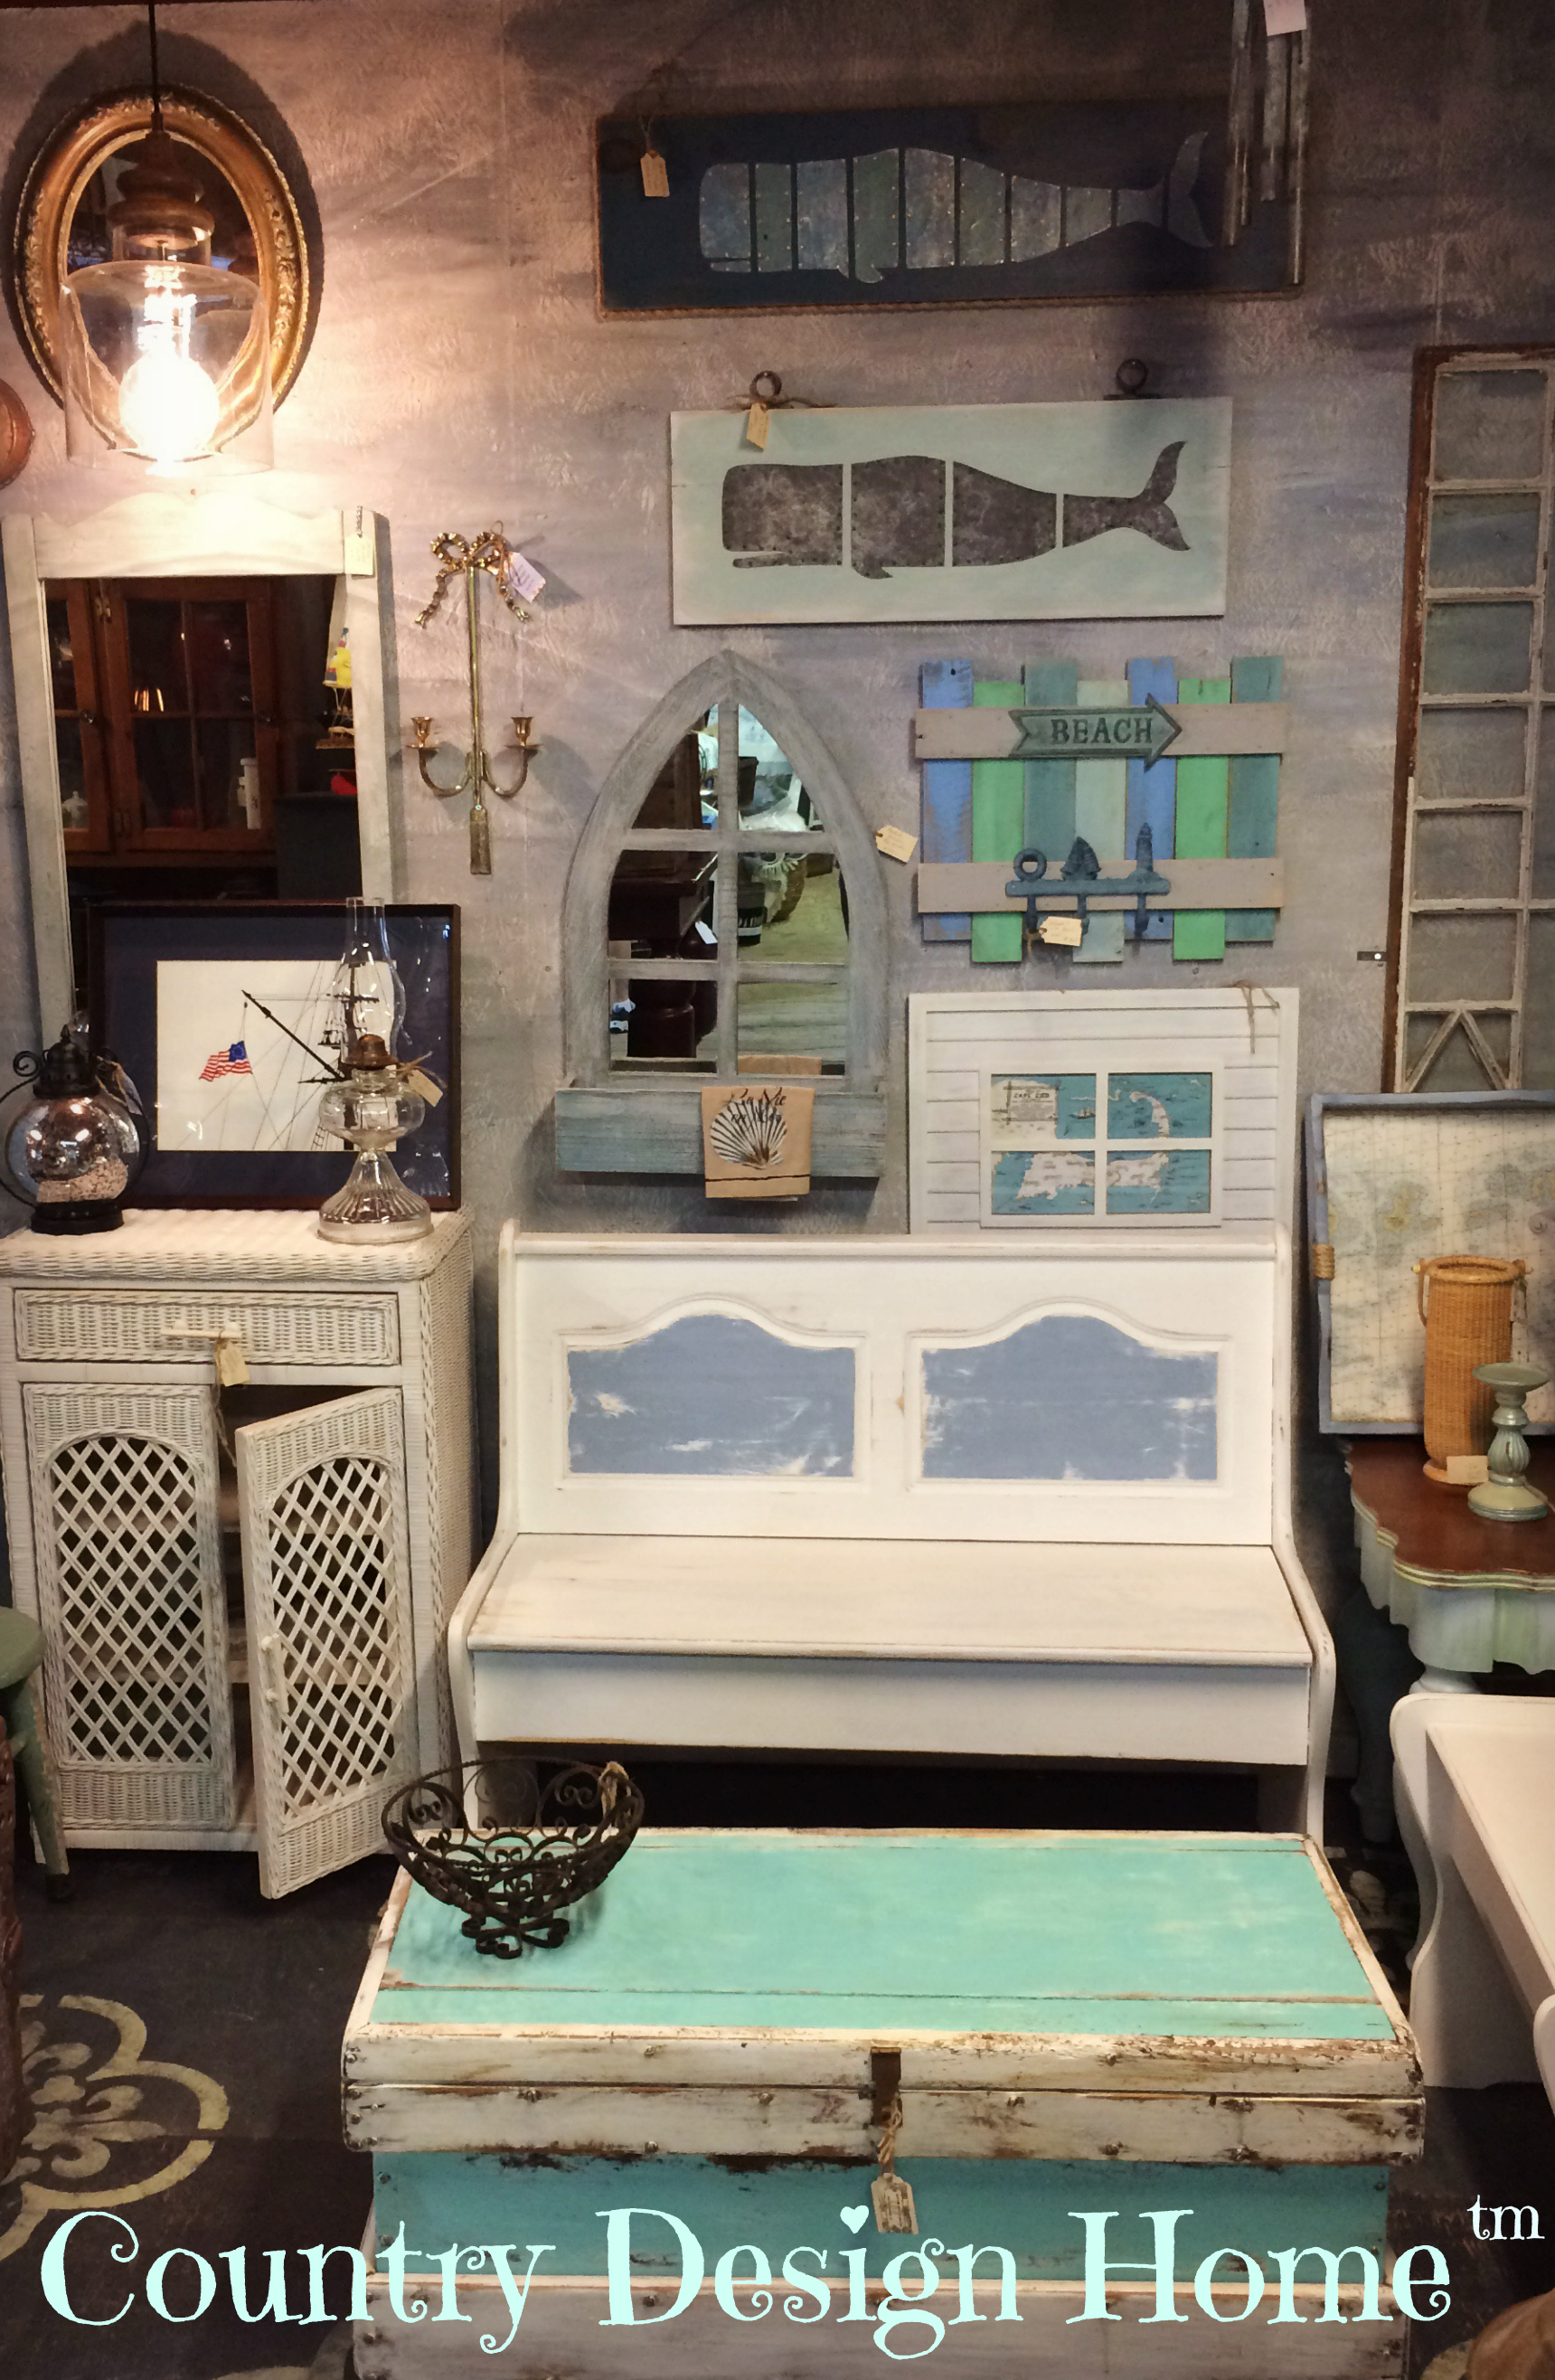
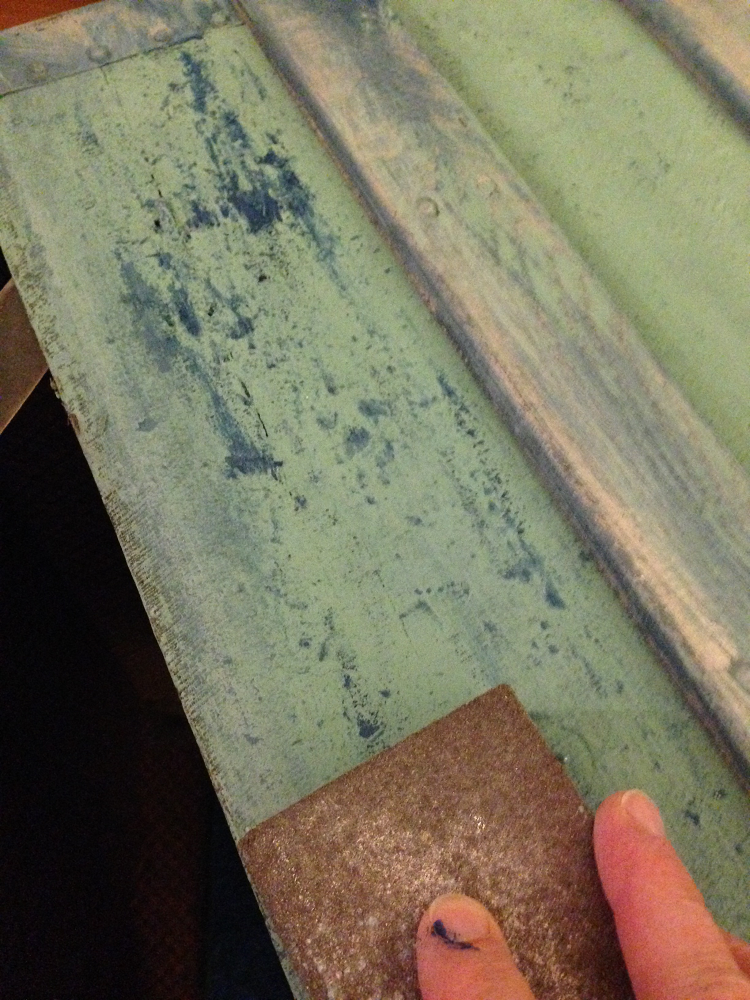
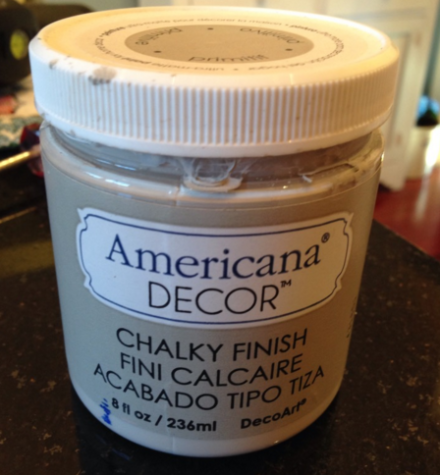
Coach pulls them apart, then I get to work painting, sanding, cutting and framing each sign. Last week, I even shared my first nail-gun misadventure, which resulted in a slight, but painful puncture wound : 0  I do have a sampling of them at our shop in the Barn at Todd Farm, but if you are interested in one of my signs, just don’t happen to fancy shopping in an unheated barn, I have some great news! My signs are now being offered in three local shops on the North Shore!

The first is a pop-up holiday shop in Ipswich, Ma. The 4 Elm Street Holiday Market opened on November 17th and features local and imported gifts and home décor by Hutton Home Design. It is open now through Christmas.

4 Elm Holiday Market

The second shop is The Brass Monkey in Gloucester, MA. An expansive, beautiful gift shop filled with unique gifts, jewelry, clothing and home décor, both antique and new. And of course, now bursting with Christmas JOY!

The Brass Monkey.jpg
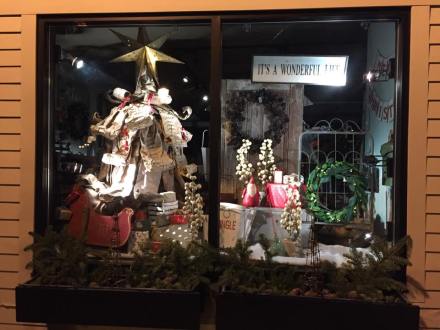
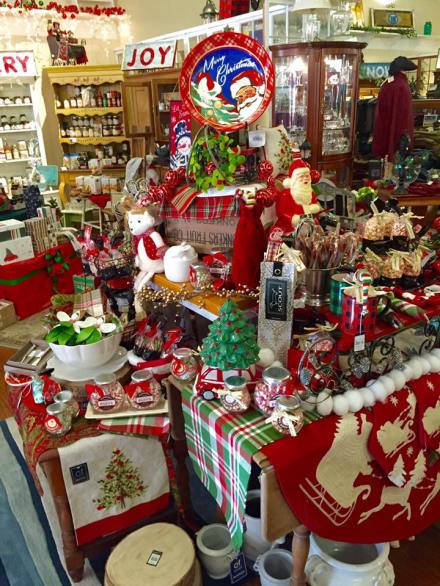
Finally, The Tin Bucket in Reading is a warm and cozy shop that offers lots of sweet, unique, one-of-a kind gifts and fresh home décor items. But, they are not just a retail shop-they also offer classes and craft parties for adults and children! They are carrying a selection of Coach’s antique maps as well-a perfect gift for someone special!

The Tin Bucket ReadingSo, if skipping the mall is your thing and you’d like to find the perfect gift for under your Christmas tree (like a rustic, hand-painted sign, perhaps!?!?), take a ride and check out these lovely shops. And tell them that Sue from Country Design Home sent you!! Hope you have a shop-a-rific Saturday everyone!! Susan xoxo


Gone Fishing…

Where have I been, you ask? Long time no hear, you say. Whelp, no excuses! I’ve been trying to relax and have some fun this summer, but basically that means I’ve been incredible busy with furniture sanding and staining and painting and stenciling and lifting and hauling and hammering and oh, yeah, selling it all at the Barn at Todd Farm! The only fishing I have actually done is for some cute whale patterns for my hand-crafted Tin Whale Signs. So much for a summer of R & R…which for me means Re-Cycle & Re-Love.

Today’s DIY post features some super cute whales I’ve created from tin, copper, wood and some paints. Typically, this is what happens: Coach says “I have these boards, can you do something with them?” He paints or stains them a background color while I search for some inspiration- nothing a pile of tin can’t provide! Where this stuff comes from, I do not know or care to ask- it just magically appears in the workshop…or on the porch…or in the yard…or under the work tent. But, somehow it all comes together and we go from this:

Tin Whale Outdoor Panelsto this: Tin Whales Country Design HomeHere’s the how-I-did-it:

Get a piece of wood (we have tons in the barn if you need some…) Have Coach paint or stain the wood with whatever back ground color you’d like to showcase your designs. Get some old tin sheets (good luck with that one) I needed enough tin to create a whale pattern the length of the wood-it did not have to be one large piece because I was planning on slicing it anyway.

Tin Whale SheetsLay down your whale pattern (hey, if you don’t like whales, you can pretty much take your pick of fish or animals or anything else. Then again, who doesn’t like whales?? Trace the pattern onto the tin panels.

Tin Whale Tracing PatternCut the pattern out with scissors. Now, I am not sure where to actually find aged tin this thin-once my stash is gone, I am not sure what I will do! But I am sure Coach will figure it out. Evenly slice the pieces into as many as you would like to create your design.

Tin Whale Pattern StencilI chose two different paint colors to create the stripes. So many colors, so many choices…

Tin Whale Paint ColorsI painted it on…

Tin Whale Painted Tail Before…then sanded it off to expose the tin texture.

Tin Whale Sanded PaintSometimes I don’t paint it at all- just leaving the aged tin…which has the appearance of an old whale (well, at least from what I can see in old photographs…)

Tin Whale Natural SurfaceOnce all the pieces were painted, I laid them back down, evenly spacing them with a ruler. (I used to just eyeball stuff, but I guess these old eyes don’t quite measure like they used to…)

Tin Whale SpacingI glued the pieces to the wood…I’ve tried all sorts of glues, but this one works really well and its clear and doesn’t smell too bad. Painted it on the back of the pieces, then laid it down on the wood panel-once I had them positioned correctly- thenI weighted them down with paint cans until they dried.

Tin Whale Tacky GlueNow, here’s the fun part. Well, I guess you could call it fun if you enjoy individually punching dozens of teeny, tiny copper tacks into tin and wood using jewelry pliers and a small hammer…

Tin Whale Copper Tacks with PliersThese tiny copper tacks are from a company in Ohio- they are specifically made for shaker boxes…but I think they are perfect for my whales!

Tin Whale Copper TacksEach whale is unique in both the finishes and the finishing decorations. Depending on the color choices, sometimes I will use black carpet tacks instead of the copper tacks…those are available at your local hardware store.

Tin Whales 2 by 2As for the whales, well, sometimes I paint them, sometimes I leave them natural (after all, whales are not typically blue striped) Sometimes I use vintage hooks, sometimes I glue jute rope around the edges to finish them off…whatever strikes my artistic fancy while I am in my create mode. So, here are the whales hanging on the wall at the barn, along with many other pieces that I have created.

Tin Whales Barn Vignette Country Design Home.jpgDon’t they look totally at home there?? If I ever have coastal cottage (working on it!) they will be making waves there : ) Have a whale of a Monday, everyone! xoxo Susan


DIY Aha Moment

With all of the painting and staining and top-coating I do on a daily basis, you would think that I know all the tricks of the trade. And I do…kinda…sorta, well, for the most part. Except every once in awhile I have an “aha” moment where I think- “geesh- why didn’t I think of this before?!?”

Do you ever open a brand new can of paint and think, “oooh, how pretty!?” Well, I do, every time, because I love the potential and promise that a fresh new paint color brings to any project. So, I use the paint for that project, then slap the lid back on until the next time…and then I pry it off (because now it’s kinda stuck to the rim because of the left- over paint from the last time) for the next project. And so it goes, and with each project the rim becomes more caked and coated with dried paint (that break off into little tiny micro-chips..which eventually fall into the can and leave lumps while I am painting.) And eventually, I can no longer get a nice snug seal on the paint can and the remaining paint becomes dried and unusable. Ugh.

Annie Sloan Old White Can Edge

So, the other day, after I opened my can of Annie Sloan Greek Blue Chalk Paint (oh, my goodness, this color is swoon-worthy…) I vowed to make sure the cover and rim were clean and clear when I was finished for the day. But here is the issue: there is that second indent in the edge of the can where the lid fits- and that fills up with paint as you wipe your brush along the edge to remove excess paint during the painting process.

Paint Can Edge.jpg

It is virtually impossible to get it clean and paint-free unless you do some surgical intervention with Q-tip(s)-time consuming and messy!

I have tried using the “rubber band” method, where you place the rubber band in the center of the opening and run your brush along that instead of the can’s edge.

Paint Can Rubber Ban Method

But I can attest to the fact that since rubber bands are made out of, well, rubber, there are times when they “bounce back” and the paint will splatter around. And, its messy to remove. Plus, every once in awhile I need to stop and restir my paint and then the rubber band is in the way.

Yesterday, I was looking at the can of paint I was about to open (well, actually, I was searching for the paint can opener because I always seem to lose those), and right beside it was a roll of painter’s tape. You know, the blue kind that we use to mask off anything and everything. My AHA moment! So I grabbed the tape and created a rim guard all around the perimeter of the opening, inside that second indent where the paint typically collects.

Painters Tape Edge Annie Sloan Greek Blue

Because the tape is straight and a quart can is round, I used several small pieces, overlapping as I went along to create a paint barrier. I went to work, painting my pieces, and when I was done, I simply peeled the tape away from the edge and voila!

Removing Tape from Annie Sloan Greek Blue

Perfectly clean…no more caked edges and micro-dots of paint on my projects! Shark Tank here I come! This is a sneak peek at the pieces I am using the Annie Sloan Greek Blue Chalk Paint on- isn’t it gorgeous!?

Annie Sloan Greek Blue Painted Chair

Here’s hoping you have a perfectly mess-free Friday, everyone! Susan xoxo


Hail to the Whale!

Coach and I, well, we just love whales. I am not certain how it all began, but I can say that one of our very first “all day” dates took place in lovely Mystic Connecticut. In Mystic Seaport, it is all things nautical, and I suspect perhaps that day spent touring the Charles W. Morgan (the last wooden whale ship in the world!)

Charles W. Morgan

the Seaport Museum and the Mystic Aquarium, all the while basking in the glow of young love, might have sparked the beginning of a life-long passion for those majestic denizens of the deep. So, I paint a lot of whales…on trunks and planks and tables, pretty much any flat surface.

Whale Porch Table

After all, who can resist a gentle, giant creature with a hint of a smile-especially when decorated with the American flag? Recently, Coach came upon a stack of old cabinet doors (well, it might not have been recently, it’s just what has surfaced in the barn most recently.)

Hail to the Whale Before Cupboard Door

They were simply painted creamy white, or so we thought. Until he started to sand the edges and behold! This amazing teal blue emerged.

Hail to the Whale Black Background

Sometimes you have in your mind what color scheme to use on a piece, sometimes the piece dictates the palette. In this case, there was cream and teal and a country red color…perfect for an American Flag Whale! I went with a black background for greater impact and contrast to the flag whale itself. For the flag colors, I mixed paints until I came up with the exact shades of teals and reds that matched the existing colors on the frame. I have, in my workshop, perhaps 50 or so of those little Behr sample paint pots

Behr Sample Pots

that you get at Home Depot for a couple of bucks…in a multitude of colors. These are my go-to samples when I am mixing paints-economical and plentiful…and if I mix a color I really love, I just use the color match app to have them mix whatever amount I need! Once I painted the background, it was a pretty simple process-I used a whale stencil


Whale Stencil

for the overall pattern in cream, then taped off the stripes, and added the red.

Hail to the Whale Taped Stripes

Now, I know there aren’t 13 stripes- he was just too narrow and it looked too tight, so I went with a more interpretive look.

Hail to the Whale Star Field

After that, I added the star field using a stencil I cut out with my Cricut Air machine.

Cricut Gold

Do you have one of these?? If not, you need to hustle over to your favorite craft store and buy one, like now! If you do crafts, or scrapbooking, or make signs or stencils or just about anything where you need to apply graphics, this is your go-to machine. See this little square of stars?

Star Stencil

By hand, that would have taken me hours to cut…and then a few more in the ER getting stitched up from the X-acto knife thumb slice… With the Cricut, it took maybe ten minutes to design and cut the stencil. Simply incredible!

Once the whale had dried, I added the matching stars in the four corners. Upon close inspection, you can see where I allowed the faint outline of the original hardware to remain.

Hail to the Whale Hinge Detail

I think it gives the piece character to leave the blemishes there for everyone to see. After that, it was simply a matter of a topcoat…and I went with my go-to favorite: Flat Out Flat by General Finishes. **As a side-note, when you paint on this topcoat, it initially appears milky white,

Hail to the Whale FOF Wet Finish

which kind of freaked me out the first time I tried it. But, once it dried to a clear, softly glowing finish, I was sold. So, the whale is now finished and ready for his new home.

Hail to the Whale Finished Logo

This is the wall grouping that greets visitors at my back door, but alas, he’s not staying put.

Hail to the Whale Wall Grouping Logo 1

He’s migrating north to the Barn at Todd Farm where he’ll have a whale of a time with some other pieces I have recently completed. Have a “whale-y”great Wednesday, everyone! Susan xoxo


Saltwash Blues

Have you heard of Saltwash paint additive?

Saltwash BannerNo? Well, I hadn’t either until I was introduced to this product for this month’s Fab Furniture Flippin’ Contest. Amazing stuff made with real sea salt that creates a worn, rustic look on any piece! You mix it with any paint type and color, smoosh it on literally anything that accepts paint (wood, metal, plastic, you name it, it sticks). Then you paint an overcoat, allow to dry, sand it and stand back and admire your truly transformed piece! In this case, an old wooden trunk that had seen (much) better days,

Old Trunk Paintedtransformed into this gorgeous sea worthy trunk in various shades of blues.

Finished Trunk Staged LOGOHere is the how-to:

Find an old piece of furniture that needs a bit of TLC to bring it back to life. In this case, an old trunk that had cracks and dents. I had already started a transformation by painting it silver, but I wasn’t in love with it. Once I received the Saltwash, it was an easy decision to use it for this project. I Coach (yes, Coach got into the act with the project : ) painted the trunk with several shades of blue, covering all of the metal and wood and canvas surfaces.

Painted Trunk TopMix the paint with the Saltwash until is is the consistency of cake frosting.

Saltwash Mixture FrostingTaped off the wood slats because I wanted them to appear dry brushed but not textured.

Painted TrunkDabbed on the Saltwash Blue Mixture any where I wanted to have the textured surface, then allowed to dry. The trick is to dab it on thickly and heavily. The beauty of it is that is does hide any cracks or imperfections!

Dabbing Thick Paint on TrunkPainted on a lighter coat of blue over the textured finish and allowed to dry. Already looks pretty awesome right?!

Overpainting Trunk TopcoatSanded down everything, including the wood and metal trim (which allowed the original silver finish to show through)

Saltwash Trunk Sanding off Top LayerFinished with a spray coat of matte acrylic. Here is the finished trunk in beautiful shades of Saltwash Blues. (but you can use any color you wish- the Saltwash has no color in it!)

Finished Trunk Staged LOGOFor more outstanding transformations by this month’s sponsors, click the links below:

http://www.thirtyeighthstreet.com/2016/06/saltwash-coastal-inspirations-fab.html

http://www.58waterstreet.com/2016/06/fab-furniture-flippin-contest-saltwash.html

And if you might be interested in joining the Fab Furniture Flippin’ Contest, click this:

Fab Furniture Flippin Contest Poster

Have a great week leading up to the 4th! I will be out of blogging range, but will be back with more flipping fun projects when I return.

xoxoSusan
Compensation Banner 500


DIY Country Door Chalkboard

Country Door Chalkboard Country Design HomeOver the holidays, I was working on quite a few projects simultaneously, neglecting to take either before or after pics or even no pics-my bad. Which makes for not very good DIY instruction-giving. But, I have managed to piece together enough photos of a couple of chalkboards I created so I could share them with you. Both of these chalkboards were originally vintage doors-the cupboards long gone, but the doors rescued for another purpose. One was very old pine

Country Door Chalkboard Before reversethat I painted and one was a beautiful cherry that I revived with stain and poly. The centers of both doors were painted with Benjamin Moore Chalkboard Paint (my personal favorite),

Ben Moore Chalkboard paintthen the hardware was added. In both cases, I used cup pulls, attached upside down, to create chalk holders (because what’s a chalkboard without some handy chalk?!). After much trial and error and incorrect measuring, I discovered that the simplest way to mark the drill holes for the handles is…paint. Place a tiny dab of paint on the edges of the posts…

Country Door Chalkboard Marked Holes…flip it over and press down on the surface of the wood. Lift up and voila, two holes spaced perfectly apart and ready for drilling.

Country Door Painted HolesFor the wood door, I used a copper cup pull, then added a matching copper knob for an interesting, more elegant detail.

Country Door Chalkboard Mahogany and CopperAwhile ago, Coach and I had been fortunate enough to find a bunch of old metal “stuff” at a yard sale- clamps and bolts and covers and registers and what not- which I have been using as needed for building and creating. When I first spotted this metal Country emblem,

Ford Country Squire Emblemit immediately brought back memories of all of us kids in the back of our Ford Country Squire station wagon (no seat belts or car seats back then, folks, just pile in and off you went!)

Ford Country Squire via Fordaddict.comSo I saved it until I could find just the right piece to use it on…and this is it! An old country pine door that was painted with a few coats of greens and blues and then waxed. (Sorry, I have no clue what colors these are- I just kept adding colors and sanding and then adding more colors til I got the desired effect.)

Country Door Chalkboard Detail CloseupI have about 100 of those little Behr paint pots in all different colors.

Behar Lavender Paint SamplesA little goes a longgggg way, so they just keep accumulating as I need another color for a project.

Once dried, I drilled a couple of holes at the top of my old door and tapped the “country” emblem into place.

Country Door Chalkboard Emblem in PlaceOf course, both of these pieces were intended for our shop in the Barn at Todd Farm, but I just couldn’t part with my Country Door Chalkboard. It now hangs proudly in our family room…for the holidays I used some children’s coloring page graphics for my message. This is so simple…reverse chalking for perfect chalkboard graphics! Print out your graphic on any paper,

Country Door Chalkboard Merry Christmas Graphicthen flip it over and rub chalk all over it.

Country Door Panel Reverse Chalking GraphicTape it into place on the chalkboard, then use a pencil and lightly trace the lettering (try not to press down with your whole hand, as any pressure on the chalk outside the lines will result in lots of smudginess.

Country Door ChalkboardWhich you will then clean off with a damp Q-tip.)

Country Door Chalkboard Q-Tip eraserOnce its time for a new graphic, simply wipe off with a damp cloth and say what you want to say! Which is:

Country Door Chalkboard Country Design HomeA gentle reminder to keep working towards my goals, not just keep thinking about them. So my goal for 2016 is to remember to take photos of my work to share, and my wish if for all of you to have a great weekend! Susan

Re-Loved Red Country Cupboard

Good morning everyone!  I hope you all had an incredible holiday…for us the past two days have been a whirlwind of family, food and so much fun! Even this little guy has gotten into the holiday spirit (this IS his happy face : )Bartlet on the Christmas RugAnd we still have the weekend yet to party! But, in the meantime, I thought I would share my latest project with you, since it is so merry and bright : ) This was a Craigslist purchase that Coach picked up about a month ago. It sat on the porch, waiting for my broken foot to heal (UGH) until finally, I just went ahead and worked on it, boot and all,

Walking Boot for fractured footbecause I needed to get it out of the family room before the holiday! The BEFORE: scratched, dark pine cupboard with a veneer plywood backing.

Red Country Cupboard BeforeAFTER: A Re-Loved Red Country Cupboard with a ship-lap planking background. A happy piece for (I hope) a happy home!

Re-Loved Red Country CupboardHere’s my how-to:

  1. Sanded down the surfaces, buffing out the deep scratches on the lowest exposed shelf. Re-Loved Red Country Cupboard BeforeLuckily for me, other than some scratches and dirt, this piece was in good shape. No mildewy or cigarette odors-that is the worst to try and remove!
  2. Painted with two coats of Annie Sloan Emperor’s Silk Chalk Paint- the most gorgeous color red. Annie Sloan Emperor's Silk Red But, the funny thing about the color red is, no matter what brand you use, it still takes several coats to get a uniform color throughout the piece, especially when painting over a dark surface. In this case, I was planning to distress it anyway so it really didn’t matter that it wasn’t a super uniform finish. I sanded down the edges, Red Country Cupboard Sanded Edgesthen finished it with a coat of Varathane Matte Interior Polyurethane. I love this stuff- has essentially no odor, dries quickly and leaves a soft, slight sheen.
  3. For the backing, I just couldn’t leave that dark pine veneer, so I added some ship-lap pieces of rustic pine planking Coach dug out of the barn. I cut them to the right size, fitting them behind each shelf like a puzzle.Ship Lap Pine Planking
  4. I then stained them a with a General Finishes Country Pine stain for some added contrast.General Finishes Country Pine Stain
  5. Dry-brushed them with a light coat of Americana Chalky Paint.Americana Chalky Paint
  6. I laid them all into place, then used Gorilla glue Red Country Cupboard Gorilla Glueto secure them to the back wall. Once dried, I used my staple/ finish nail gun to secure them permanently without making any apparent nail holes.Re-Loved Red Country Cupboard Interior Planking
  7. Of course, as I was lining up the planking, I created a few scratches on the already finished red cupboard.
  8. So I mixed some paint and poly together and re-applied to the scratched areas, blending into the already finished wood.Red Country Cupboard Paint and Poly Glaze
  9. I replaced the “colonial kitchen hardware” with a simple wood knob and some iron hinges and we’re done!
  10. AFTER: the Red Country Cupboard all decked out and ready for the holidays : )Re-Loved Red Country CupboardI hope you all had a magical holiday and that your new year will bring you much joy-I know we are all looking forward to 2016!! Have a great post-holiday weekend, everyone! Susan

Crafting With Wood Pallets

Do you ever look at the thousands of Pinterest pages filled with pallet projects and think: “well, that looks fairly easy, I think I can make that”. No? Well, I have. All the time. I actually have one of those Pinterest pages: Pull Apart A Pallet, which I am continually adding to as new and innovative ideas pop up (170 pins and counting…). But I have yet to actually make anything. Why? Well, wood pallets are the perfect medium for creating rustic wood items for your home and garden-for FREE. But, the trick is to figure out: 1.Where to get them-for FREE  2.How to take them apart  3.How to transform the wood pieces into something else that is useful and attractive and  4.How to finish them so they actually look like a rustic pine piece and not like a pile of wood that you nailed together. So I was delighted when I recently received a copy of the book “Crafting With Wood Pallets” by Becky Lamb. (Published Sept, 2015 Ulysses Press)

Crafting with Wood Pallets CoverIt is the answer to a DIY’ers pallet prayer. Not only does it have the pretty pics of the projects, it also includes the nitty-gritty DIY details: everything from where to find them to what type of tools and equipment you will need , how to actually take them apart, all of the measurements and dimensions for each project and the final finishing touches. Loads of super cute projects to choose from as well, like this Catch-All Caddy with the leather strap handle.

Crafting with Wood PalletsHow about some inspirational wall art? The lowly pallet has been transformed into a truly unique piece using colorful paint…

Crafting With wood Pallets…Becky instructs on the proper techniques for that as well. Loving this Entry Table/Wine Bar-it is simple and the perfect size for a narrow entryway or tuck behind a sofa while safely storing your glasses and bottles.

Wood Pallet Wine BarJust in time for the holidays (with not a moment to spare…) a porch star! As you can see in the photo, she includes all of the specs: supplies you will need, tools required and the skill level, plus the time it will take!

Wood Pallet Porch StarAnd finally, you can’t forget your favorite family pet who could be convinced that this (and NOT your bed) would be the perfect curl up and cuddle spot.

Crafting with Wood Pallets Dog BedMore than 25 complete project plans in all, with full instructions, cutting measurements and finishing techniques. So, I know you are wondering which project I have made?! Well, the truthful answer is none-YET. I have been sidelined for the past month with a few fractured bones in my foot. Yup. Suffice to say it is never a good idea to clean out and organize your basement workshop in your bare feet.

Walking Boot for fractured footBut, even though I haven’t yet created my first pallet masterpiece, I wanted to share this book with you because it would be the perfect gift for a DIY’er on your list. It is available on Amazon.com (with Prime, you can still get it shipped in time!) but also at Barnes and Noble. And I promise, once I am back in full-on DIY mode, a pallet bed for Bartlet

#bartletthefrenchiewill be tops on my list, thanks to Becky Lamb and her book, Crafting with Wood Pallets! Have a great Friday everyone- one week & counting until you know who arrives! Susan 

Mason Jar Margaritas!

Mason Jar Margarita Wedding Shower FavorsLast Sunday we kicked off our “summer of wedding fun” with a bridal shower honoring our daughter, the bride-to-be, Kate and her fiance Chris at River Bar in Assembly Row in Somerville.

The Bride & GroomThe day was stormy, so the original plan of being outdoors on the patio was a wash. But this trendy restaurant, with its glass walls overlooking the Mystic River

River Bar Somerville MAwas the perfect (dry) setting for a casual brunch with family and friends. When my generation were the “brides-to-be”, a shower favor was typically some Jordan almonds (um, yuck) wrapped in mesh and tied with a pretty ribbon with maybe a plastic ring as an embellishment. Whoops…so apparently those are still a thing…when I googled it to find a picture, there were almond favors everywhere! Apparently there is some significant history to the almonds…to read, click the link below…

Jordan Almond Favors via The Knot

Jordan Almond Favors via The Knot


Instead of those, for our shower favors I decided to create a Mason Jar Margarita (the bride’s fav : ). Most of the supplies came from Michaels Crafts…with the exception of the tequila and drink mixes! I bought the pint mason jars by the case

Pint Mason Jars MichaelsNext came the filler, strings and straws…

Mason Jar Shower Favors Paper Shredblue for margaritas,

Mason Jar Margaria Shower Favorsred for non-alcoholic strawberry lemonade.

Mason Jar Shower Favor Lemonade MixI spray painted the metal ring tops to match.

Rustoleum PaintThese cute little chalkboard circles, also from Michaels, were the perfect size to cover the floral design stamped on the metal sealing lids of the mason jars.

Mason Jar Shower Favors Jar TopsTo those, I stamped a “Thank You” and embossed it with special powder and a heat gun.

Mason Jar Shower Favors Shaking Off Powder(If you don’t know about embossing…which is totally awesome and magical…that DIY will be following shortly) I found the Bartender’s Margarita mix at our local grocery store and added the Starbucks Strawberry Lemonade for a non-alcoholic treat.

Lemonade and MargaritasI created these labels to adhere to the fronts of the paper mix packets.

Mason Jar Margarita Bridal Shower PoemTo assemble: a bit of paper shred, a tequila nip (which are the perfect size to fit inside the pint mason jar)

Tequila Nip for Mason Jar Margaritaa drink mix packet. Screw on the tops, add a straw (we taped the straws to the side first to secure them, then tied the string around for the design.) The assembly went quickly once all the components were ready to go.

Mason Jar Margarita Shower Favors

And then, the sign.

Shower Marquee Chalkboard SignI had the chalkboard for weeks, awaiting my design genius to kick in to create something fun…you know, nothing really rhymes with margarita… which didn’t happen until 5 am on the morning of the shower…sometimes I do my best work under extreme pressure…so you’ll have to excuse the slightly off-centered-ness. The jars looked so cute all stacked up, and along with some mason jar centerpieces,

Mason Jar Flower Vasesadded a touch of bright color to the decor. The shower was a huge success, the bride and groom had a great time, and everyone departed carrying a mason jar-hopefully making a toast to the bride while enjoying their drink of choice. Next up, invitation assembly day! Have a terrific Tuesday, everyone! Susan


Americana Decor Chalky Paint Contest-WOW!

Announcing…Second Chances Americana Paints How ToWhenever I am choosing chalk paints to transform a piece of furniture, I typically go to Michaels to grab a pot or two of Americana Chalky Paints by DecoArt.

Americana Chalky PaintThese are 8oz containers, which is usually enough to transform one to two pieces of furniture, depending on the size. They are available in an array of colors and, with a coupon, are incredibly affordable at around $4.00 each-that’s $16 per quart!!  This paint requires little to no prep work and leaves a smooth, ultra-matte finish. Most recently, I completed this sideboard for my family room:

Americana Sideboard Makeover on Country Design Home and this incredible painted globe that we will be using at our daughter’s upcoming wedding (yikes, it’s getting closer…)

Global LOVE Painted Globe by Country Design Homebut now I’m excitedly planning my newest project because this time I can win a prize…a BIG prize… for the best design…and so can you!!! DecoArt is holding a contest called “All About Second Chances Chalky Paint Contest!” . This is your chance to show off that gem of a makeover using Americana Decor Chalky Paints and win…wait for it…$$$...the Grand Prize is $2000 cash and $500 in retail prizes…amazing!!! The judging will be based on 40% creativity, 40% final photo and 20% inspiration story…was this grandmother’s treasured chest that was tucked away in the attic, or did you rescue an old table in total disrepair from the dumpster and give it a fresh new look??? Either way, it’s time to grab a paintbrush and start your makeover today…because everyone…and everything…needs a second chance. The contest runs through August 31st, which gives you plenty of time to get inspired and complete your transformation. For contest details, go to http://decoart.com/secondchances/ or click the pic below:

Americana Decor All About Second Chances ContestNow if you’ll excuse me, I have a dresser to chalky paint…here’s hope your week starts off with a fresh new look! Susan

%d bloggers like this: