Re-Loved Red Country Cupboard

Good morning everyone!  I hope you all had an incredible holiday…for us the past two days have been a whirlwind of family, food and so much fun! Even this little guy has gotten into the holiday spirit (this IS his happy face : )Bartlet on the Christmas RugAnd we still have the weekend yet to party! But, in the meantime, I thought I would share my latest project with you, since it is so merry and bright : ) This was a Craigslist purchase that Coach picked up about a month ago. It sat on the porch, waiting for my broken foot to heal (UGH) until finally, I just went ahead and worked on it, boot and all,

Walking Boot for fractured foot
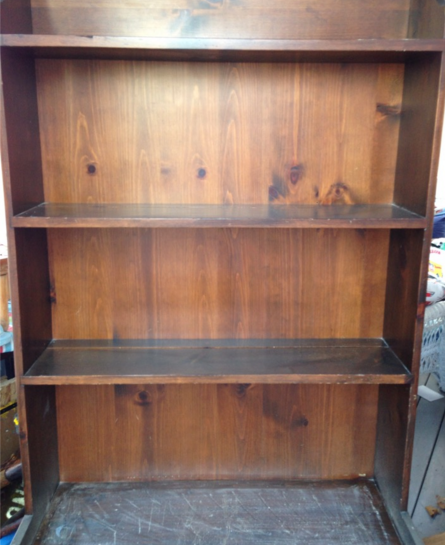
because I needed to get it out of the family room before the holiday! The BEFORE: scratched, dark pine cupboard with a veneer plywood backing.

Red Country Cupboard BeforeAFTER: A Re-Loved Red Country Cupboard with a ship-lap planking background. A happy piece for (I hope) a happy home!

Re-Loved Red Country CupboardHere’s my how-to:

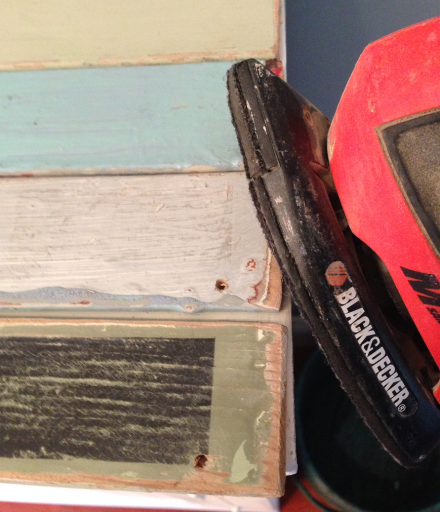
  1. Sanded down the surfaces, buffing out the deep scratches on the lowest exposed shelf. Re-Loved Red Country Cupboard BeforeLuckily for me, other than some scratches and dirt, this piece was in good shape. No mildewy or cigarette odors-that is the worst to try and remove!
  2. Painted with two coats of Annie Sloan Emperor’s Silk Chalk Paint- the most gorgeous color red. Annie Sloan Emperor's Silk Red But, the funny thing about the color red is, no matter what brand you use, it still takes several coats to get a uniform color throughout the piece, especially when painting over a dark surface. In this case, I was planning to distress it anyway so it really didn’t matter that it wasn’t a super uniform finish. I sanded down the edges, Red Country Cupboard Sanded Edgesthen finished it with a coat of Varathane Matte Interior Polyurethane. I love this stuff- has essentially no odor, dries quickly and leaves a soft, slight sheen.
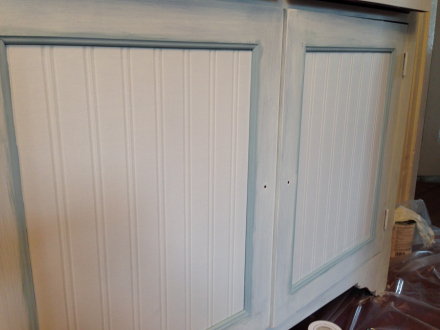
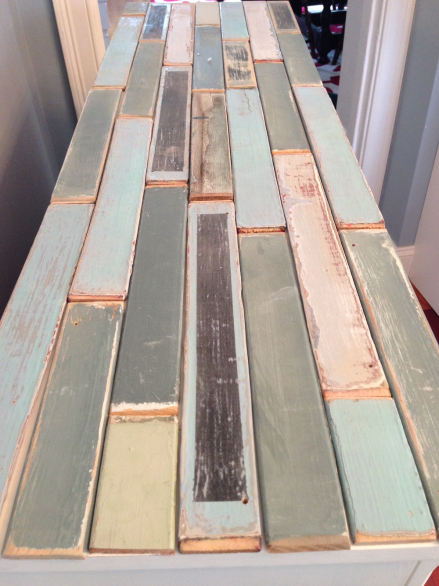
  3. For the backing, I just couldn’t leave that dark pine veneer, so I added some ship-lap pieces of rustic pine planking Coach dug out of the barn. I cut them to the right size, fitting them behind each shelf like a puzzle.Ship Lap Pine Planking
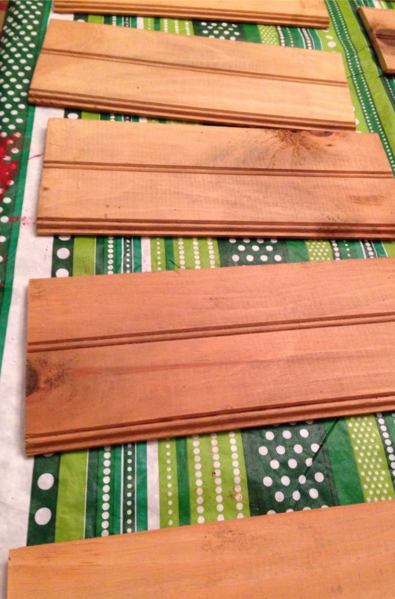
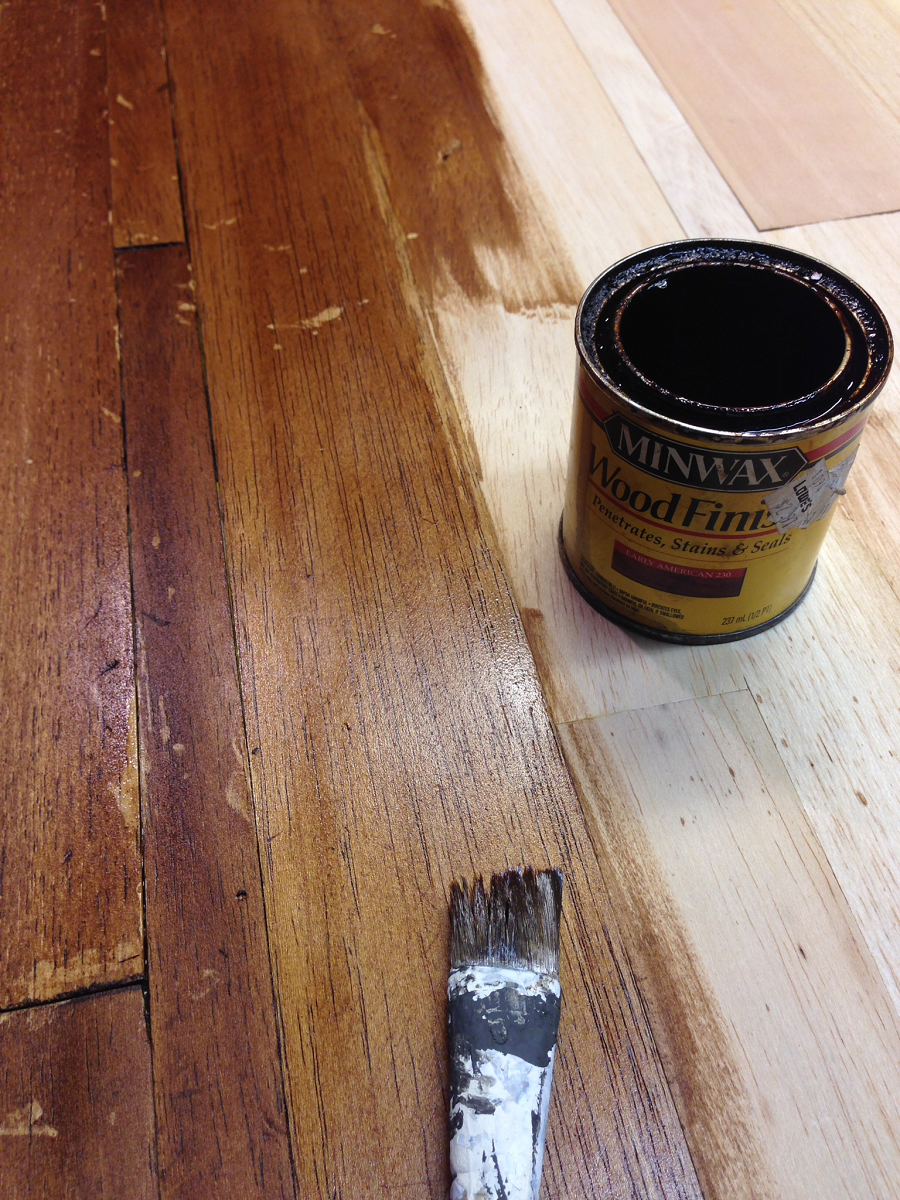
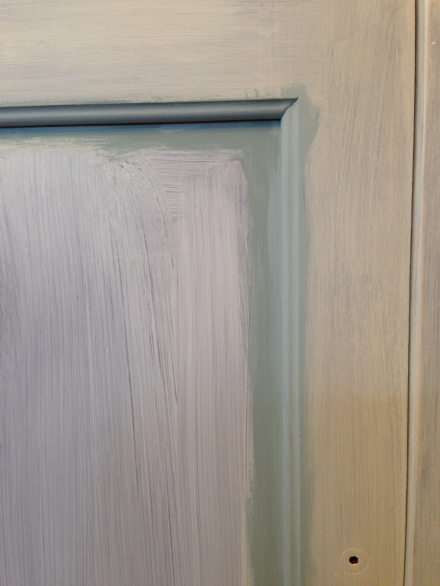
  4. I then stained them a with a General Finishes Country Pine stain for some added contrast.General Finishes Country Pine Stain
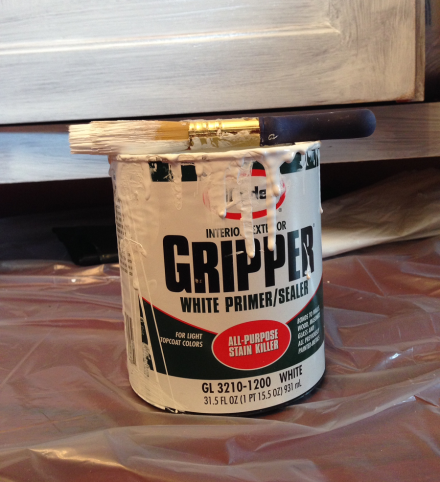
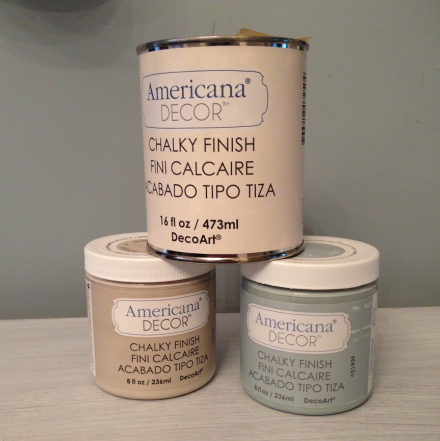
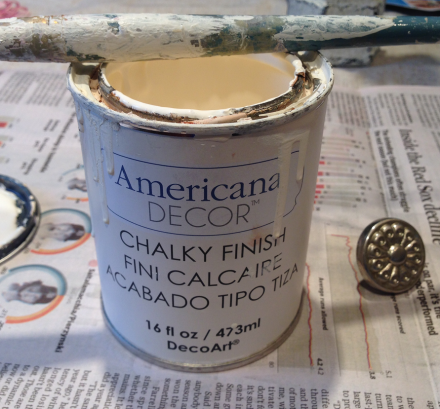
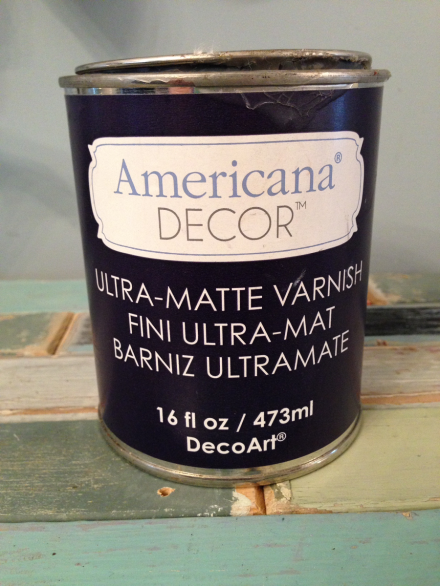
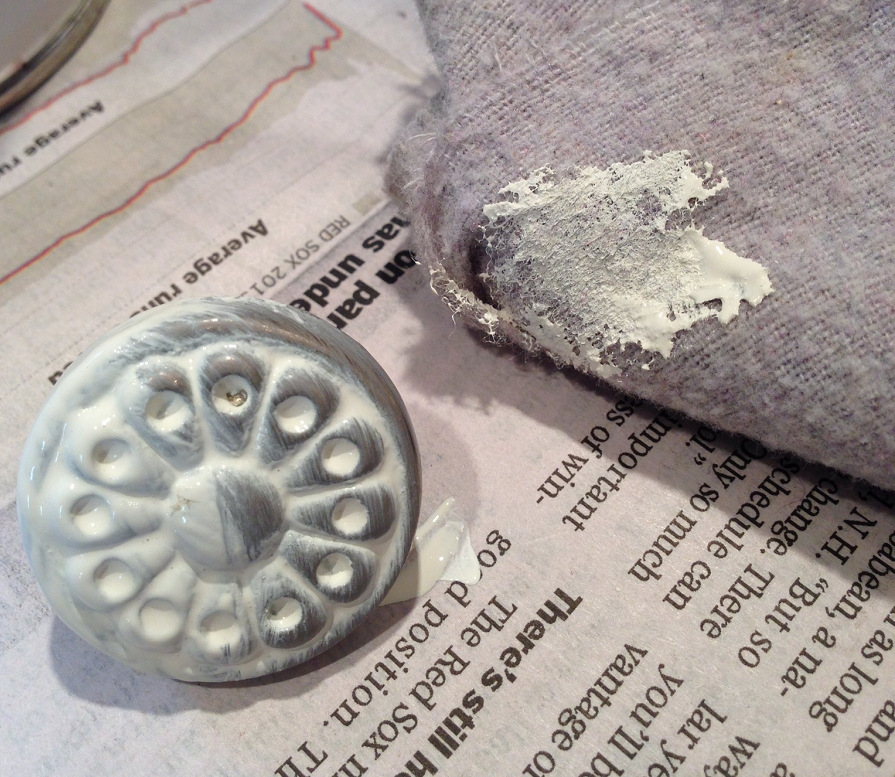
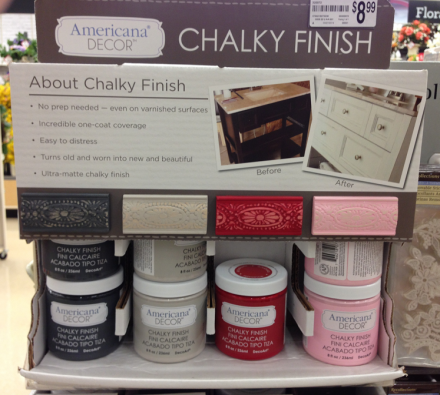
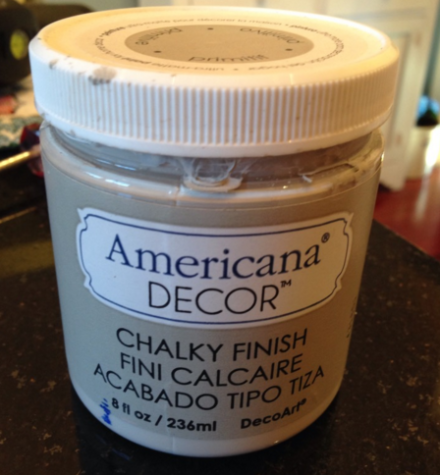
  5. Dry-brushed them with a light coat of Americana Chalky Paint.Americana Chalky Paint
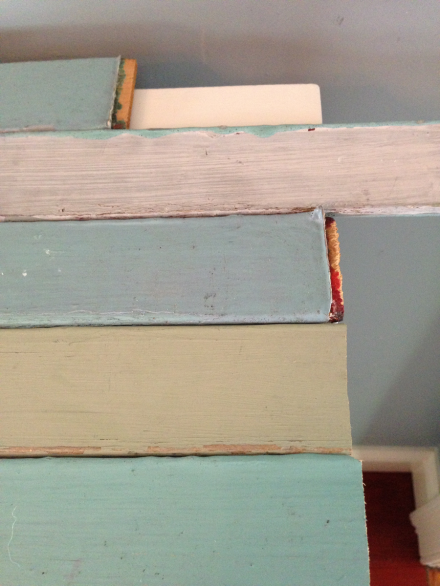
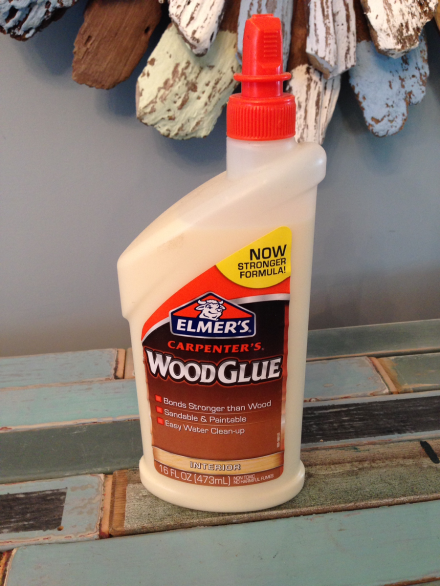
  6. I laid them all into place, then used Gorilla glue Red Country Cupboard Gorilla Glueto secure them to the back wall. Once dried, I used my staple/ finish nail gun to secure them permanently without making any apparent nail holes.Re-Loved Red Country Cupboard Interior Planking
  7. Of course, as I was lining up the planking, I created a few scratches on the already finished red cupboard.
  8. So I mixed some paint and poly together and re-applied to the scratched areas, blending into the already finished wood.Red Country Cupboard Paint and Poly Glaze
  9. I replaced the “colonial kitchen hardware” with a simple wood knob and some iron hinges and we’re done!
  10. AFTER: the Red Country Cupboard all decked out and ready for the holidays : )Re-Loved Red Country CupboardI hope you all had a magical holiday and that your new year will bring you much joy-I know we are all looking forward to 2016!! Have a great post-holiday weekend, everyone! Susan

Rustic USA Chalkboard Map-DIY!

Remember the time when I built the cupcake tower for the wedding and then it broke apart and toppled over and the cupcakes went tumbling onto the wet grass? No? So that’s just my bad luck…

fallen cupcakes in grassWell, the one good thing that came of all of it was that I spotted this USA plank map that is proudly hanging in our friend’s log cabin home where we stayed for the wedding weekend.

USA Map Pottery Barn

It is an amazing focal point for their great room! Naturally, when I first admired it, my initial response was “that’s amazing”, quickly followed by “gee, I wonder if I can make that?!” Soooo, here is my version of the Pottery Barn Rustic USA map.

USA Map Displayed on Mantel PM

I created it using an old, very large framed print that Coach had picked up at a yard sale, some balsa wood slats, glue, stain and chalkboard paint. Here is the how-it-did-it:

1. I kept the print in place, since it was just a piece of fiberboard that had been printed on and adhered to the frame. Sorry about those creepy flowers, but they just had to go…

USA Map Before Photo…but the frame, however, is gorgeous, so that remained as is!

2. The balsa wood slats came from a bin we purchased at a yard sale last summer. Tons of pieces of wood in various widths and lengths. Love this stuff-super easy to work with! Just mark with a pencil,

USA Map Marking Wood Cutscut with scissors,

USA Map Cutting Balsa Wood with Scissorsthen glue down. I chose random pieces so it would look more rustic and deconstructed,

USA Map Balsa Wood Pattern on Picture

rather than just using all the same widths and lengths.

USA Map Balsa Wood Patterned

3. Once I had placed the wood into position, I lifted each piece and spread wood glue onto the base, using a foam brush to create a nice even surface.

Rustic USA Map Painting Glue4. I lifted one slat at a time, then placed the slats back down onto the glued surface, then weighted them down with various cans and bottles I had handy. If you do this, make sure you don’t use anything porous or it will stick to your project!

USA Map Weighting Down Balsa Wood Glued

5. Once dried, I had to decide which stain to use.

Rustic USA Map StainsOnce the color was chosen, I simply followed the stain instructions (for the record, I went with the Minwax). You brush it on,

Rustic USA Map Staining Slatswait a minute, then wipe off any excess with a soft, clean cloth. Then allow to dry. You see all those little white dots? Apparently, I wasn’t as neat with the glue as I thought! No worries, I am going to dry brush some paint on there anyway, so they won’t be visible : )

Rustic USA Map Stained Slats

6. For the dry-brushing, I taped off the frame edges,

USA Map Stained and Taped for Dry Brushingthen dry-brushed the surface with two tones of Americana Chalky Paint.

USA Map Americana Chalky PaintI knew if I just left it stained, the black map itself wouldn’t show up against the dark background.

Dry Brushing USA MapDry brushing allows you to see the stained wood underneath.

USA Map Dry Brushing Completed7. Once that was dry, I needed to add the map. Initially I tried to print out a USA map outline, but of course, the first one was too small and then my printer ran out of ink.

USA Map Printed OutlineSo, I grabbed one of Coach’s USA maps and cut around that. (No worries, this wasn’t one of the antique ones, just one of a few hundred he has hanging around)

USA Map Outlined8. Traced the map outline onto the prepped surface with a pencil. Then I painted it with three coats of chalkboard paint. This one is from FolkArt by Plaid,

USA Map Folk Art Chalkboard Paint

but there are many other manufacturer’s and they all seem to do the trick.

USA Map Completed Chalk Paint

9. Once the chalkboard paint was dry, I “primed” the surface by covering the entire map with chalk. )It needs to be primed so that when you do write on it with chalk, the images will easily wipe off. Otherwise they will leave “ghost images”)

USA Map Surface Chalked(rub with the side of the chalk)

USA Map Chalking the Surface

then wiped it off with a damp cloth.


USA Map Wiping Off Chalking10. With my mouse sander, I simply roughed up the surface and softened the edges with fine sandpaper to give the entire piece the rustic look.

USA Map Sanding Edges of Map

11. This is the finished piece, proudly displayed on my mantel.

USA Map Displayed on Mantel TMAnd remember, imitation is the sincerest form of flattery! Thanks Pottery Barn for the inspiration! Have an inspired weekend, everyone! Susan

Coastal Kitchen Cupboard DIY Makeover

Blogger’s note: NO REAL WOOD WAS HARMED IN THE MAKING OF THIS CUPBOARD**

This past weekend, I completed a few more projects while awaiting the granite guy’s countertop installation at mom’s house. I have been working on this piece in my kitchen for quite awhile, and am happy to finally have it done! This is the before:

Coastal Kitchen Cabinet Beforea red cupboard (made of MDF) we purchased a few years back at Jordan’s Furniture Colossal Clearance Center in Avon, Mass (if you haven’t been there, it is so definitely worth the trip! Lots of great furniture at significantly discounted prices!) This piece fits nicely in the narrow passageway between our kitchen and dining room and holds a ton of stuff like paper towels, napkins and several pieces of kitchen equipment that just won’t fit anywhere else. The problem is, since it’s in the highest traffic point of our home, it had been scratched and worn-the finish was like a plastic veneer and scratched off quite easily (and I was tired of the dark red anyway…). Time for a fix, so this is the after: a pretty, light coastal cabinet with a top created from reclaimed window shutters!

Coastal Kitchen CupboardHere is the how-I-did-it: Sanded everything down to rough up the shiny veneer plasticy surface, and sanded the edges to round them off a bit.

Sanding the edges Nothing says “mass-produced” more than sharp, clean edges on furniture. Primed with my go-to primer: Glidden Gripper (you can find this at Home Depot in the paint dept)

Coastal Kitchen Cupboard Glidden Gripper Primer

The Americana Chalky paint I planned on using says it doesn’t need a primer, but the before color was so dark, and the new color was so light, I figured I had better just to be safe.

Coastal Kitchen Cupboard Chalky Paint Palette DecoArt

Before I painted the entire piece, I accented the frames around the door panel inserts with the Americana Chalky Paint Called Vintage. It is a soft blue/green color that ties in beautifully with the shutter slats on the top.

Coastal Kitchen Cupboard Framed Cabinet Doors with Chalky Paint

Then I applied some wallpaper wainscoting (LOVE this stuff too!) to the inside of the panels to give a more country feel to the piece. (For the DIY  how-to on using the wallpaper, click here.

Coastal Kitchen Cupboard with Wainscoting Wallpaper Panel Inserts

I then painted the entire cupboard, including the inside panels, with two coats of Americana Chalky paint in the color Everlasting-so soft and pretty white.

Coastal Kitchen Cupboard Chalky Paint for Knob Americana

The more I used this paint, the more I love it. No brush strokes, so easy to apply and clean up. I then sanded the edges to give it a bit of character and contrast.

Coastal Kitchen Cupboard Wainscoting Wallpaper Doors

The final coat was the Americana Ultra Matte Varnish from DecoArt. No shine, protects the white paint from fingerprints.

Coastal Kitchen Cupboard Ultra Matte Varnish Americana

For the star of this show, the top, I used some old shutter slats that Coach and I had picked up off the side of the road on a drive to Cape Cod. That was one of my very first blog posts, and also one of the first times we trash picked on the side of the road. What a score! The colors are all the original ones-so coastal pretty!!

Coastal Kitchen Cupboard Arranging Shutter Slats

I have been using parts of them for several projects, including some little hanging chalkboards which I decided to reclaim for this project. As I was arranging the slats on the top, my original plan was to flip the chalkboard ones over and use the reverse side. But then I thought, why not just leave them so I could write cute little sayings on the surface? Fun!

Coastal Cupboard Makeover Chalkboard

Once I had placed all of the slats, there were a few that hung over the edges, which I quickly remedied with a few jigsaw cuts.

Cutting Shutter slats with jigsawThen sanded the edge smooth with my Black & Decker Mouse sander, which I also picked up at my local Home Depot.  Honestly, I spend more time at Home Depot and Home Goods than I do at home!!

Coastal Kitchen Cupboard Cut Shutter Slat Edges

While I was sanding, I made sure that I sanded the top edge just a bit so that the cut pieces had the same worn edge as the rest. (this is the area that fits into the frame of the shutters when they are whole).

Coastal Kitchen Cupboard Mouse Sander Edges

Once they were cut and sanded, I glued them into place with this strong sticky stuff-didn’t even require any nailing!!

Coastal Kitchen Cupboard Wood Glue

The original knobs were a nice heavy iron, but I wanted something lighter so there wasn’t as much of a contrast. These mercury glass knobs I found at (where else) HomeGoods, but I couldn’t find handles for the doors that I really liked.

Home Goods Mercury KnobsSo, I grabbed a pair of stainless ones I kept from my old kitchen and painted them with the chalk paint. What, you say?! Painted knobs? But, of course! This week’s Tuesday DIY Tip: you can paint any hardware quickly and easily, especially with this chalk paint! You just paint it on, Painting knobs with chalk paintmaking sure you get in all the tiny holes and crevices, then wipe it off,

Wiping off Chalk Paintallow to dry and done. Wipe away as much or as little depending on the look you are going for.

Painted knobs with chalky paintThe finished cupboard now stands in the space under my incredible driftwood mirror I purchased at (where else) HomeGoods a few months back, along with some other coastal-inspired decor.

Coastal Kitchen Cupboard After Shutter Slat Top PM

Which will all go so nicely in my coastal dream home (if I ever get a coast dream home…) In the meantime, have a dreamy Tuesday, everyone!! Susan

**PS: That disclaimer at the top of this article is for all the wood enthusiasts who think that no wood furniture should ever be painted…


Michaels Crafts A Brand New Look

I’ve gotta say, I was more than a bit excited when I recently received an invite to attend a “Sneak Peek Blogger Event” at the newly remodeled Michaels Craft Store in Saugus, Mass.

Michaels Crafts Get Crafty Boston Sign

After all, I do spend quite a bit of time (and $$$!) there gathering materials for my very many, many DIY projects! And, I love to blog about them. So, I was delighted to have an opportunity to meet other area bloggers, take part in a craft session and have a tour of the fresh new look of my local Michaels store! Along with 27 other Boston area stores, the Saugus Michaels is unveiling a brighter, fresher style that is less cluttered, much more organized and shopper friendly.

Michaels Crafts Flower PlantersUpon our arrival, we were greeted and escorted into the Michaels Craft Room (which is, FYI, available to the public for group craft projects-good to know : ) After having a yummy bite and an Italian Soda (many of us had never heard of it, but so delish!), we were instructed in our craft projects, then left to our own devices and Exacto knives to create the perfect Boston Skyline from scrapbook paper and canvas.

Michaels Crafts Blogger IntroductionOnce our projects were completed, we were off on the store tour, led by Brett, the district manager along with several store employees, all of whom are now sporting bright red shirts so they are easy to spot when you need a crafty, helping hand.

Michaels Crafts DM TourHaving shopped here numerous times in the past, the first change I noticed was the wall banner circling the entire store, high enough to spot from any vantage point and identifying key shopping areas. Other new features include signage that not only identifies the area, but informs the shopper what is available in each aisle.

Michaels Crafts End Cap SignA newly expanded section, by customer request, is Home Decor, where you will find aisles stocked with latest trends in home fashions and accessories.

Sea Shell Statues Michaels CraftsLoving these ruffled pillows and ottomans!

Michaels Home Decor PillowsOne of the most noticeable changes throughout the store were the information boards associated with the products. I dabble in cake decorating from time to time, and I know my way around a pastry bag. BUT, what would be a simple cake decorating project for me could be an overwhelming task to an aspiring Cake Boss wanna be. So, Michaels solved this dilemma by not only stocking the shelves with the necessary tools, but also by adding these information and instruction boards (kind of like Pinterest in real life : )

Michaels Crafts Cake Decorating BoardThe chalk and chalkboard section, which is still so trending on Pinterest right now, has it’s own “Pin” board, where customers can get inspiration, then grab the necessary supplies to create the project of their choice.

Michaels Chalk Craft DisplayWhile on the tour, this new Tint It Spray caught my eye, (of course, with all the bright, pretty colors : ) with craft ideas and a color sample, plus supplies-brilliant!

Michaels Crafts Tint It Spray PMAs we turned each corner, I continued to be impressed by the overall look of the store with its colorful displays and variety of items for any imaginable craft project. AND, so excited to see that they are finally carrying my latest DIY obsession-Americana Chalky Paint by DecoArt!! I have just started using this product, and I can’t wait to share my first project with all of you. But for now, you will have to take my word for it that these paints and finishes are like nothing you may have worked with in the past.

Americana Chalky Finish PaintSo, now that I’ve given you the condensed tour, its your turn to head to your nearest Michaels to see what the blogging fuss is about! On Sunday, May 4th, there will be a grand re-opening of the Boston-area Michaels Stores featuring a 9:45 am ribbon-cutting ceremony, and over $1000 in gift card giveaways!! So, get crafty Boston, and…

Michaels Crafts Creative JourneyI hope you have a creative and inspired Sunday, everyone. And if you do happen to visit your local Michaels, tell them Sue from Country Design Home sent you! Susan 

%d bloggers like this: