Remember the time when I built the cupcake tower for the wedding and then it broke apart and toppled over and the cupcakes went tumbling onto the wet grass? No? So that’s just my bad luck…
 Well, the one good thing that came of all of it was that I spotted this USA plank map that is proudly hanging in our friend’s log cabin home where we stayed for the wedding weekend.

It is an amazing focal point for their great room! Naturally, when I first admired it, my initial response was “that’s amazing”, quickly followed by “gee, I wonder if I can make that?!” Soooo, here is my version of the Pottery Barn Rustic USA map.

I created it using an old, very large framed print that Coach had picked up at a yard sale, some balsa wood slats, glue, stain and chalkboard paint. Here is the how-it-did-it:
1. I kept the print in place, since it was just a piece of fiberboard that had been printed on and adhered to the frame. Sorry about those creepy flowers, but they just had to go…
 …but the frame, however, is gorgeous, so that remained as is!
2. The balsa wood slats came from a bin we purchased at a yard sale last summer. Tons of pieces of wood in various widths and lengths. Love this stuff-super easy to work with! Just mark with a pencil,
 cut with scissors,
 then glue down. I chose random pieces so it would look more rustic and deconstructed,

rather than just using all the same widths and lengths.

3. Once I had placed the wood into position, I lifted each piece and spread wood glue onto the base, using a foam brush to create a nice even surface.
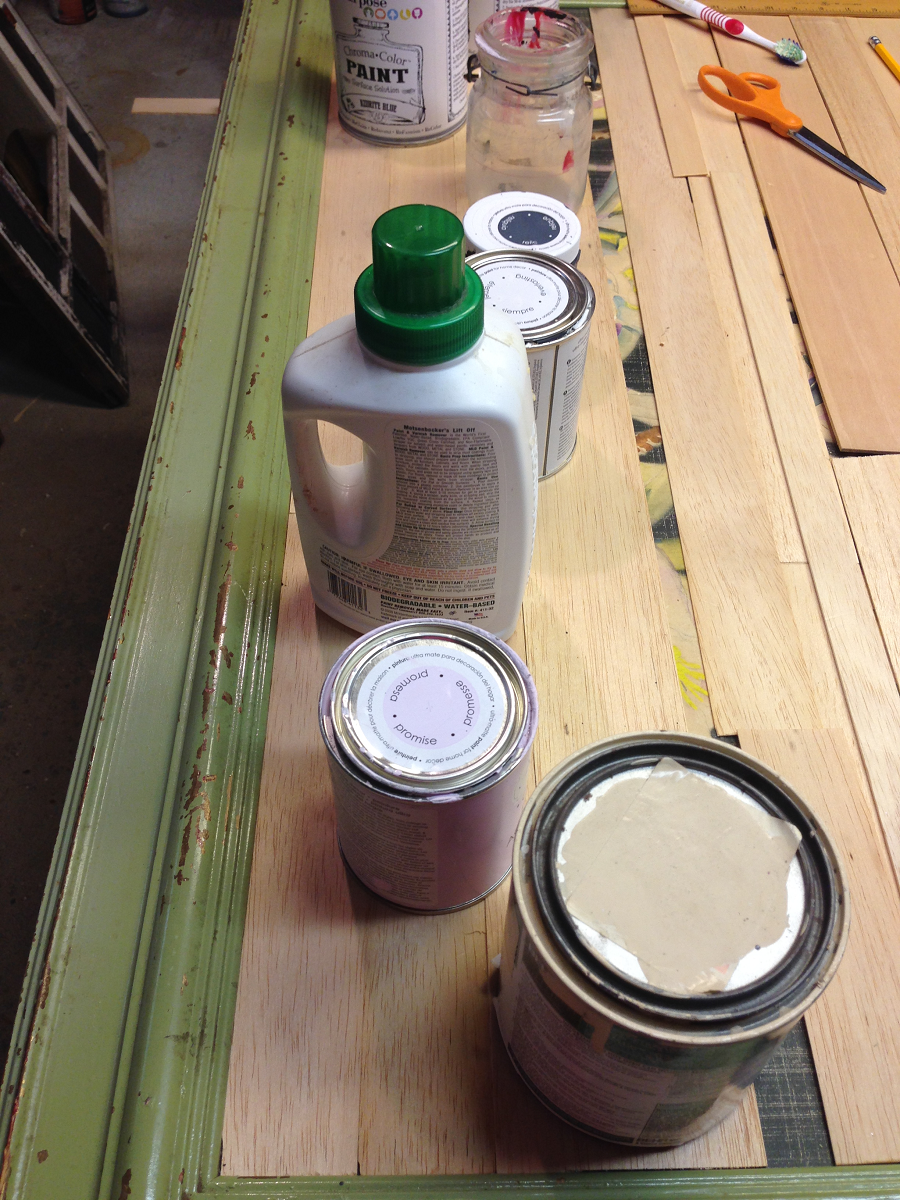
 4. I lifted one slat at a time, then placed the slats back down onto the glued surface, then weighted them down with various cans and bottles I had handy. If you do this, make sure you don’t use anything porous or it will stick to your project!
5. Once dried, I had to decide which stain to use.
 Once the color was chosen, I simply followed the stain instructions (for the record, I went with the Minwax). You brush it on,
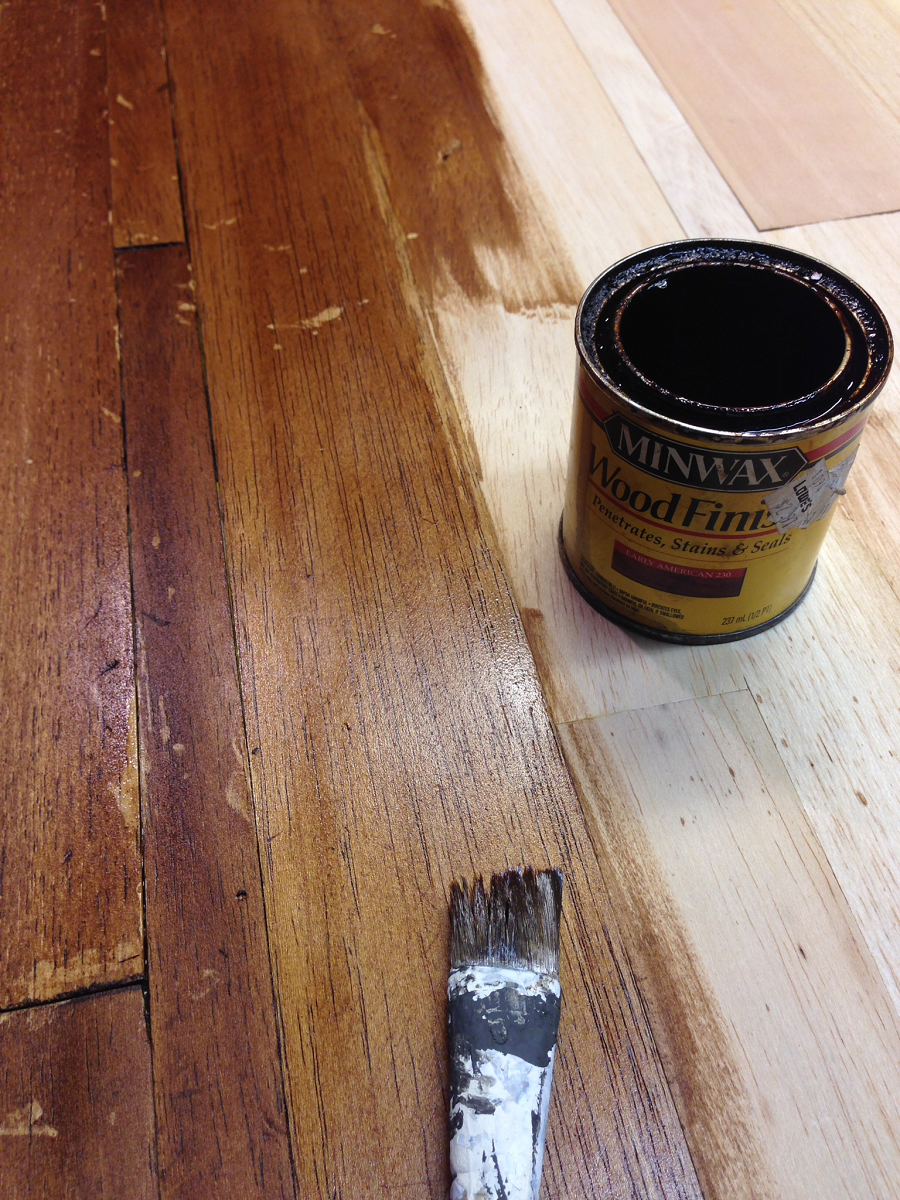 wait a minute, then wipe off any excess with a soft, clean cloth. Then allow to dry. You see all those little white dots? Apparently, I wasn’t as neat with the glue as I thought! No worries, I am going to dry brush some paint on there anyway, so they won’t be visible : )

6. For the dry-brushing, I taped off the frame edges,
 then dry-brushed the surface with two tones of Americana Chalky Paint.
 I knew if I just left it stained, the black map itself wouldn’t show up against the dark background.
 Dry brushing allows you to see the stained wood underneath.
 7. Once that was dry, I needed to add the map. Initially I tried to print out a USA map outline, but of course, the first one was too small and then my printer ran out of ink.
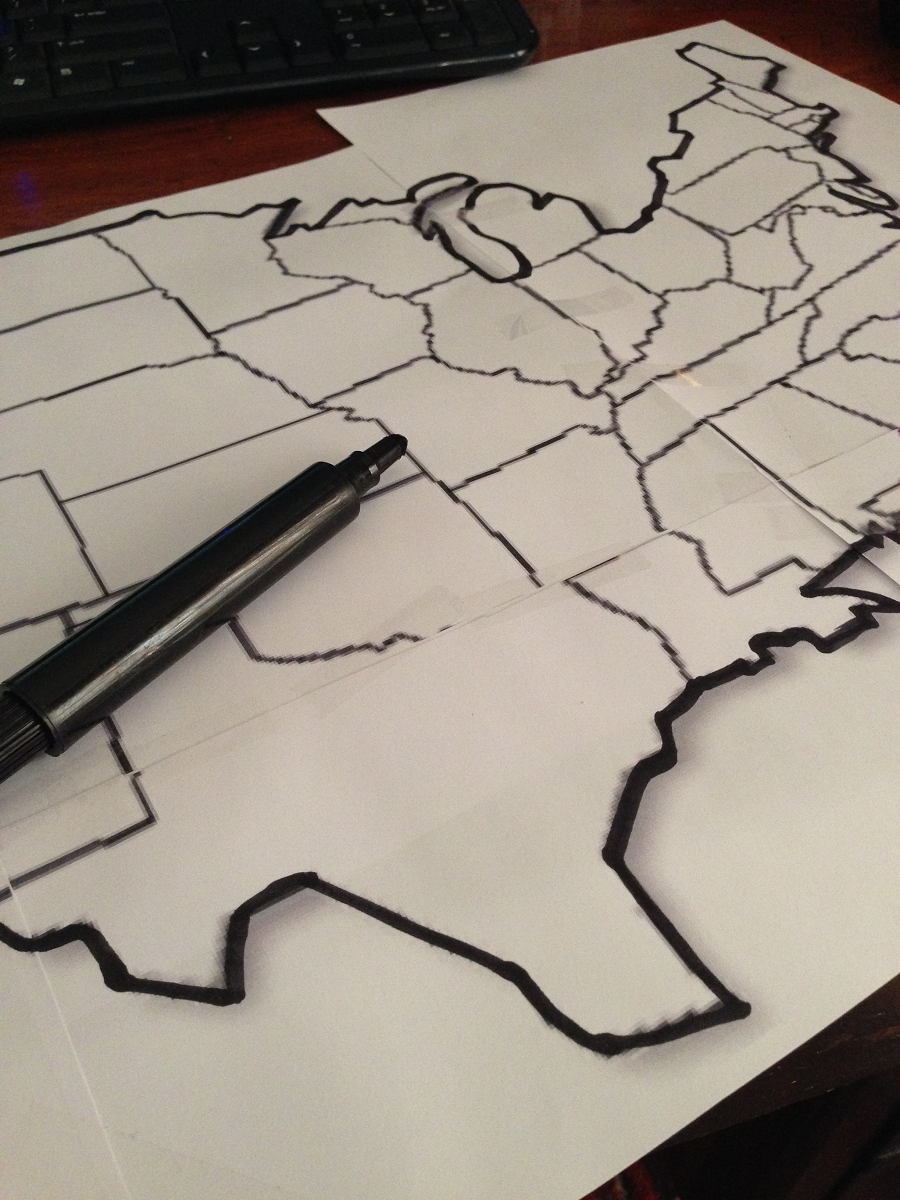 So, I grabbed one of Coach’s USA maps and cut around that. (No worries, this wasn’t one of the antique ones, just one of a few hundred he has hanging around)
 8. Traced the map outline onto the prepped surface with a pencil. Then I painted it with three coats of chalkboard paint. This one is from FolkArt by Plaid,

but there are many other manufacturer’s and they all seem to do the trick.
9. Once the chalkboard paint was dry, I “primed” the surface by covering the entire map with chalk. )It needs to be primed so that when you do write on it with chalk, the images will easily wipe off. Otherwise they will leave “ghost images”)
 (rub with the side of the chalk)

then wiped it off with a damp cloth.
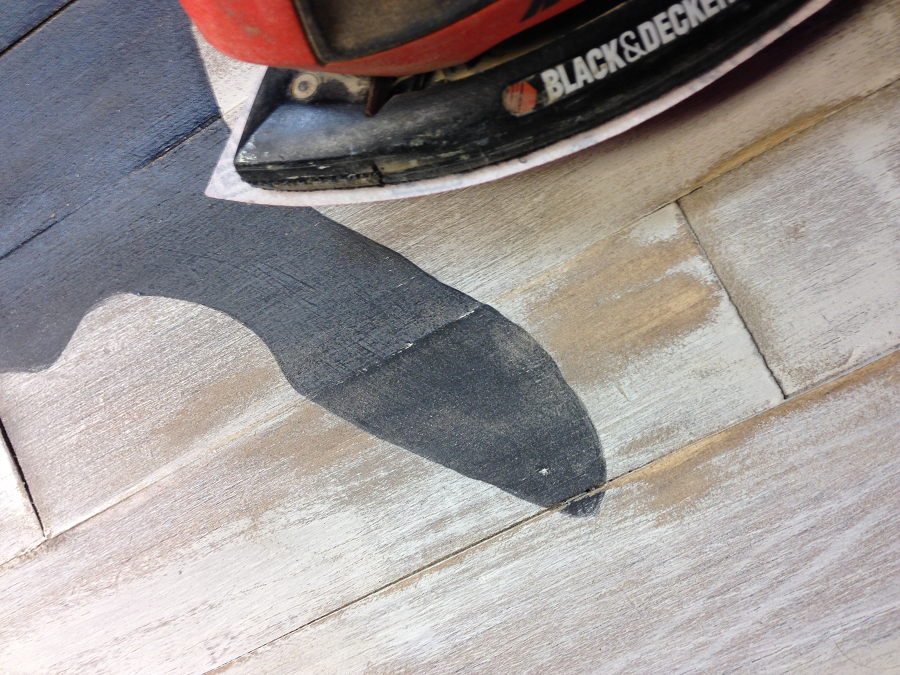
 10. With my mouse sander, I simply roughed up the surface and softened the edges with fine sandpaper to give the entire piece the rustic look.
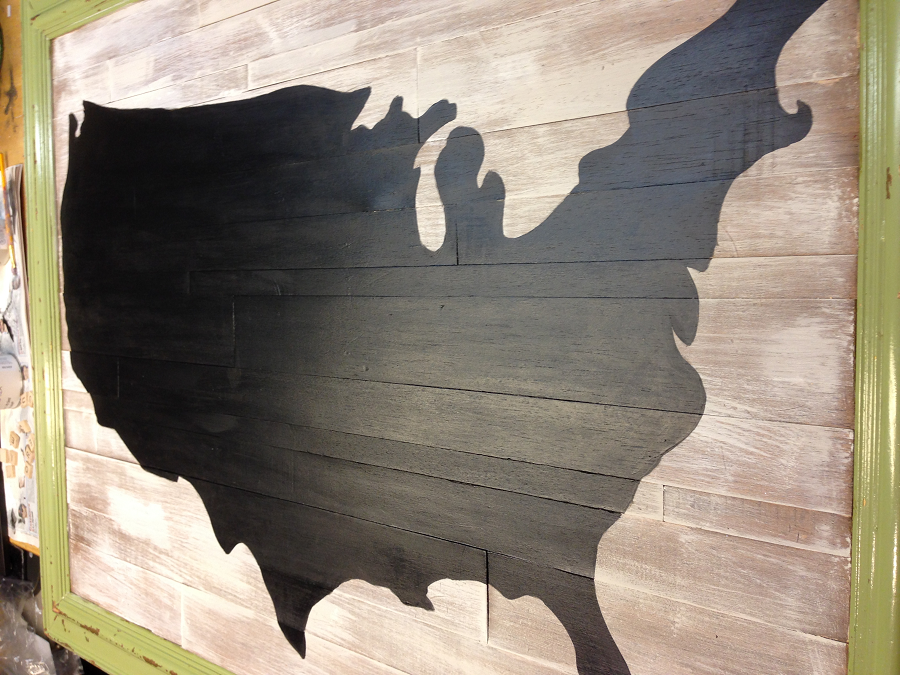
11. This is the finished piece, proudly displayed on my mantel.
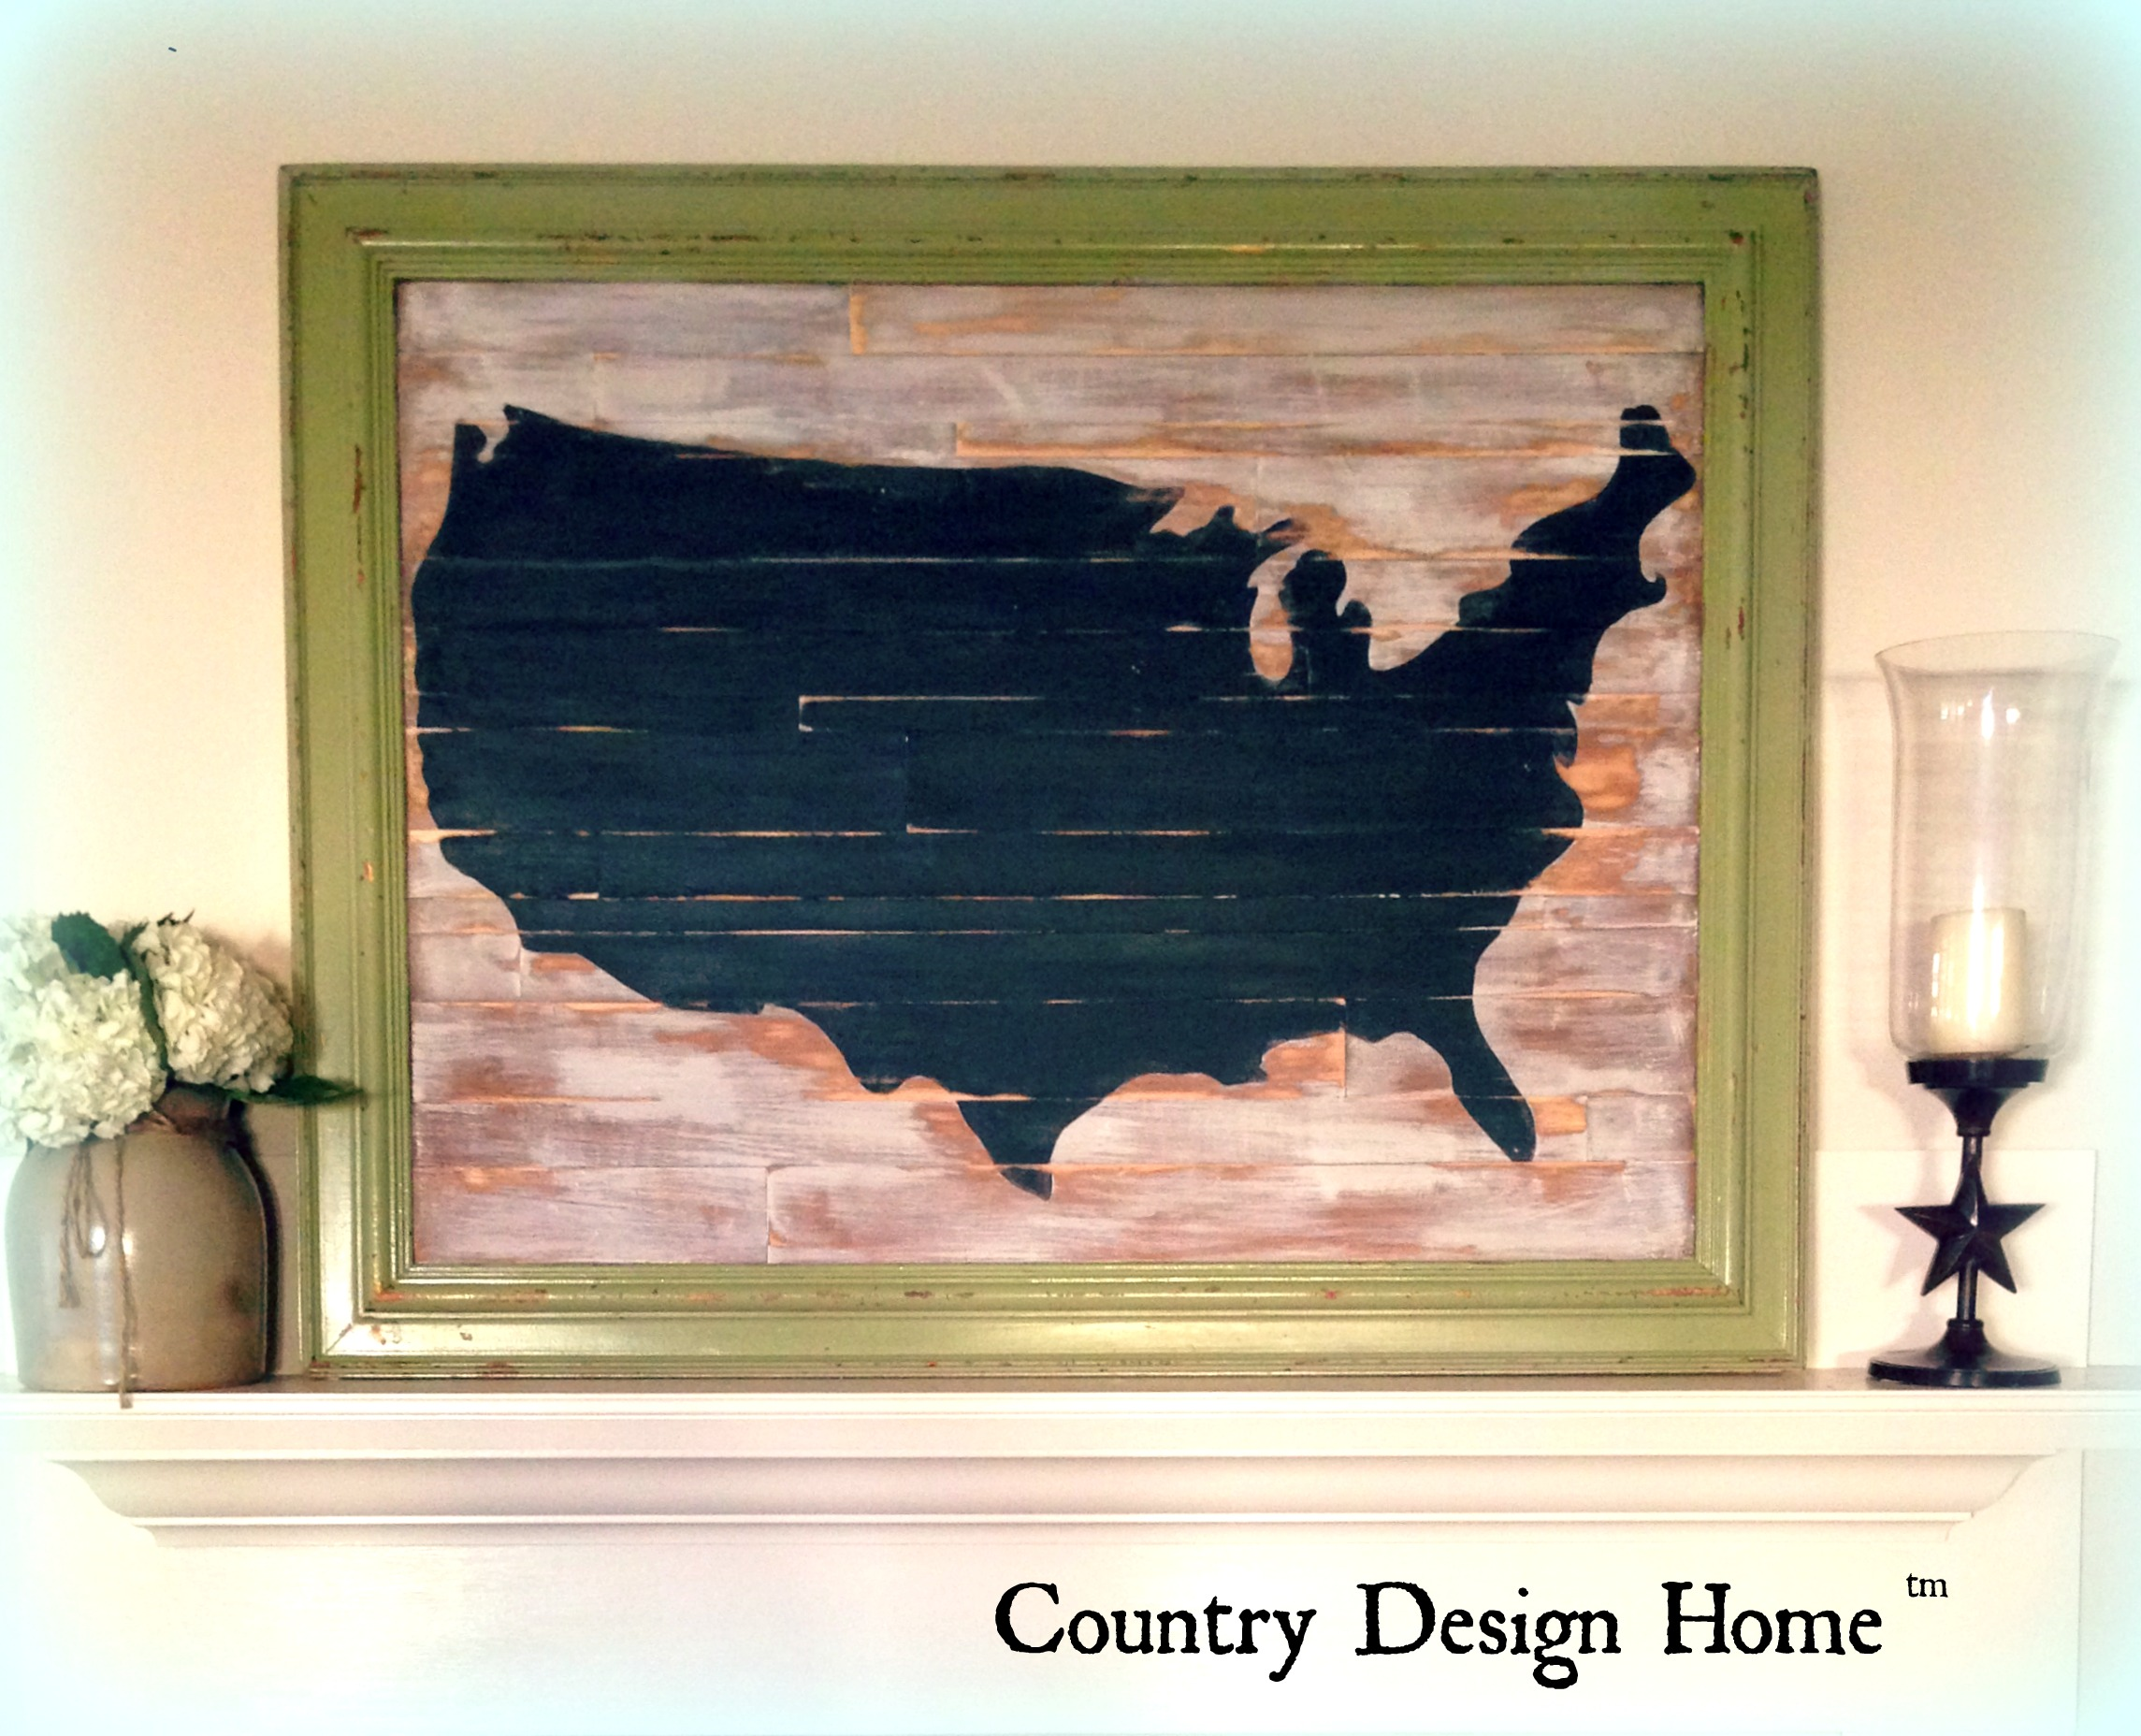 And remember, imitation is the sincerest form of flattery! Thanks Pottery Barn for the inspiration! Have an inspired weekend, everyone! Susan


wow i like this better than the original thanks for sharing xx
LikeLike
You are the one of the most talented folks I know! WOW I love it as with everything you create!
LikeLike
Thanks!! That’s really nice of you : )
LikeLiked by 1 person