This past weekend I spent a little R & R in California to recharge my blogging soul and warm my freezing bones. Mission accomplished. Sharing just a few sights and sounds of colorful Coronado, a resort city that sits across the bay from San Diego, connected by the spectacular San Diego/Coronado Bridge.
 View From The Bridge Color Capture
 Whenever I go walking to explore my surroundings, I always have my iPhone at the ready to take photos. And, with my Benjamin Moore Color Capture App, I can replicate those exact colors of nature in paint-to add a touch of sunny California to my home! Hmmm, I wonder if they have an EARTHQUAKE app?!?
San Diego Harbor-A View From Coronado

San Diego Harbor Color Capture

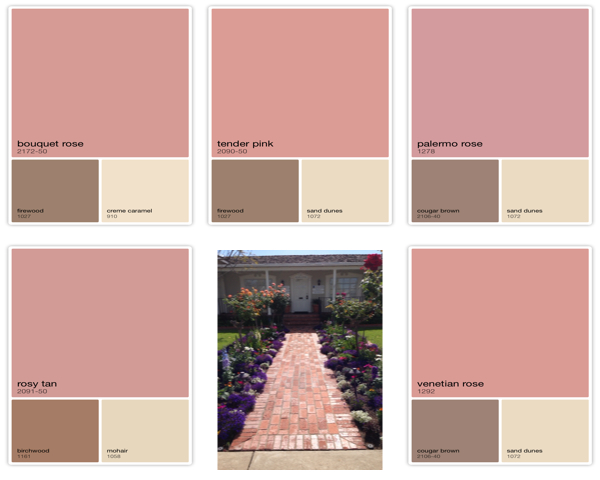
Coronado Brick Walkway

Brick Walkway Color Capture
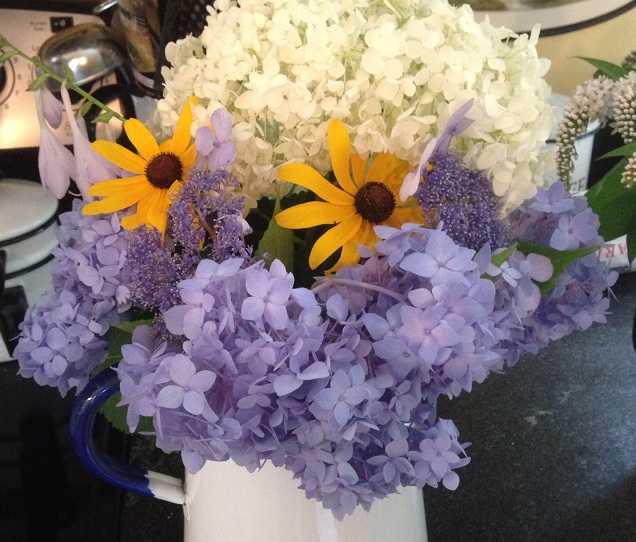
 Purple Flower Color Capture
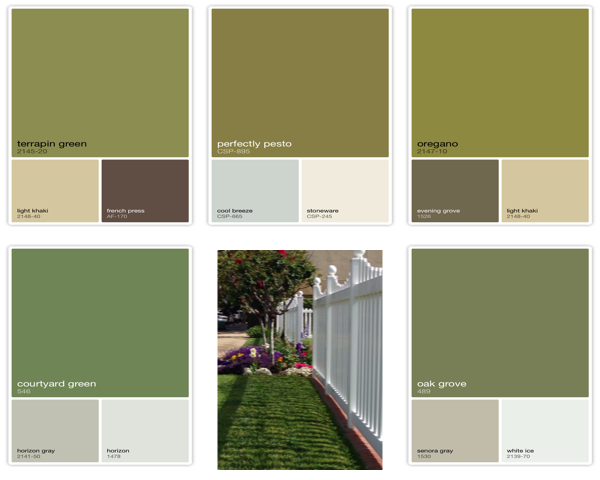
 Green Grass and White Picket Fences

Green Grass Color Capture
Coronado Flower Gardens

Lavender Daisies Color Capture

Fresh From the Farm

Luscious Red Tomato Color Capture

Boney’s Bayside Farmer’s Market

Fresh From the Farm Color Capture
 Coronado Bicycle Weathervane
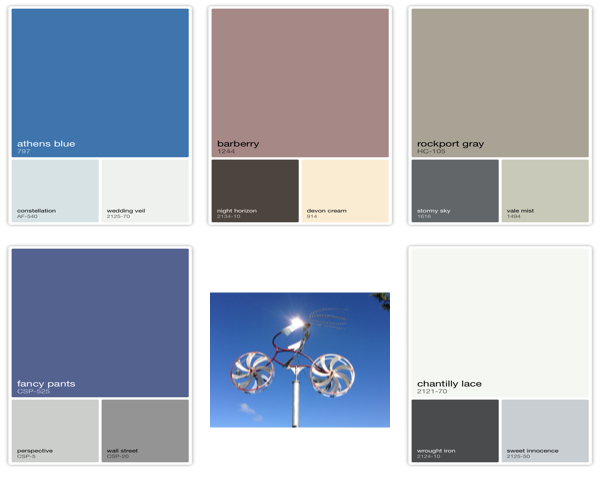
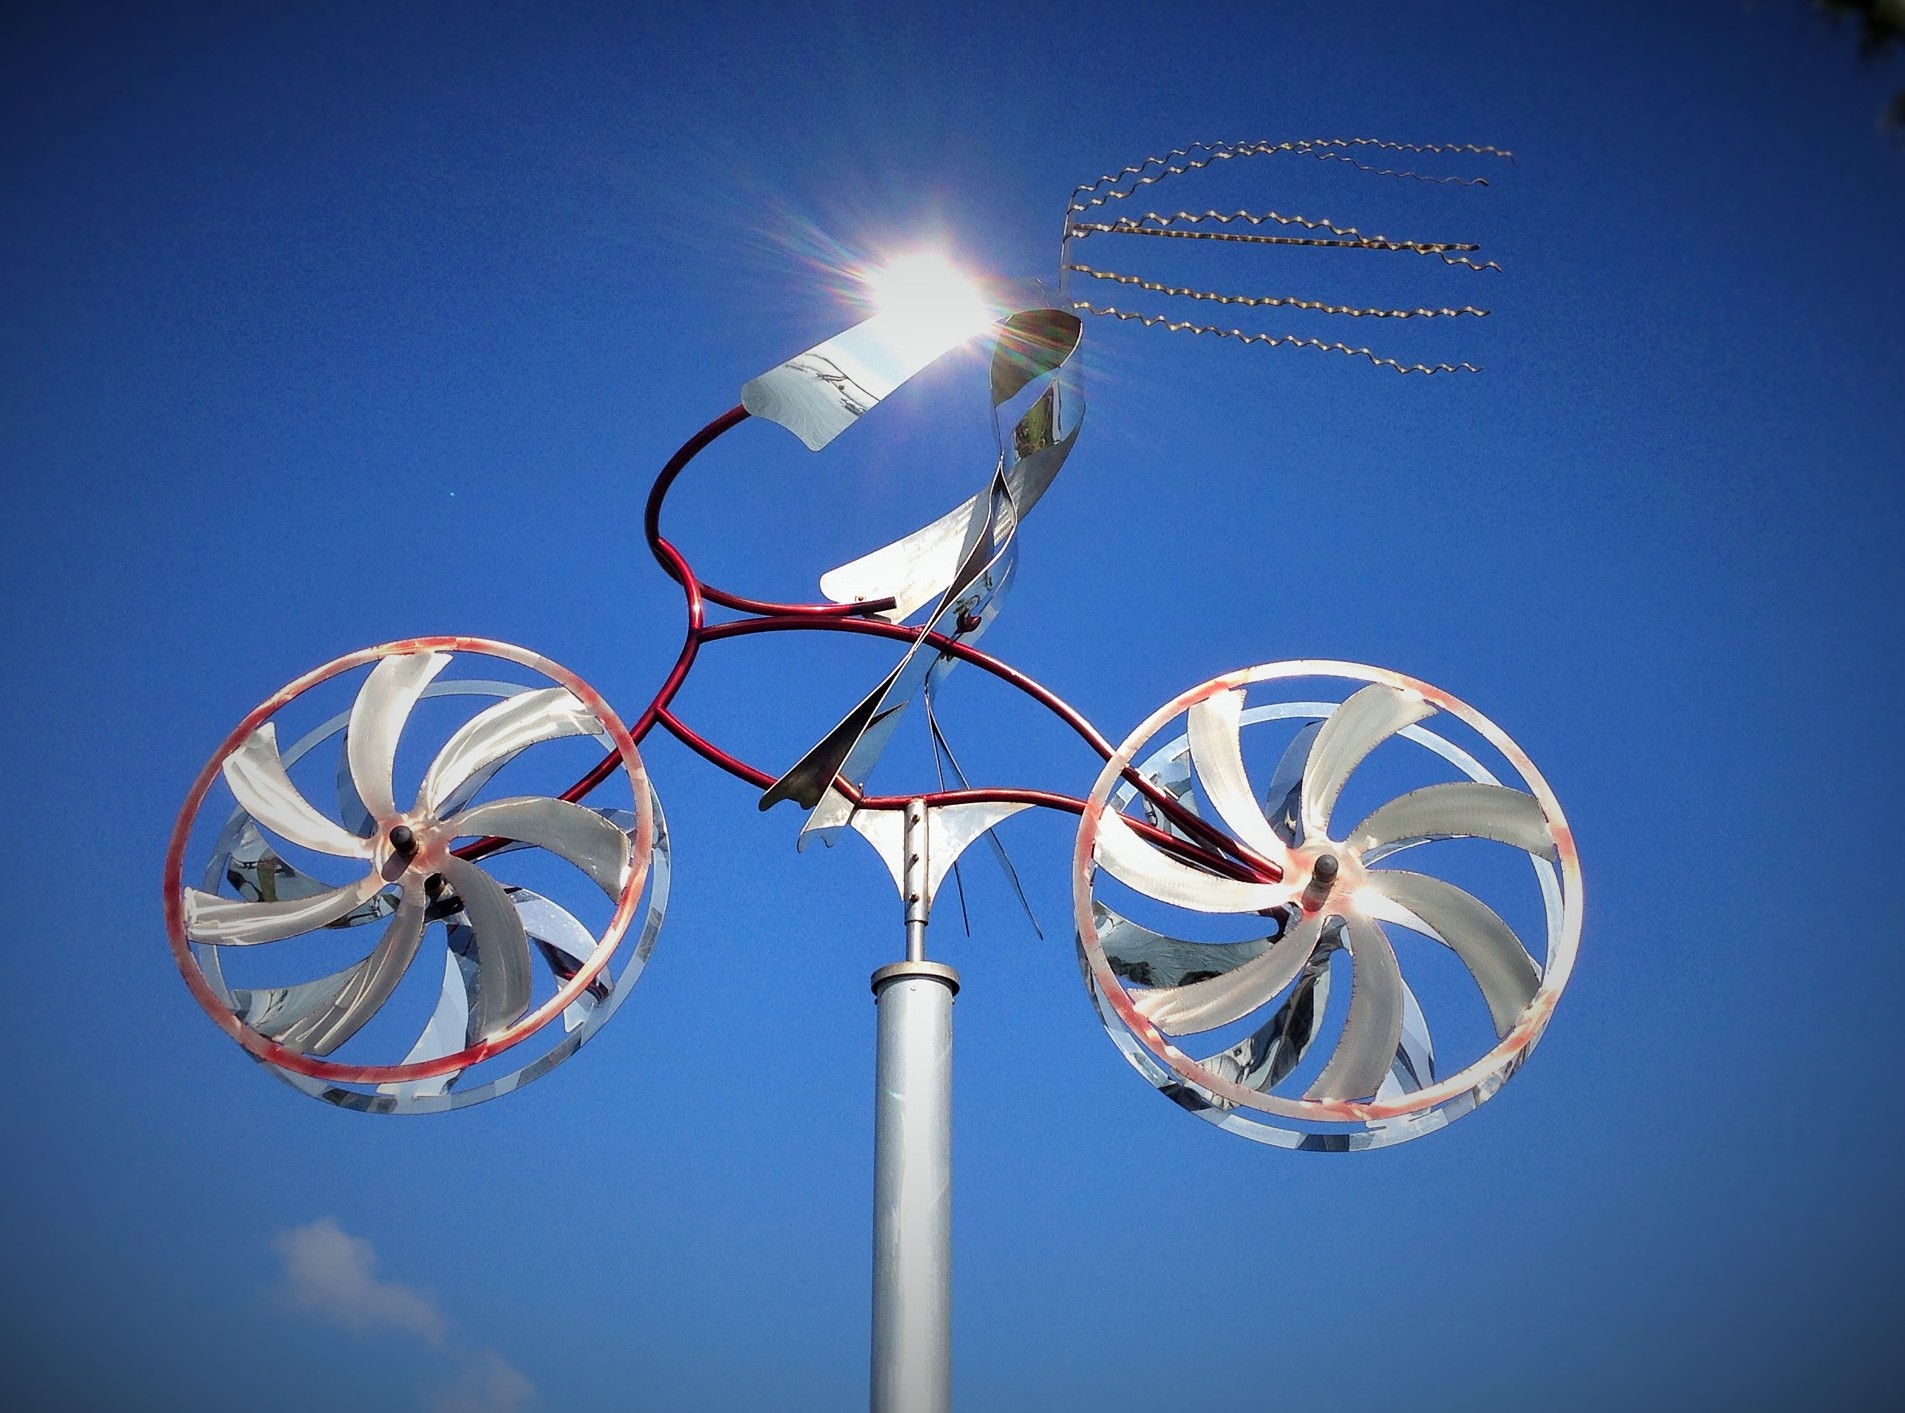 Weathervane Color Capture
If you haven’t downloaded the Color Capture App to your smartphone, do it now! You will be amazed at all of the colors available in each picture frame that you can’t see with the naked eye. Have a spring-in-your-step kind of Thursday, everyone!! Warmer temps will be here soon… maybe. Susan


 Once you have all your layers baked, cooled and chilled, it’s time to start decorating!!