As we continued to work on the nursery, my daughter and I looked at several black and white animal prints to use as artwork. She wanted something simple and graphic vs. “cutesy”, yet suitable for a nursery. A quick search online revealed these geometric, yet whimsical designs on Etsy. The company, Paint X Print designs all sorts of graphic prints for downloads-meaning they send you the file to print yourself-in whatever size and medium you choose. The mom-to-be chose three geometric designs in the shape of a pudgy bear,

 and a wolf– to complement our Black & White Woodland Theme.
 Since the designs were sent to me in digital form, it was easy enough to copy them onto my Cricut Design Space to cut out. As you can see, the originals on the Etsy website were printed in black on a white background. We could have printed and framed them as is, but these natural wood slices (that were used a few years back for wedding shower décor blackboards and I hung on to for whatever reason…)
 were the perfect “woodsy” theme frame- and a perfect graphic backdrop when re-painted black.
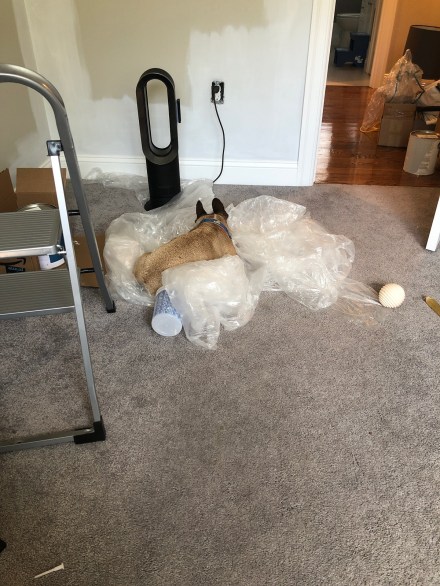
I think I have mentioned in the past that my Cricut machine is so much fun!
 For the average DIY-er it is incredibly versatile-cutting anything from paper to poster board to vinyl-even thin layers of wood! whatever your imagination can dream up, it can cut. In this case, I used a white glossy vinyl, cutting each design to fit the wood slices, then transferring them to the wood. Look how intricate these cuts are-that would have taken me hours by hand! (No, actually, I never would have attempted this by hand…) The wood piece for the bear was an odd shape and didn’t seem complete until we had added an extra star from the moon and the stars decals (on hand from the wall mural).
 Once completed, I sealed them all with a satin poly coating.

They are now hanging on the wall over the rocking chair in the nursery. Another project down, a few more to go (hopefully) before baby Arbra makes his entrance into the world. I’ll be back with more DIY nursery projects shortly! xoxoxo Susan

 I’d forgotten how teeny tiny newborn babies are until my daughter showed me a sweet little onesie from H & M-this dresser should be adequate for quite awhile! It was one that I had refurbished a few years ago for my own “nana-nursery” when our first grandson was born.
 I’ve really not had much use for it, since I have a bookcase and a changing table with loads of storage. So I offered it up to her for the black and white nursery. Originally, the entire dresser was stained brown. For my room, I had repainted it with teal accents
 and used a vintage map for the door inset. (and yes, the map is upside down-I never noticed it, even after I hung the door and placed the dresser in the nursery : O )
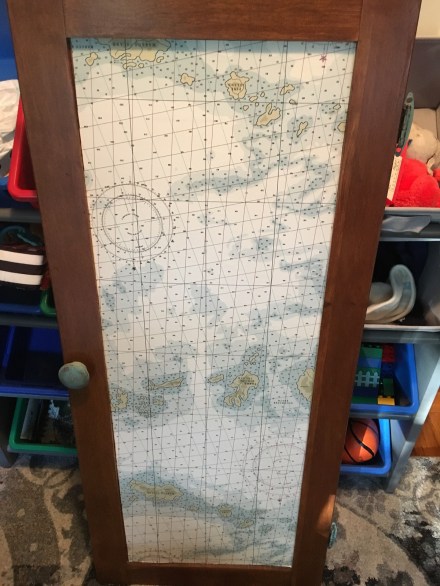 But, that old map print wasn’t going to work for the black and white woodland nursery! As it just so happened, I did have some pieces of
  Using that, I replaced the map with the birch trees, instantly transforming the dresser from nautical to natural!
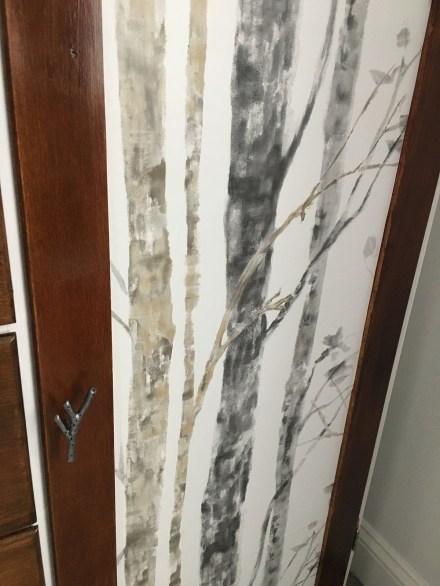 Along with the map, the handles-which were teal blocks of wood-needed a change as well.
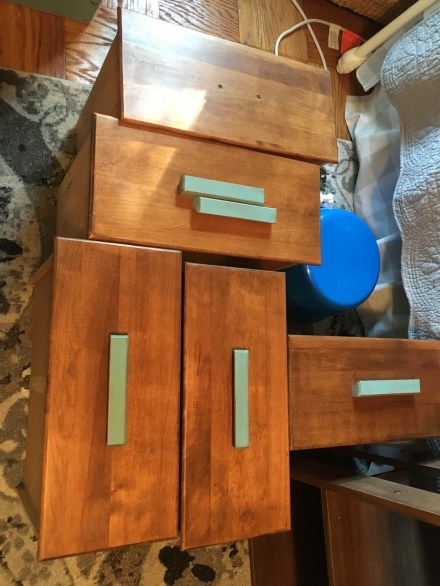 You know, the thing about
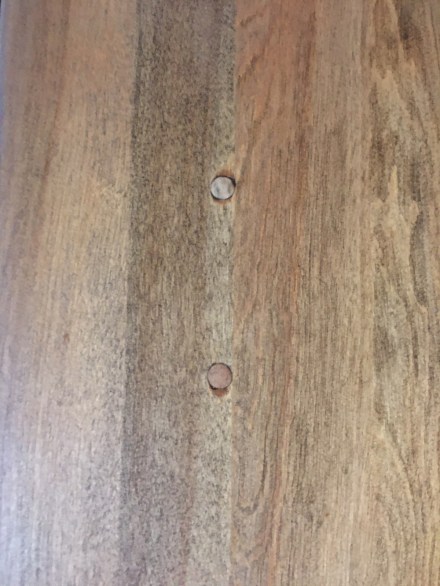 Then I sanded down the drawers, restained and then polyurethaned them, as well as the dresser top and the door frame surrounding the birch paper. Although the little wood plugs didn’t take the stain as well as the rest of the wood, the contrast was barely noticeable once the twig knobs were added.
 The rest of the dresser was painted in
  Another project done, more to go! And baby still hasn’t made his appearance, much to his mommy’s chagrin. Next up, the art of the nursery. xoxo Susan
 I put together this flannel quilt with fabrics I chose from the vast selection at
  There were so many to choose from, I had a difficult time deciding.
 trees and mountains and leaves and baby animals-along with a few inspirational quotes for the baby-to-be.
 All in black and white and framed in graphic black and gray buffalo check.
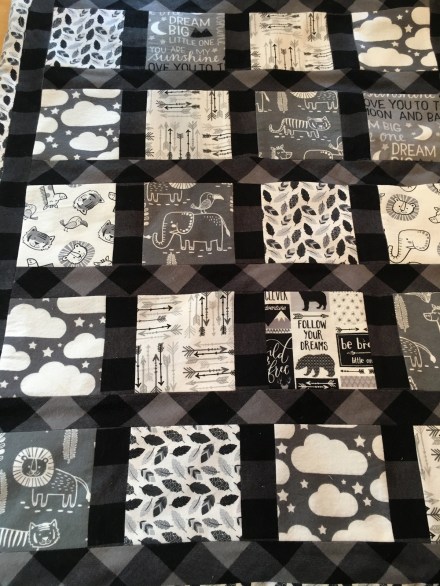 This soft flannel quilt is not hand stitched-at this point in my life I have neither the patience nor the inclination to produce that type of quilting masterpiece. Instead, it is machine stitched and machine washable-perfect for a typical messy baby : )
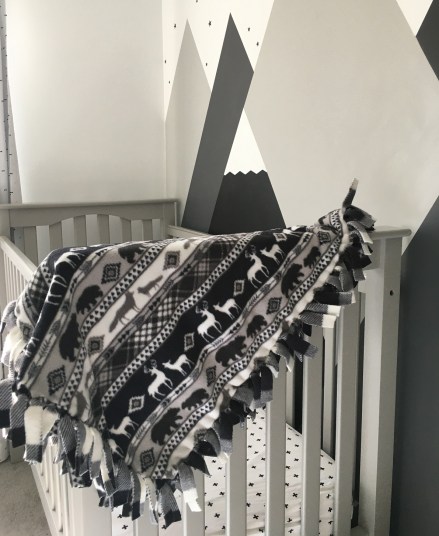 Two pieces of fleece, any size, back to back. Cut squares into the corners, cut along the edge in 1-2 inch increments all the way around. The wider the cut, the fatter the fringe. The deeper the cut, the longer the fringe. Then you just tie knots to attach front to back. Warm and soft and very cute-and also machine washable!
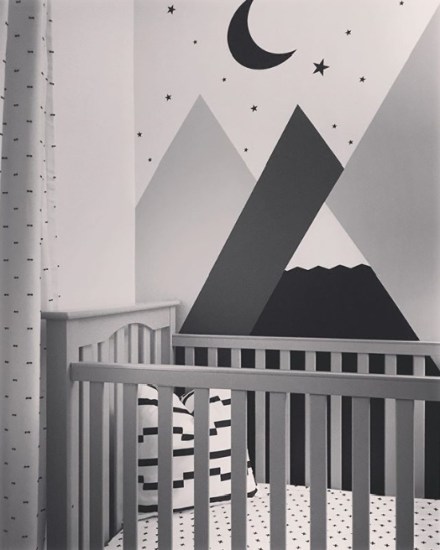 Even though they are white, they do a nice job of blocking out the late afternoon sun that beams into the nursery. Pillows-the graphic one from
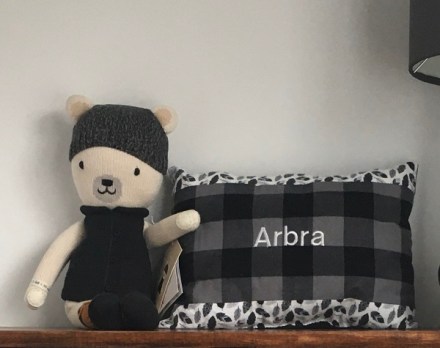


 The first step was to decide on the scope and scale of the mountains, then tape them off. There is no right or wrong here-the only thing I did measure was the angle of the mountain tops to keep them in some sort of symmetry.
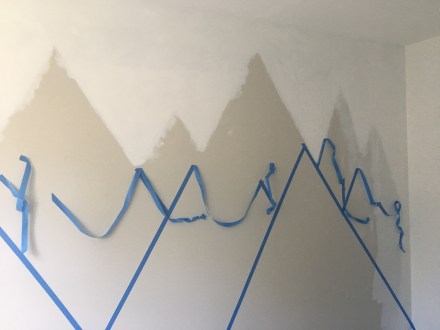 Once the sky was dry, we started with the light colored mountains, then layered the darker ones on top as we built the range. There was quite a bit of taping and re-taping as we went along. Just remember that the paint needs to dry and cure before you re-tape over it-otherwise it will peel right off with the tape!


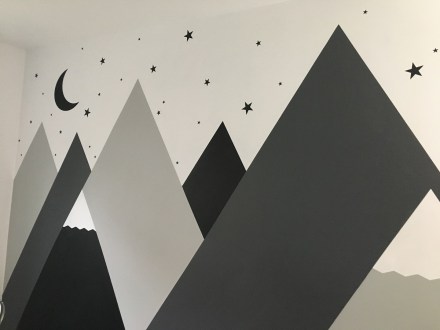 Once that was completed, we re-assembled the gray


