In an early High Five for Friday!, I wanted to give you a sneak peek at all things country being offered in my shop at the Vintage Thymes Monthly Market. After what seems like a year (actually its only been 6 weeks since I agreed to join the market- but boy my arms are tired!) of sanding, staining, waxing, painting, cleaning and hauling loads of great vintage stuff in my poor car-soooo many dings and bumps : ( 
I am finally ready to debut my collection!
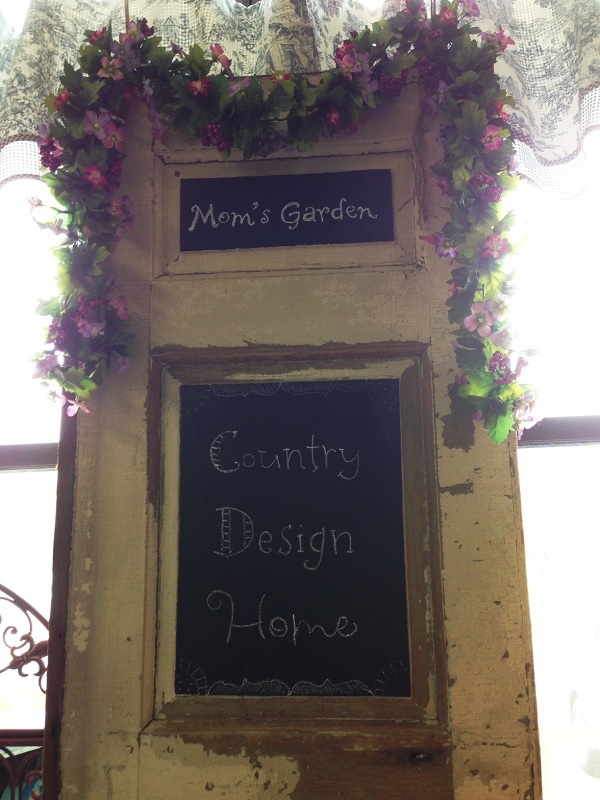
Country Design Home: A Carefully Curated Collection of Simply Casual Country Style Furnishings & Accessories.
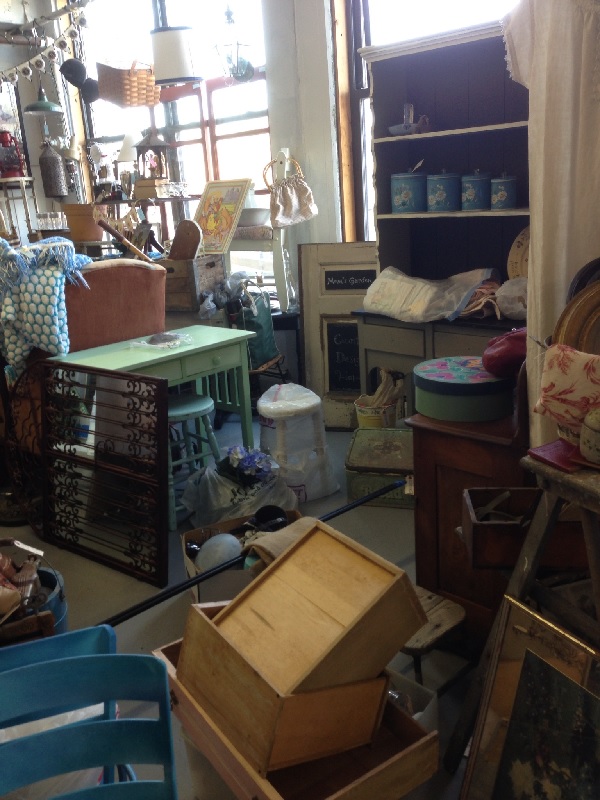
This was the before:

And this was during (I really thought I was going to need a bigger booth!)
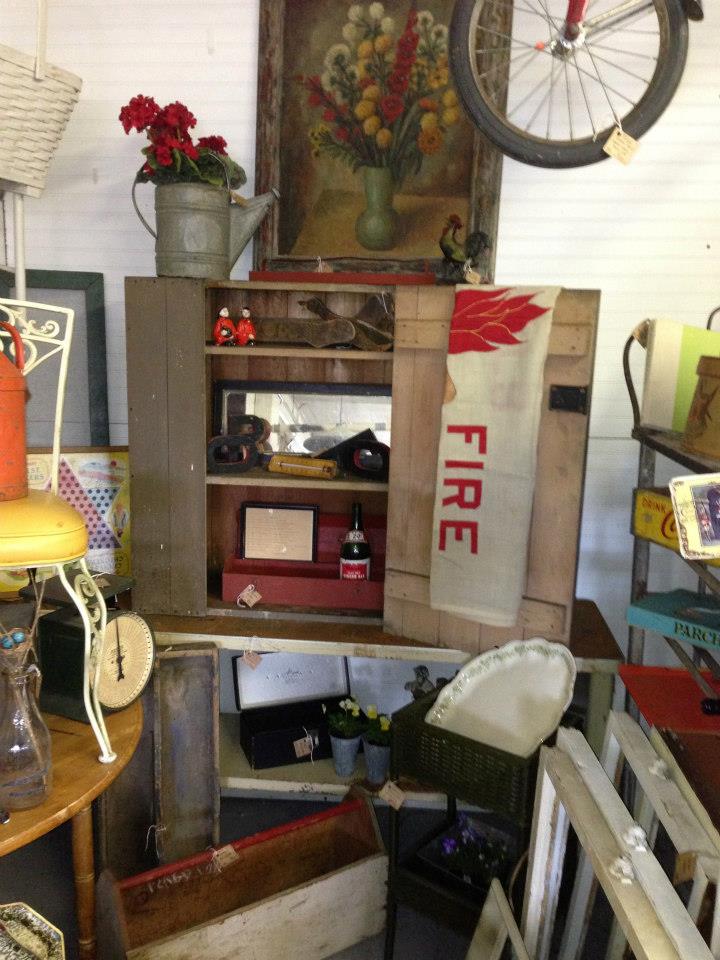
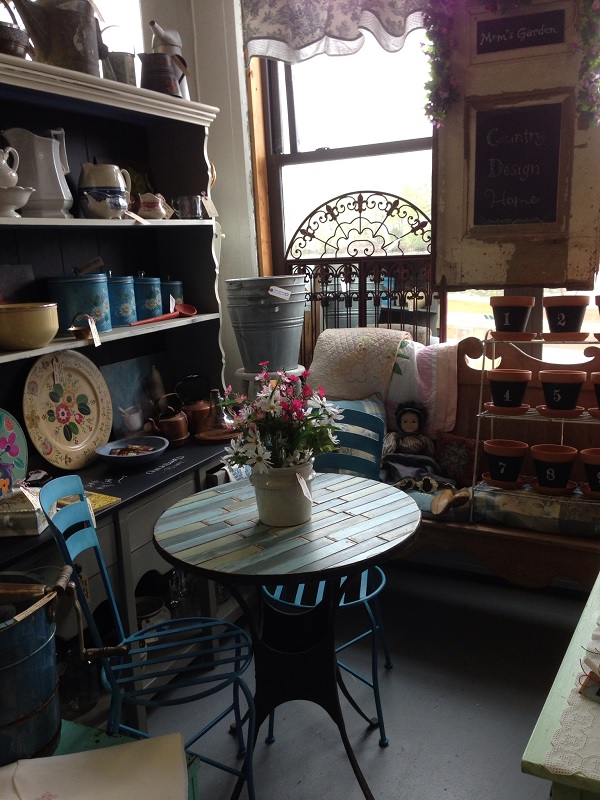
And this is now:
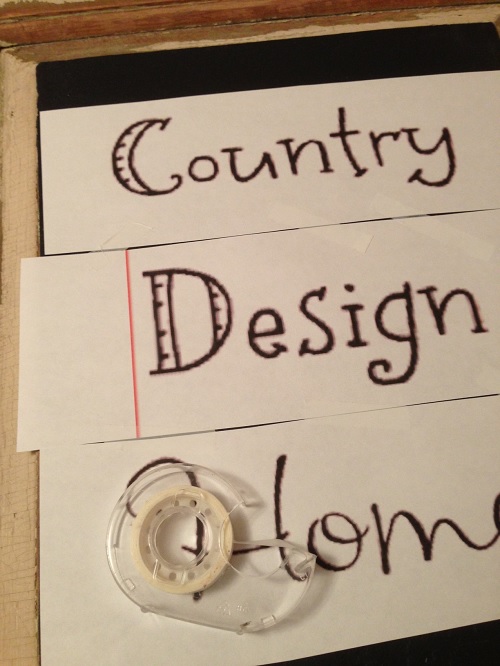
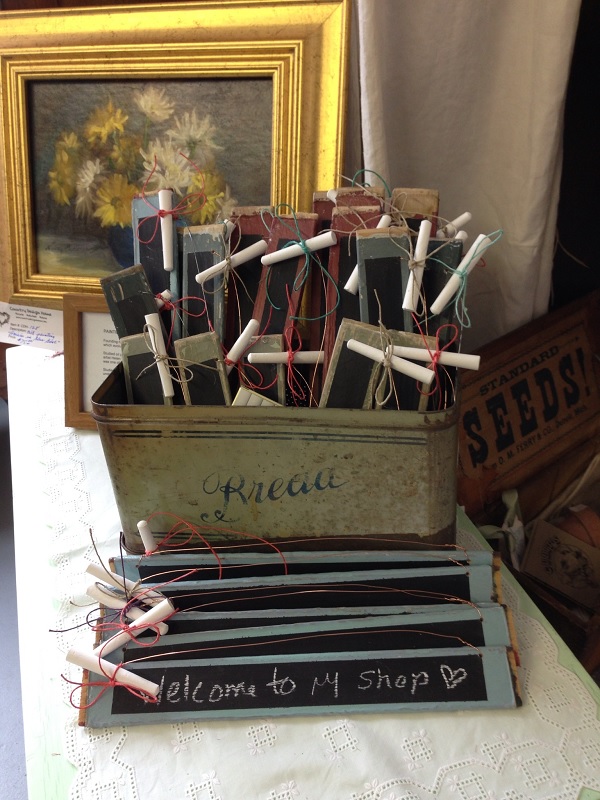
In my shop, you will find hand-crafted items, like these very cute shutter chalkboard signs,
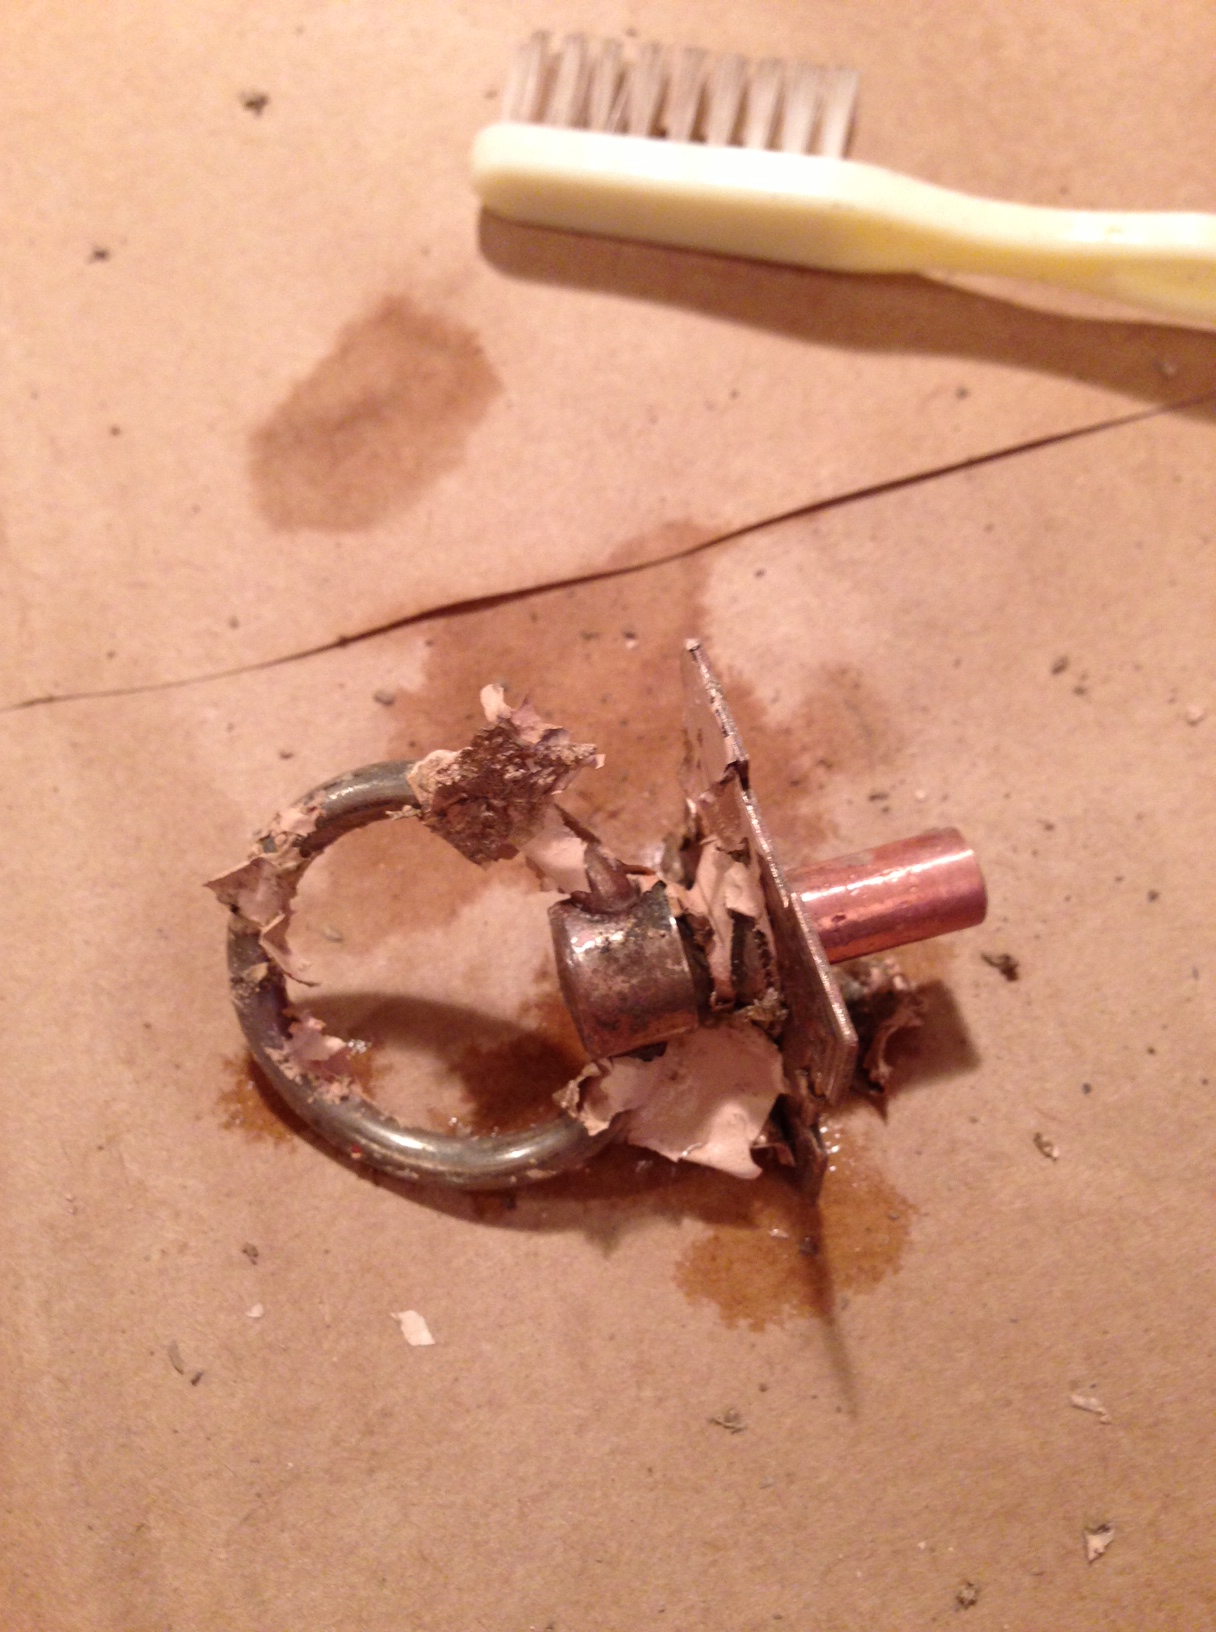
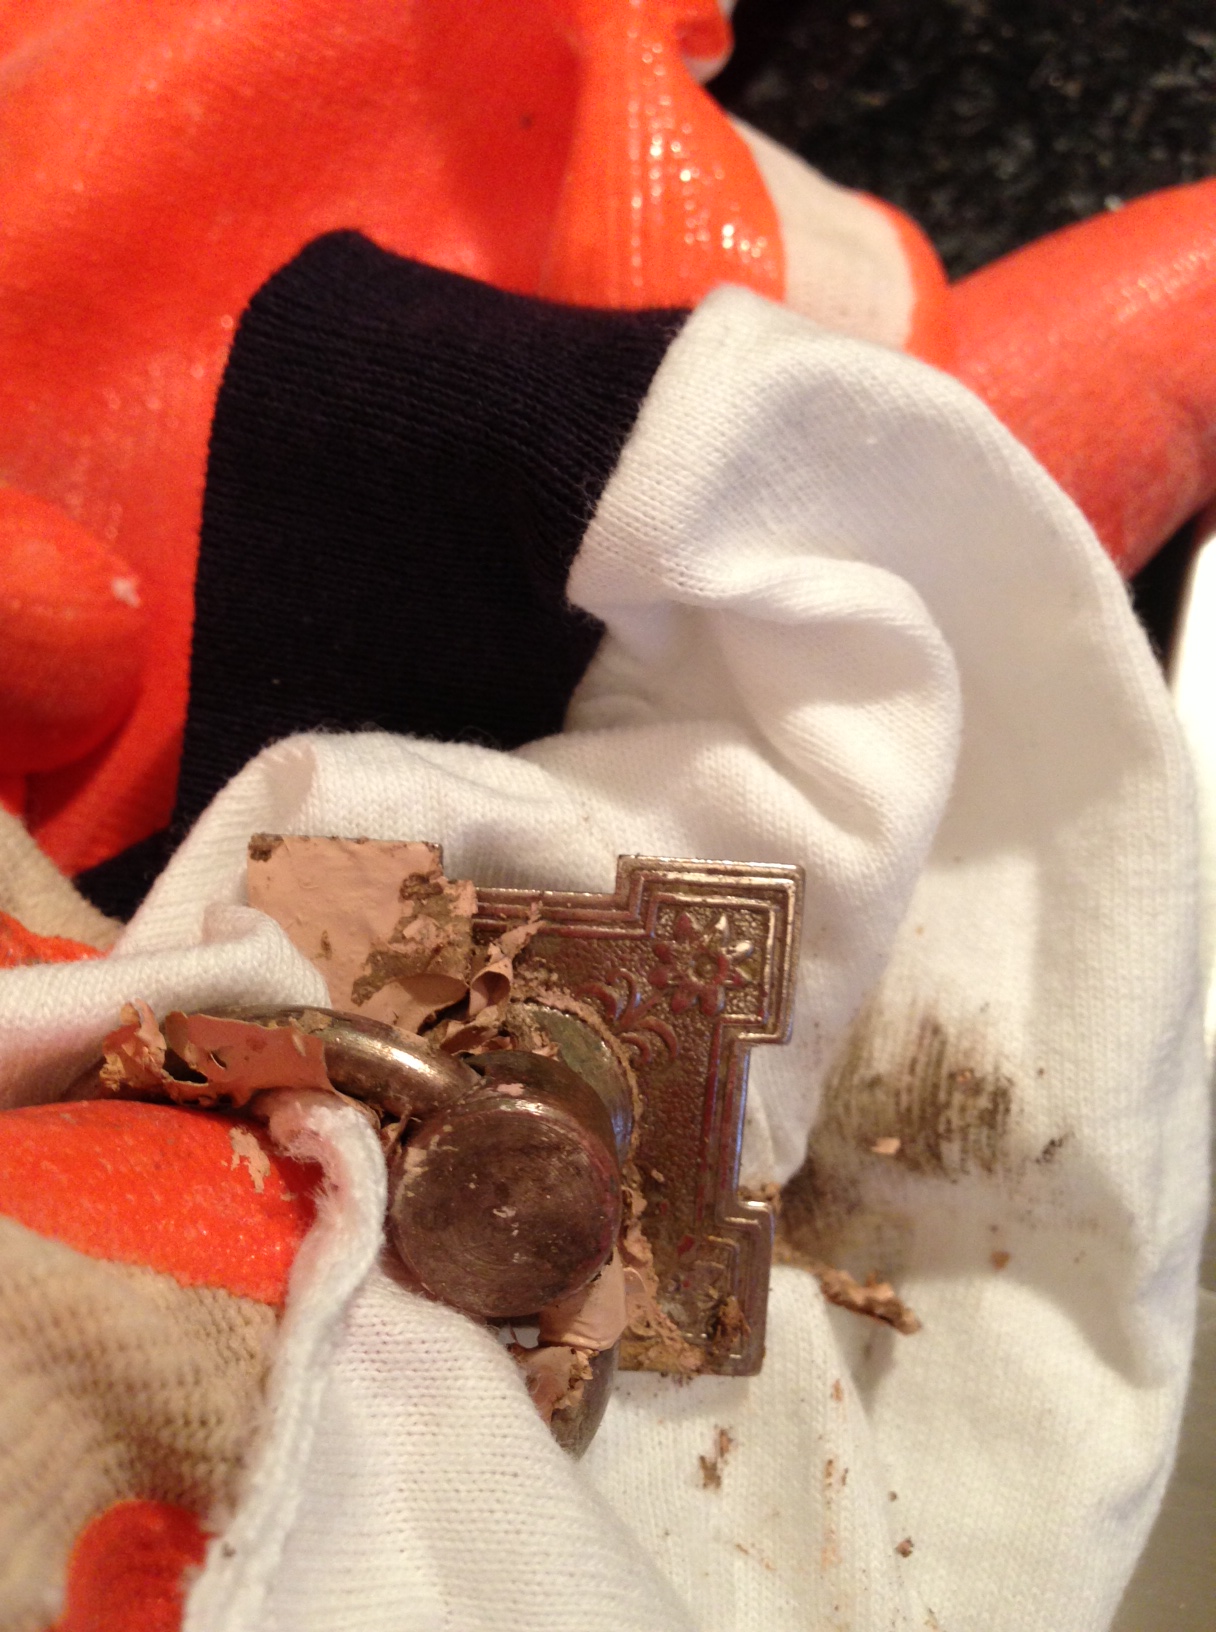
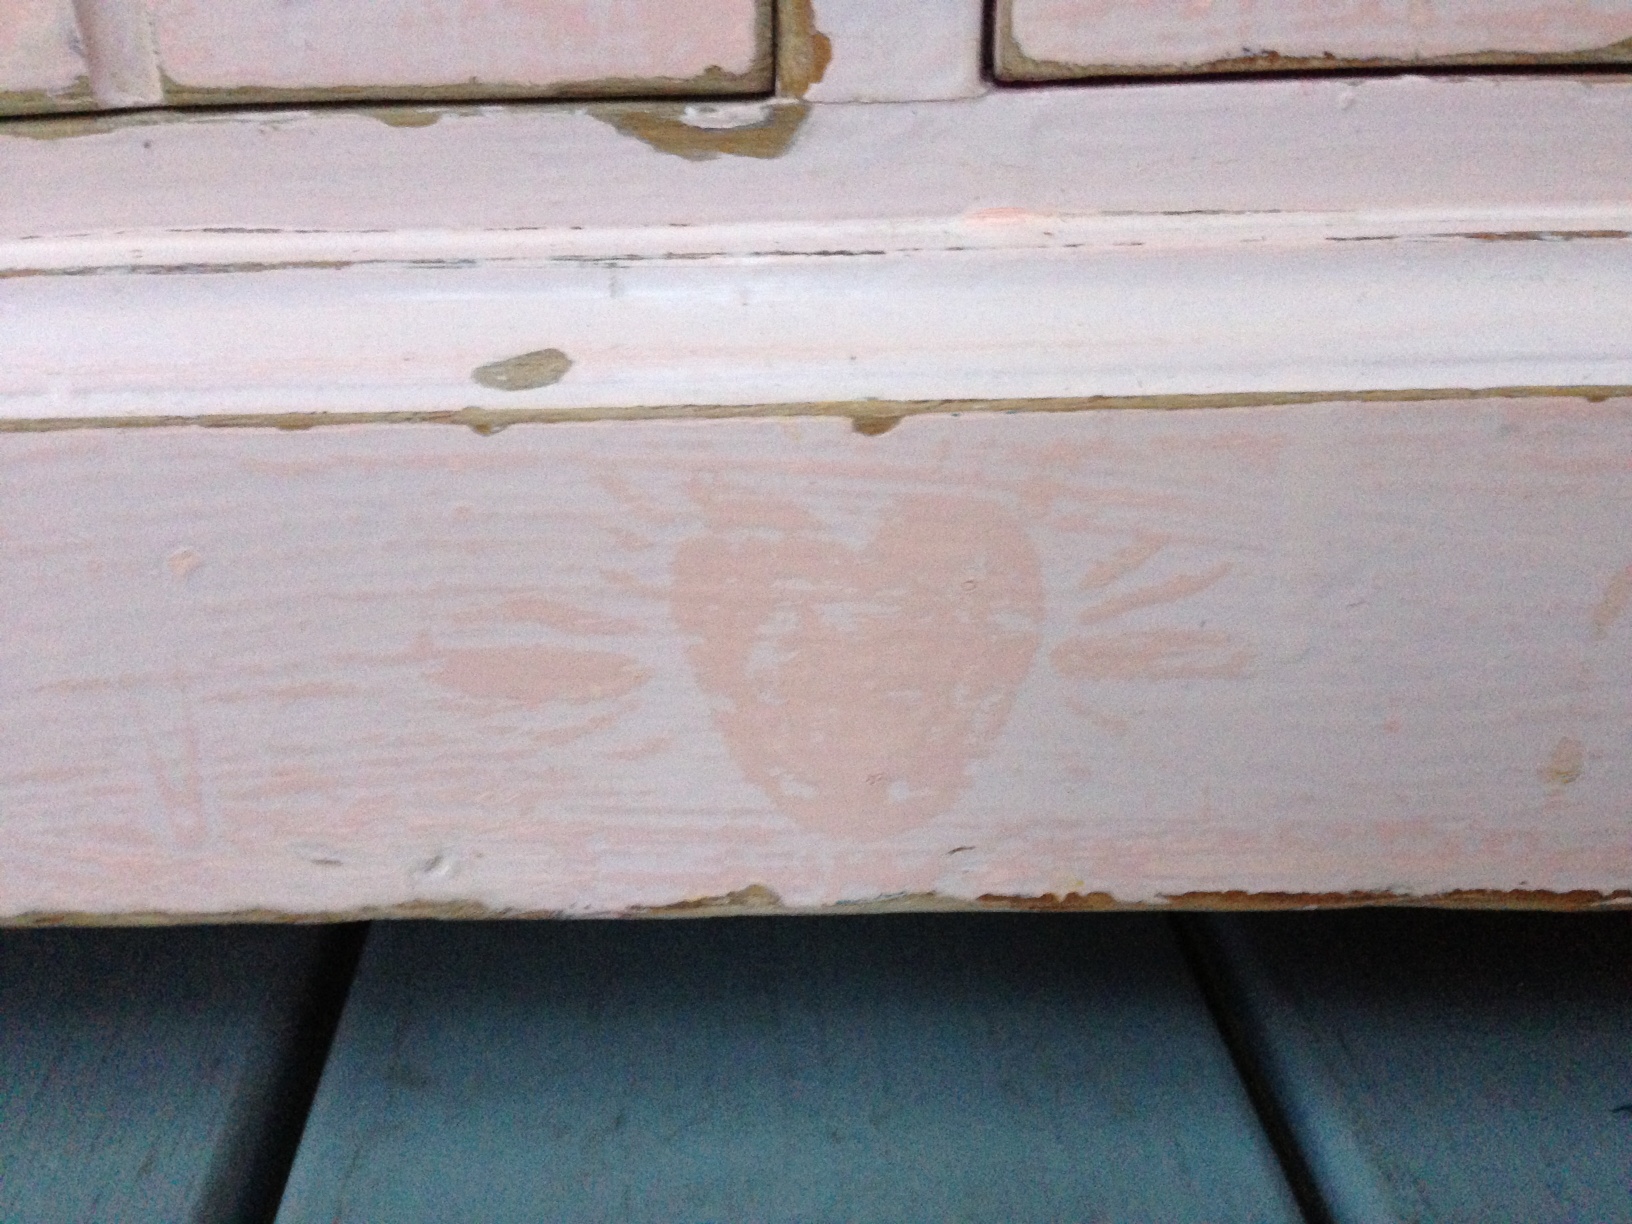
refurbished beauties like this pink and gray Victorian commode that was featured in a previous blog post: Coming Unhinged

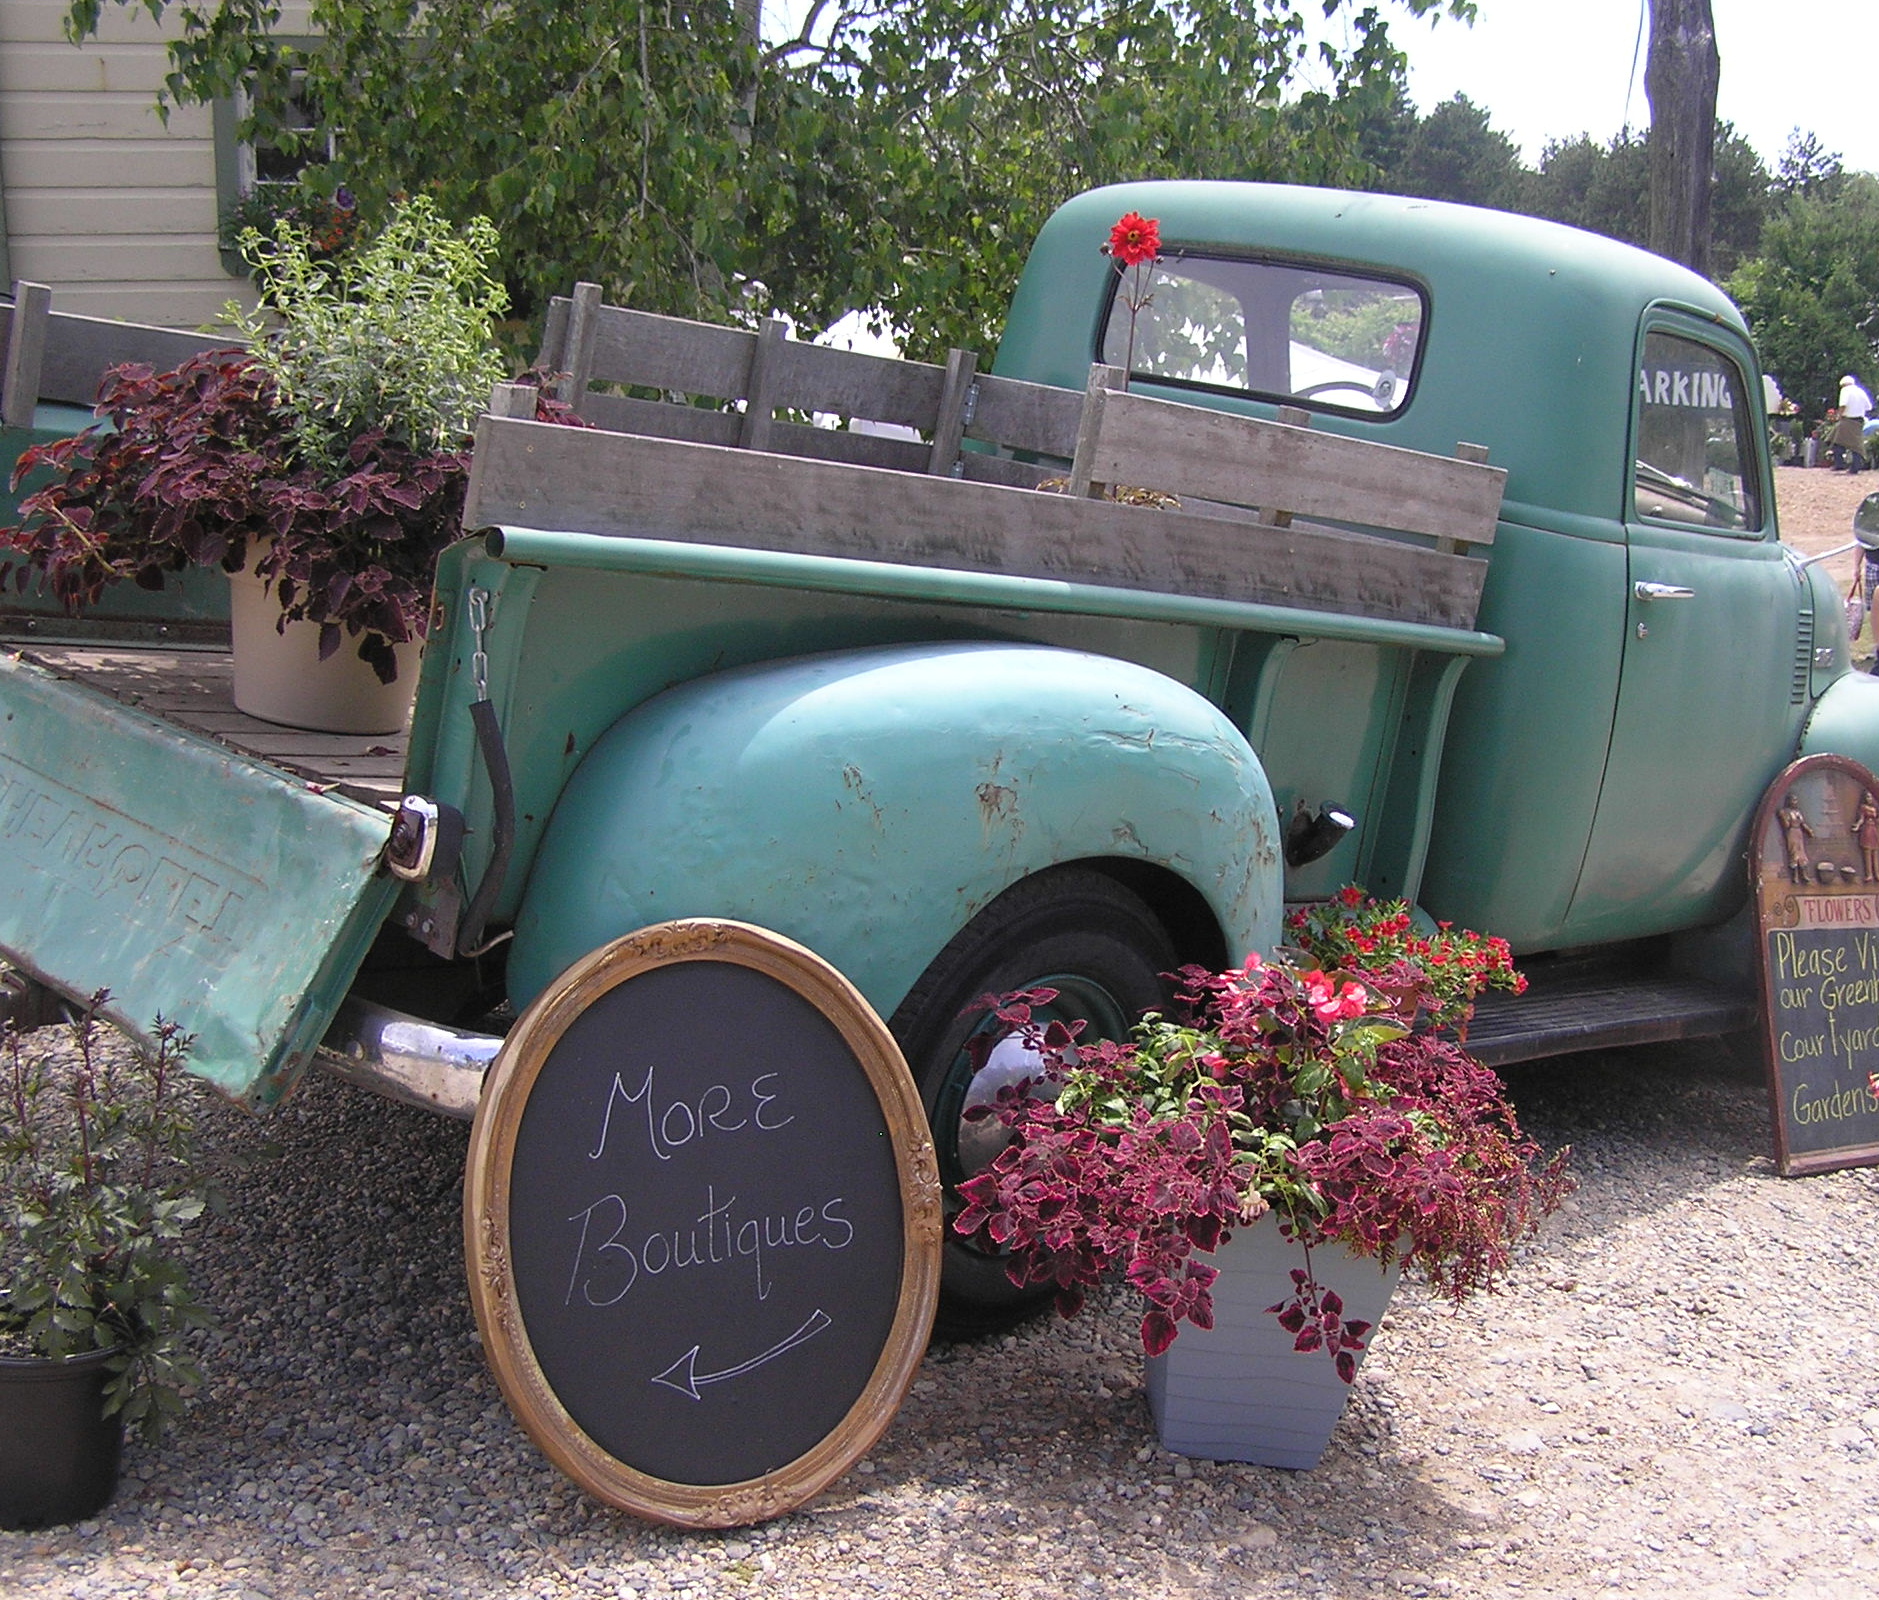
and of course, my newly created wrought iron shutter top patio set!  If you get there early, you might find this amazing aqua blue vintage hinged and locking steel box
 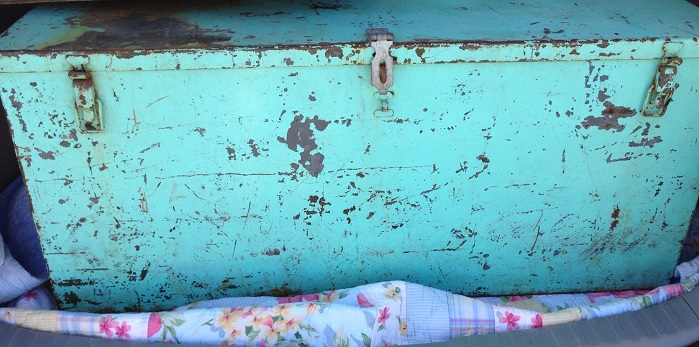 presumably from the back of my dream pickup truck
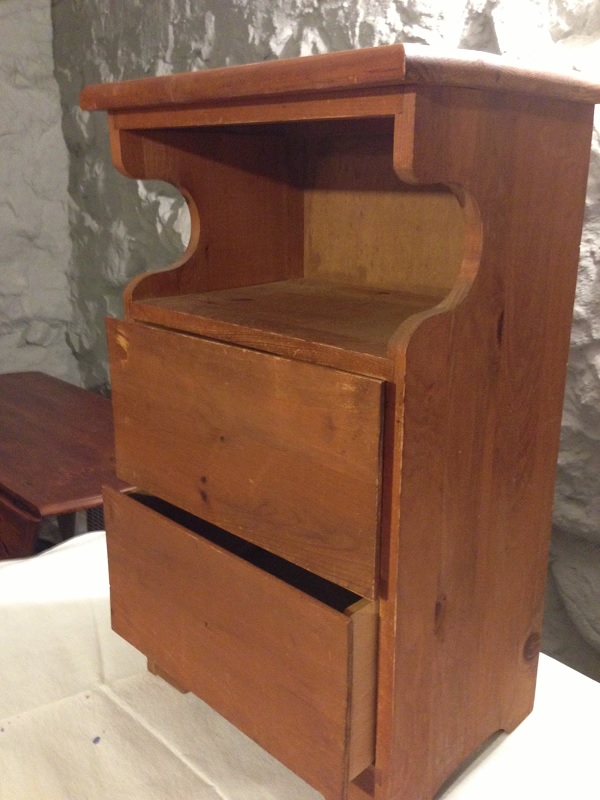
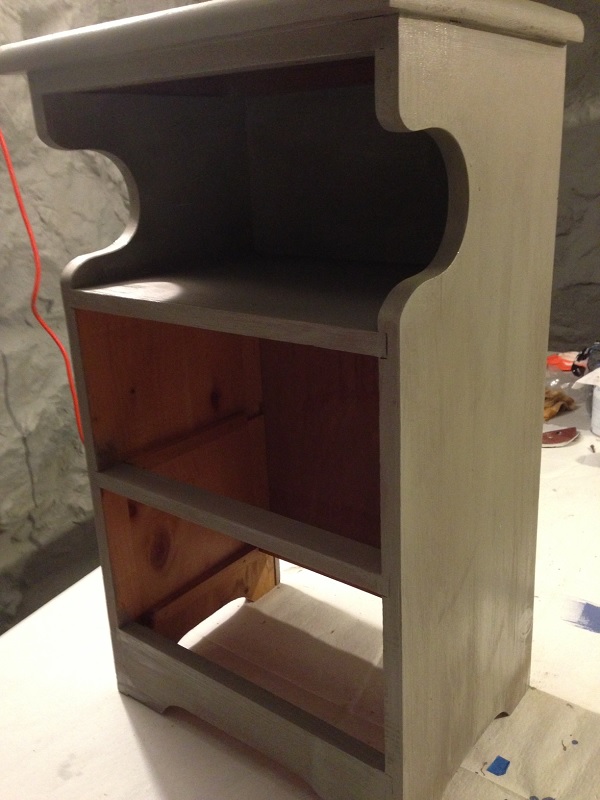
(but I have a feeling that one’s not going to be there long, judging from the oohs and ahs of anyone who saw it…), loads of creamy white stoneware and crocks, mason jars by the barrel, vintage tin milking pails, luscious yellow enamel bowls and these cute tin daisy canisters with cut glass knobs. If you follow my blog, you know I am all about color. This month is pretty pastels, reflected in the paints and accessories I chose to highlight. I love muted grays and blues as much as the next girl, but for me, color brightens my world and makes me happy : ) 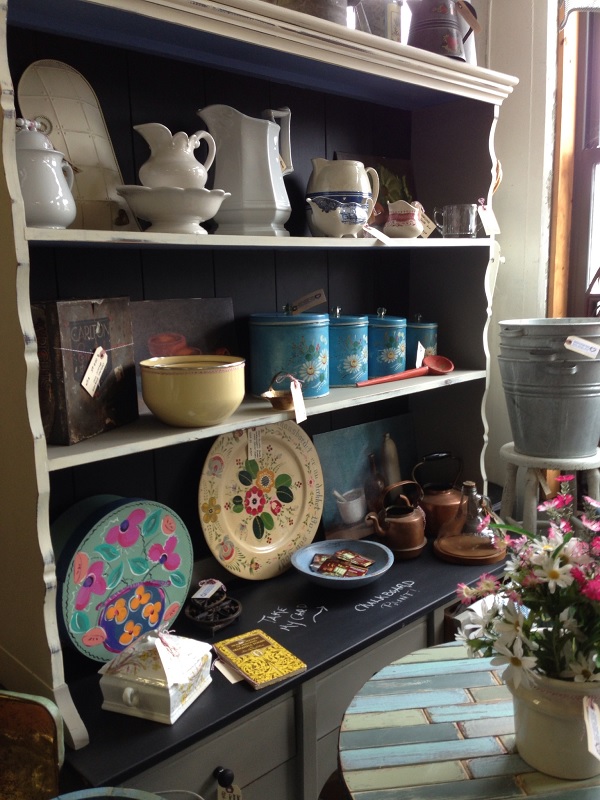 The cupboard shown here was in my dining room for years. Moved around a bit, but finally landed back in the barn. What was once an old, tired dark brown stained wood was transformed with Annie Sloan French Linen Paint and Soft Wax Finish and Benjamin Moore Chalkboard Paint on the buffet top. Or, if you have a hankering for some home-made ice cream, how about this vintage ice cream maker?
 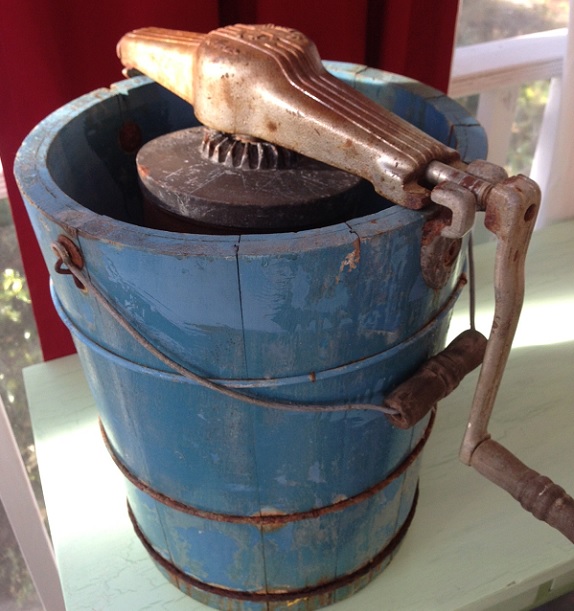 If you are getting ready to plant, I suggest this 9 clay pot vintage iron rack. The pots are chalkboard painted, so you can erase my numbers and label them with the various plants and herbs you are nursing along.
 I had a blast putting my shop together, with special thanks to Coach, who is my fabulous picker, Lisa Mokaba, my right hand girl and lover of all things vintage, Nancy Granese, who added her amazing artwork for my space and the fabulous ladies from Vintage Thymes Monthly Market-Robin and Nancy-who have helped me immeasurably with great staging and pricing advice : )
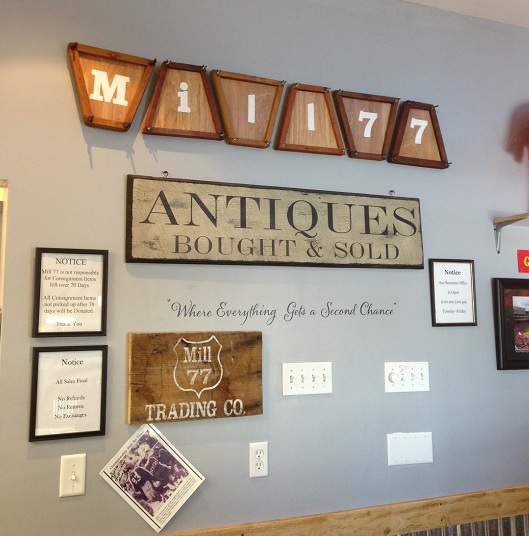
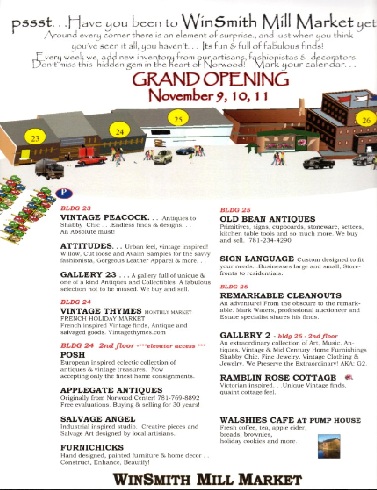
  The entire market is stacked to the rafters with great vintage finds, and ready for opening day-tomorrow! So much to see, so much to buy! I hope you have a truck : ) The hours of operation are Friday, May 10 from 9-6, Saturday May 11 from 9-6 and Sunday May 12 from 12-5. The address: WinSmith Mill Market at the Norwood Commerce Center, 61 Endicott Street, Norwood, MA. Google Map Here. Hope to see you all there! Now I’m going to take a breath and have a cup of coffee before I start getting ready for June. Happy Shopping, and a very Happy Mother’s Day everyone! Susan


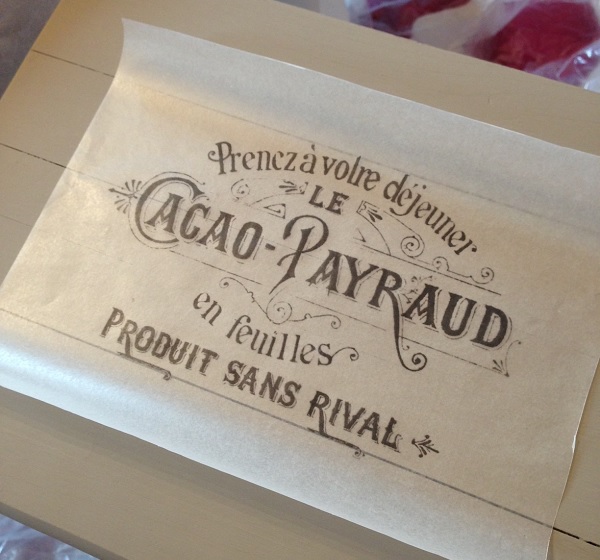
 I have tried many brands and this one is very smooth and creates a nice writing surface. You need two coats. Follow the directions on the can. It takes 3 days to cure. Follow the directions on the can. Make sure you “size” the board before you write on it with chalk. Then wipe it down. Follow the directions on the can.