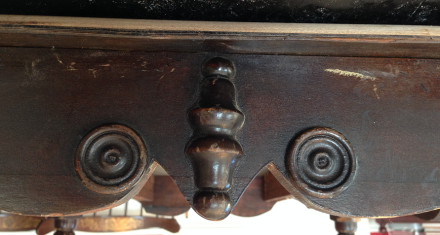
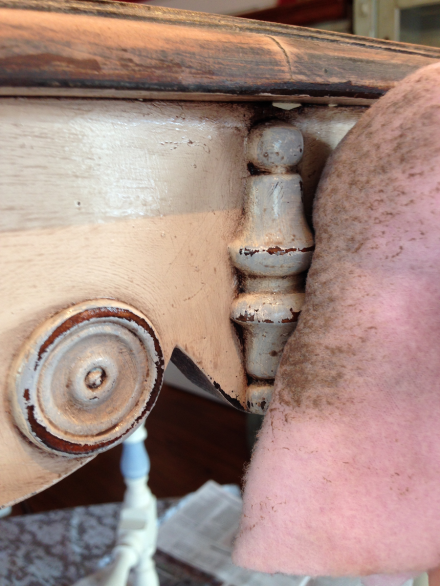
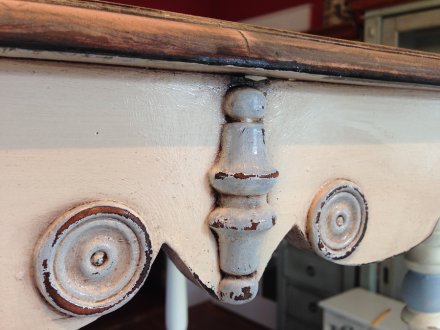
A few days ago I shared a project that I had been working on: transforming a country cupboard from this ugly, broken, junky piece to a cottage fresh country cupboard. This was the before:
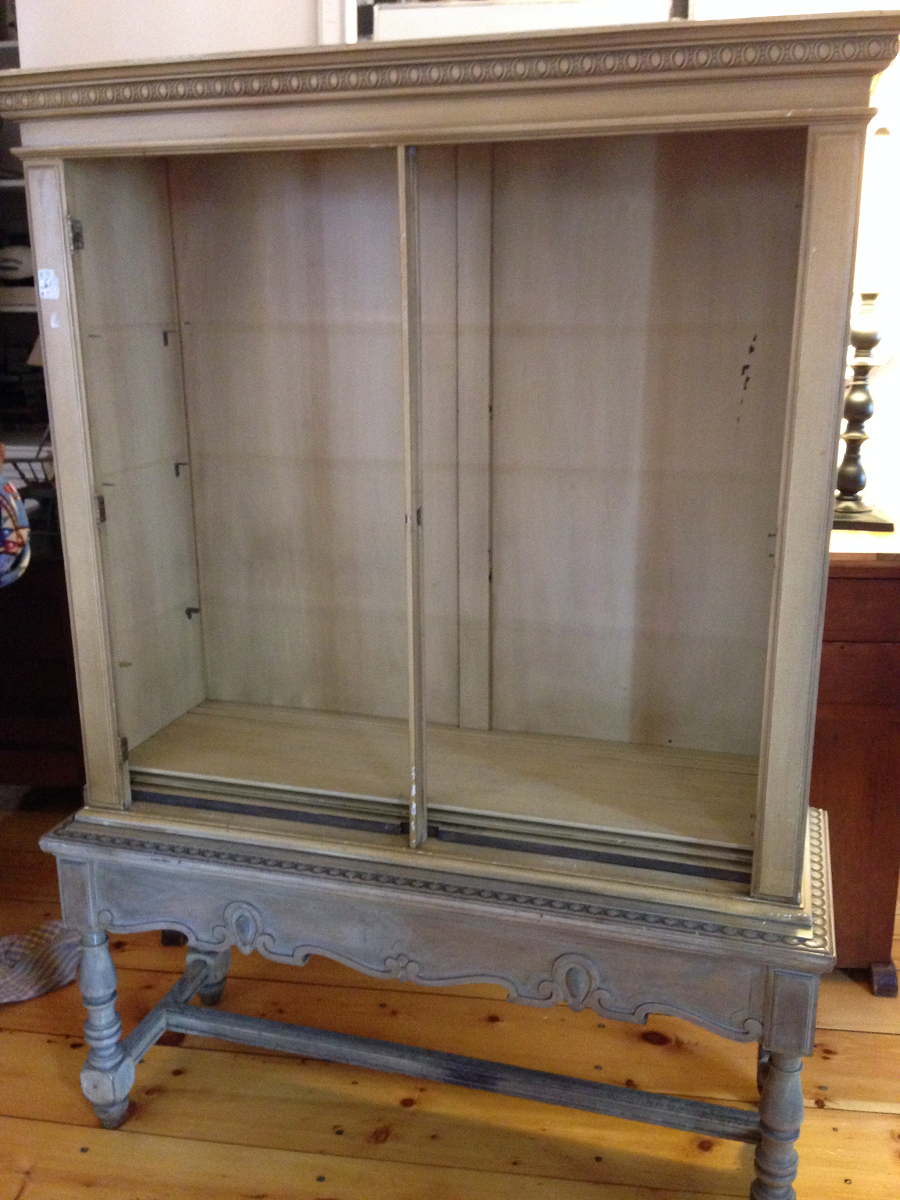
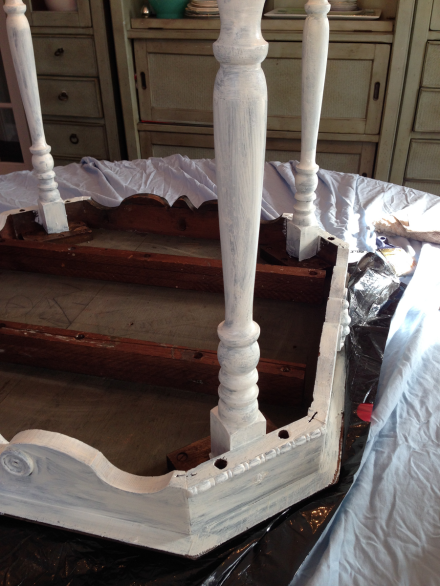
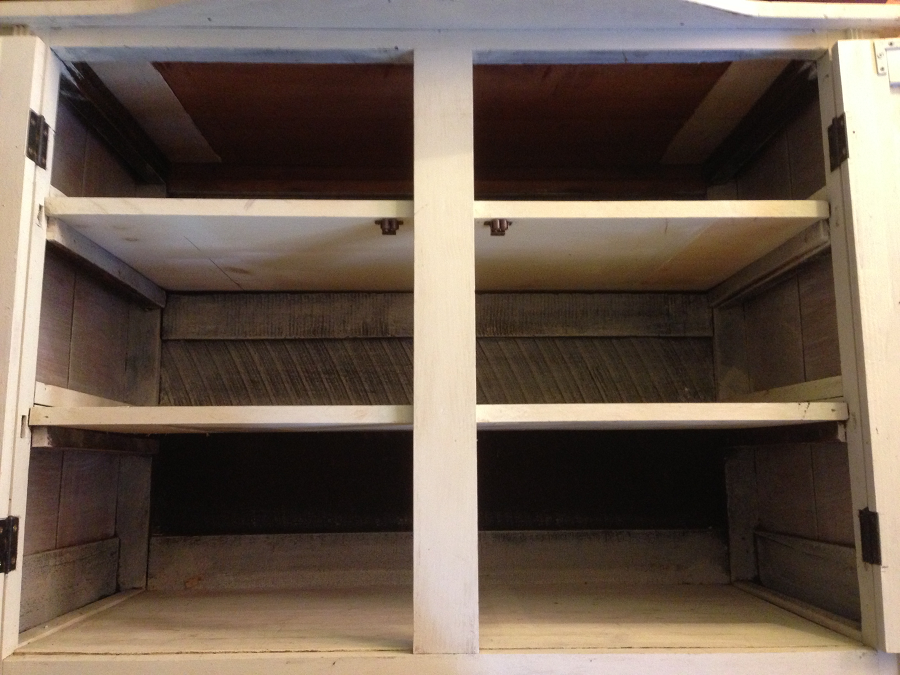
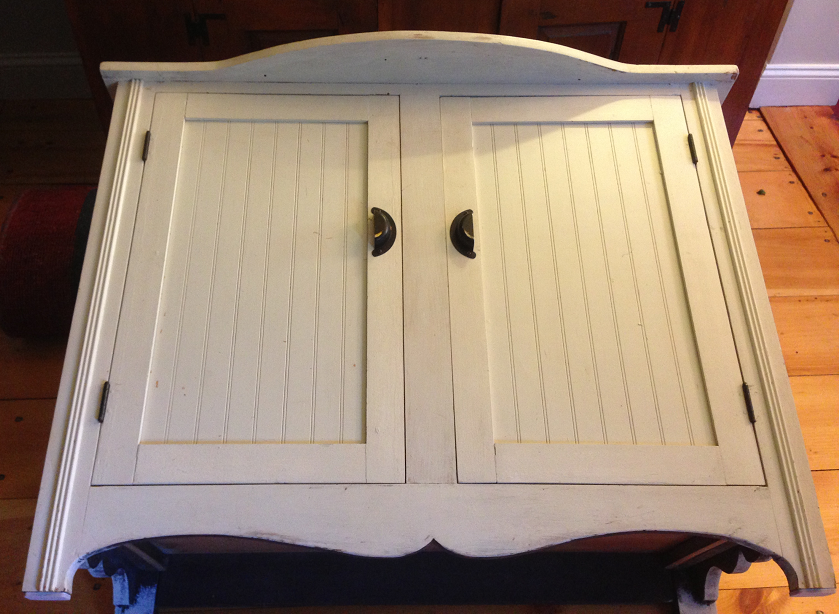
this was the during

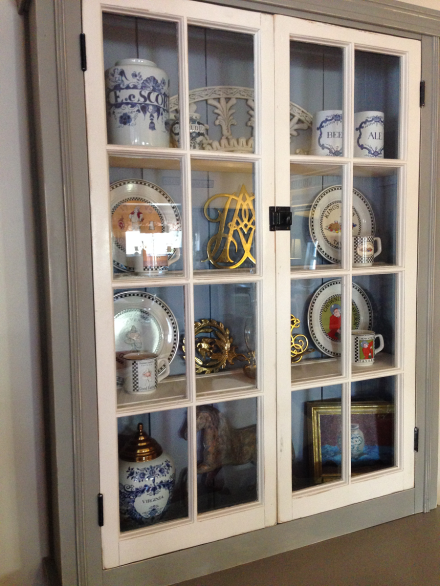
this is now.

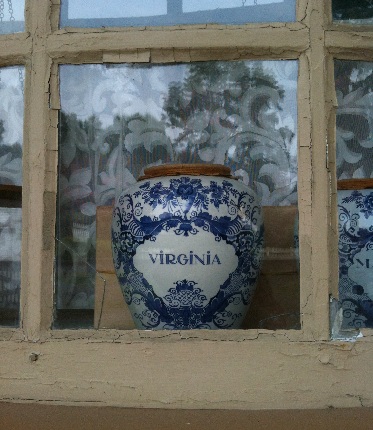
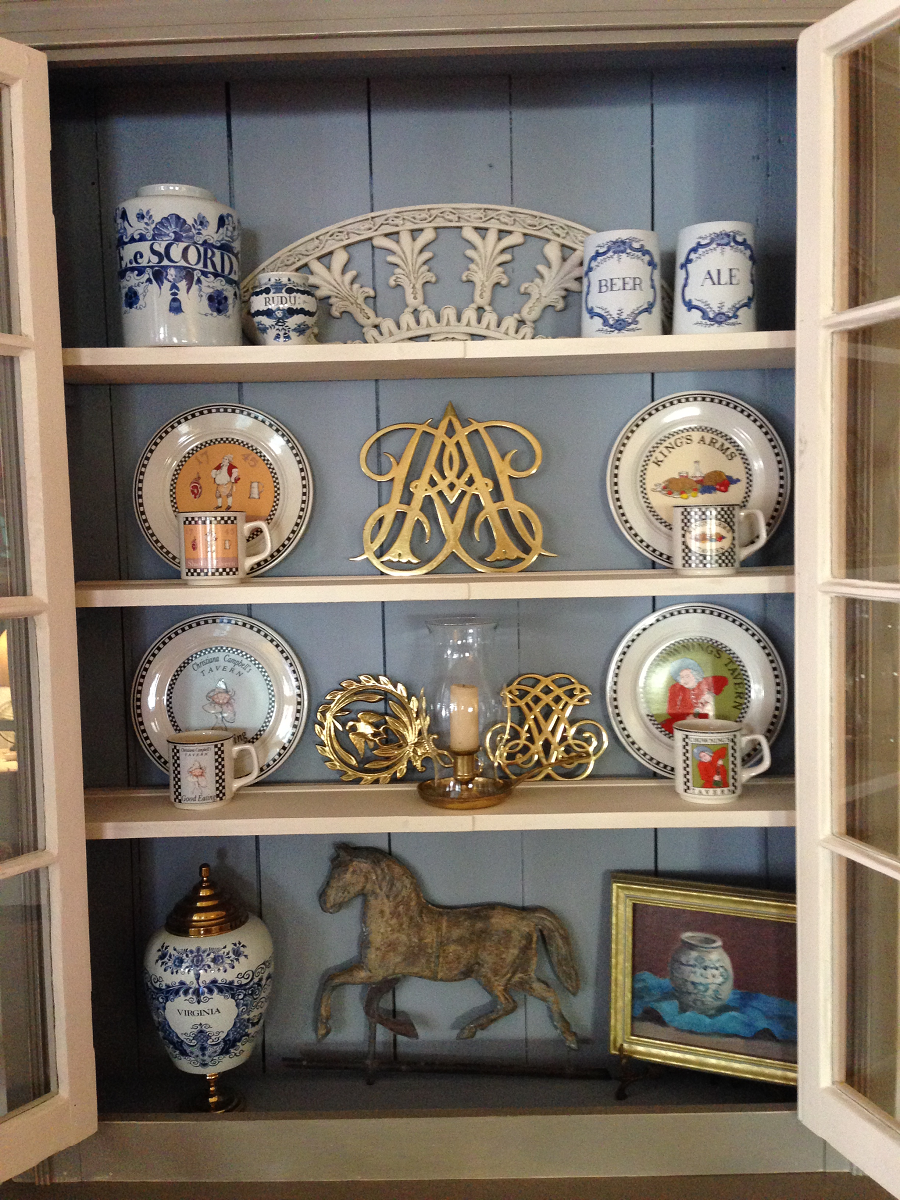
A simple fresh white country cupboard that is filled with some of my cherished blue and white pieces, including this vintage set of Block China that I have kept stored away for over 30 years!
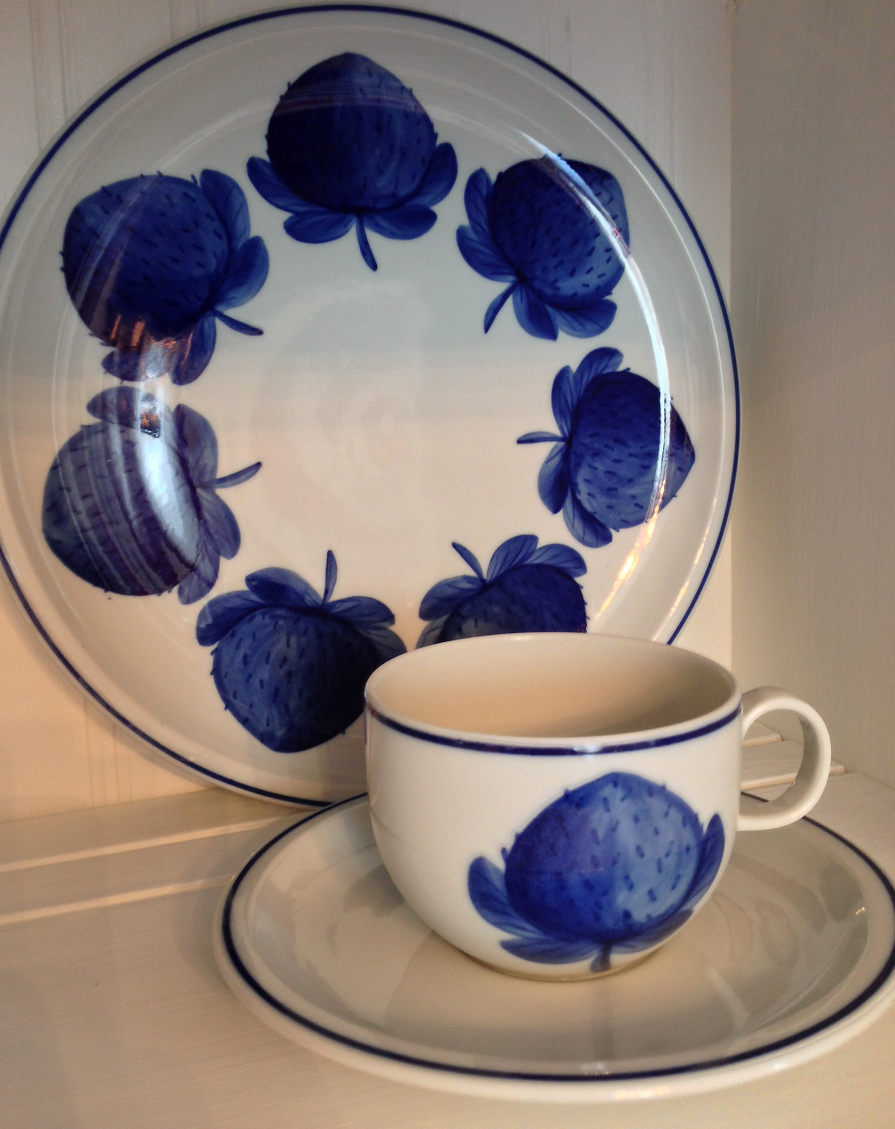
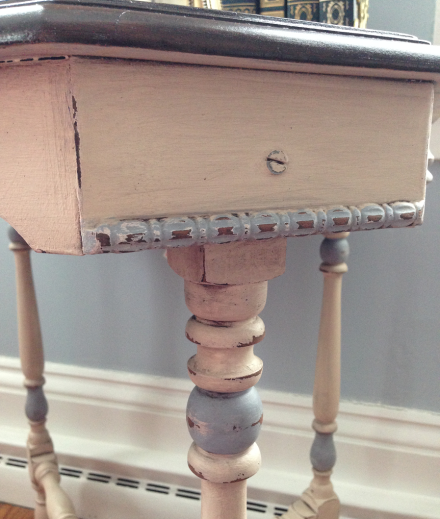
I have treasured this dinner set with the luscious blue strawberries for so long, but have never had an open cupboard to display them…and now I do! In this close-up pic you can also see the wainscoting wallpaper that I had installed and painted. It just gives a little extra depth to the otherwise plain back of the piece.

You can read about the initial transformation process, including the prepping and installation of the wainscoting wallpaper here:
https://countrydesignhome.com/2014/04/10/wow-wainscoting-wallpaper/
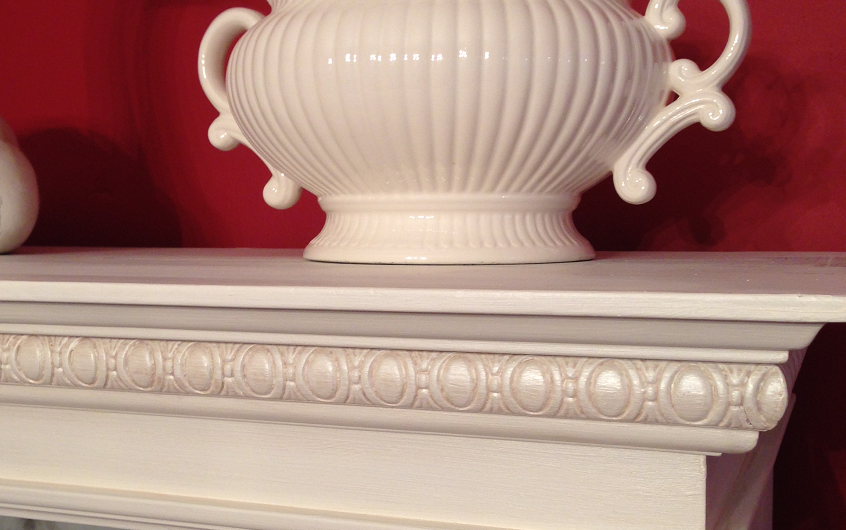
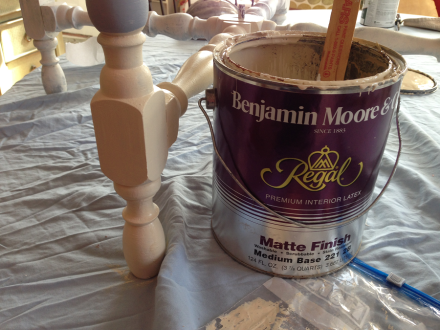
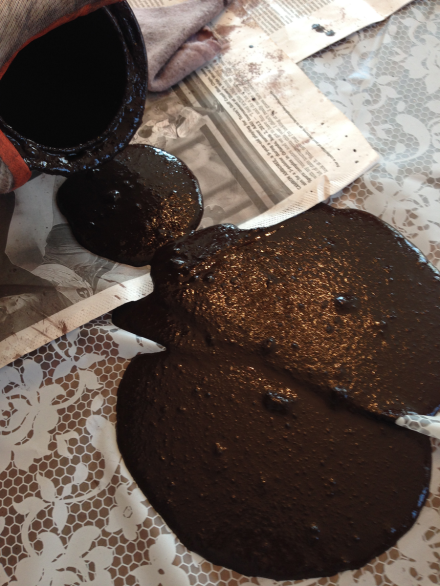
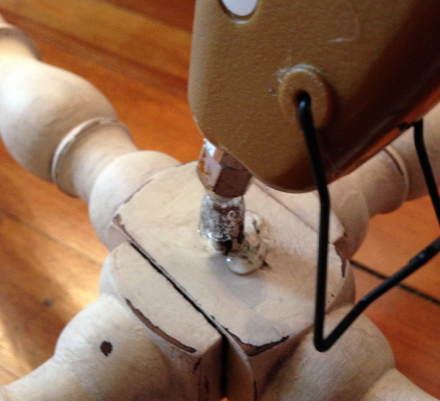
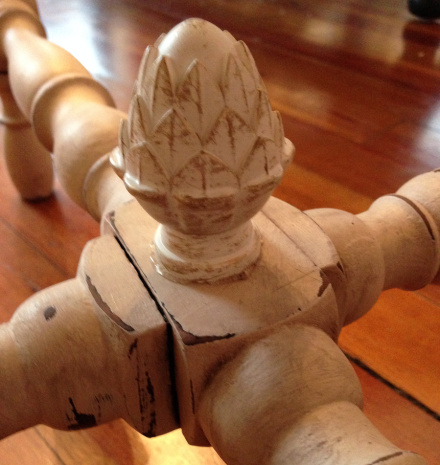
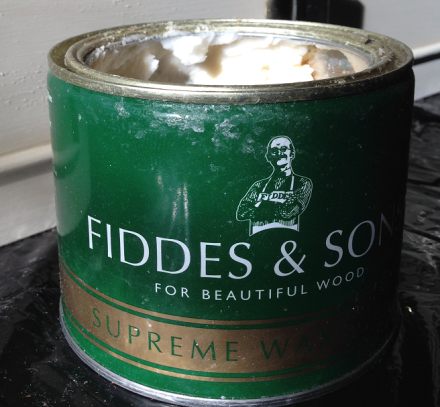
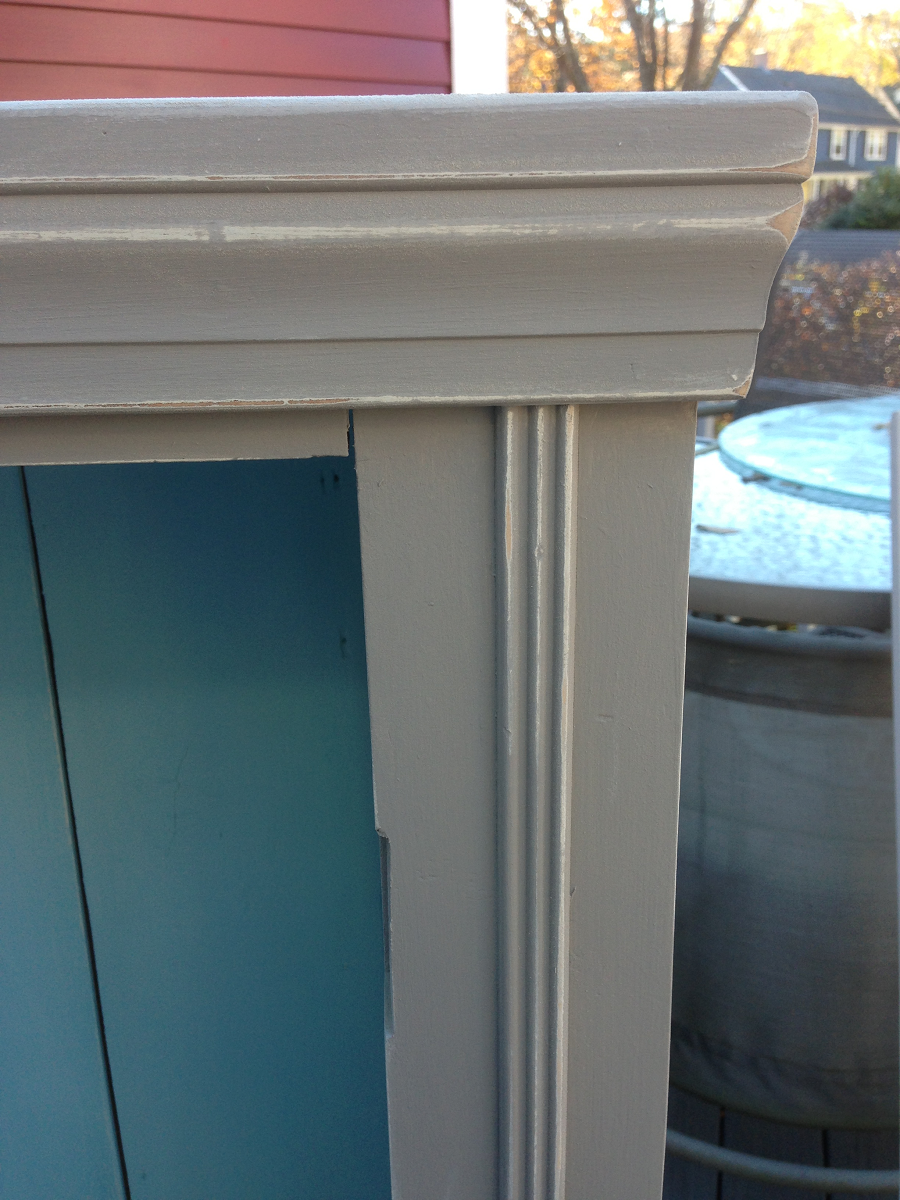
Once I had finished painting the cupboard, I wanted to add just a bit of glazing to the detailed trim to enhance it. BUT, I did not want to change the overall look of the piece. It needed to remain bright white to contrast with the red walls of my dining room. This concoction of DecoArt Metallic Pearl White Paint + Behr Custom Color Sample (kind of a soft tan-but I’m not sure of the color because it was in the OOPs bin at HomeDepot for 50 cents!) + Martha Stewart Tintable Glaze Effects.

I mixed it all together- lets say 6 parts glaze to two parts metallic paint to one part tan paint. Very scientific.

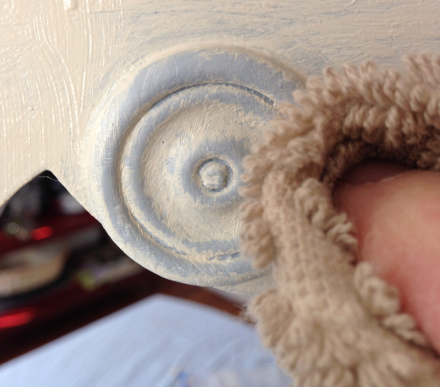
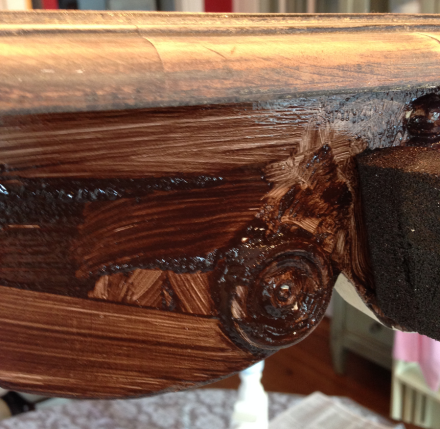
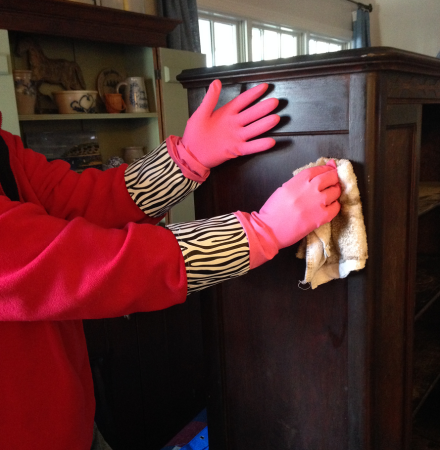
Then I painted it only on the areas where I wanted the trim to be defined- then wiped it off with a damp rag.

Just a hint of color was left behind to enhance the deep trim work.

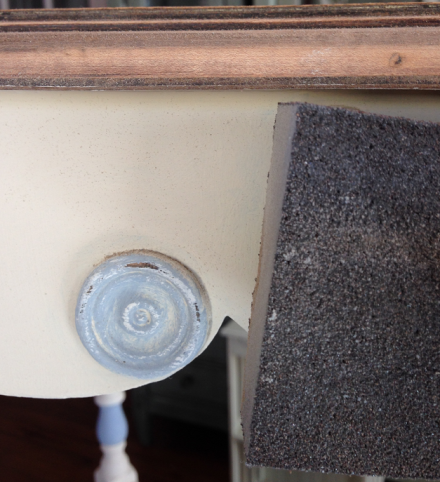
Once it dried, I then mixed the Metallic Pearl White paint and the Tintable Glaze (about 50/50) and painted over all of the raised detail and trim areas. So what I have now is an elegant piece with a pearlescent glaze finish that captures the light and makes the detail pop.
Perfect. It just goes to show you what a little TLC and elbow grease can do to transform any ugly duckling into a beautiful swan. And just in time-now I can clean up the dining room and get ready for Easter, whew!! Have a terrific Tuesday, everyone! Susan


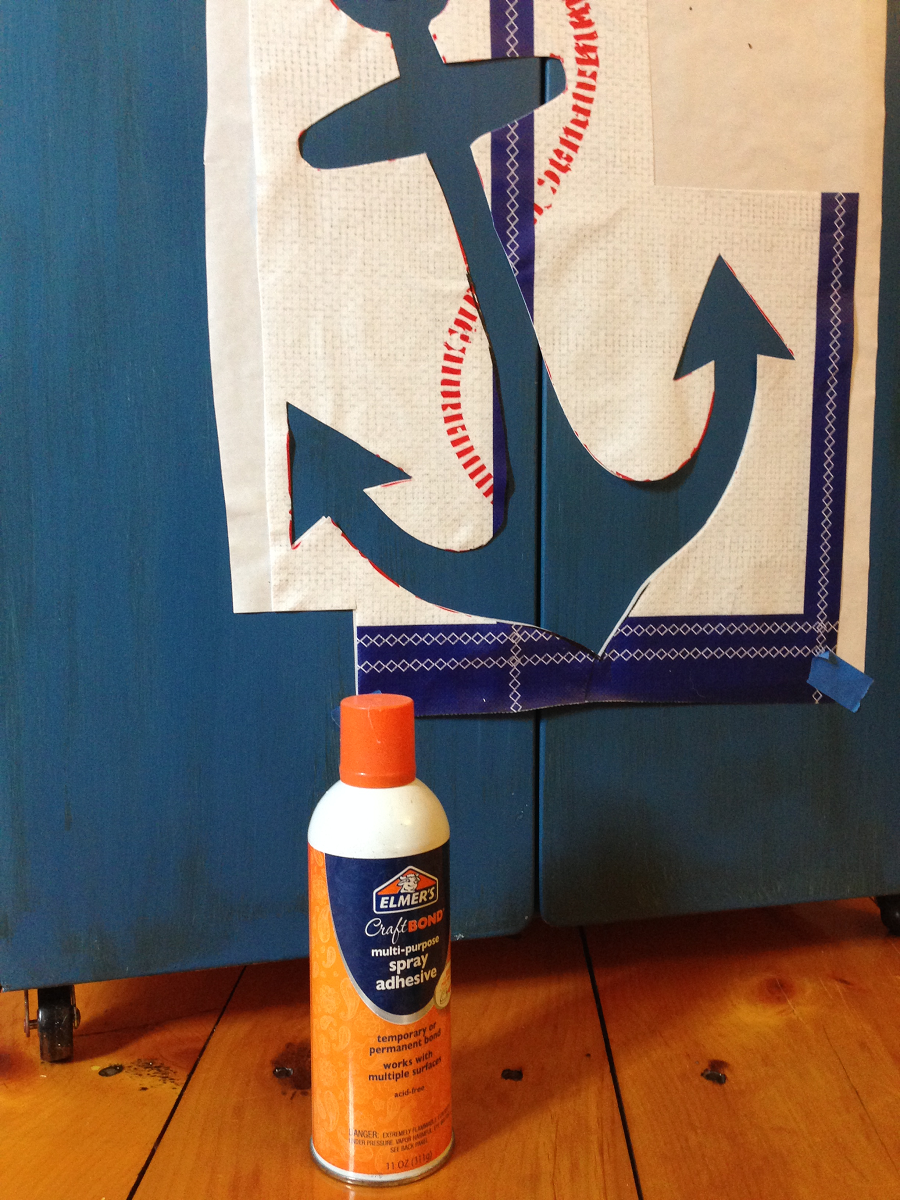


 Added some nautical roping to create the handles. Plus, it mimics the roping in the stenciled design. Perfect!


 Once you have all your layers baked, cooled and chilled, it’s time to start decorating!!


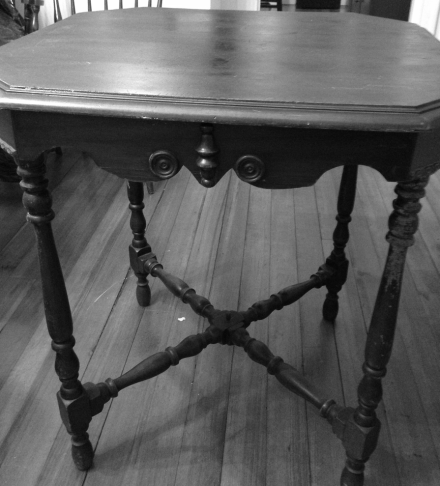
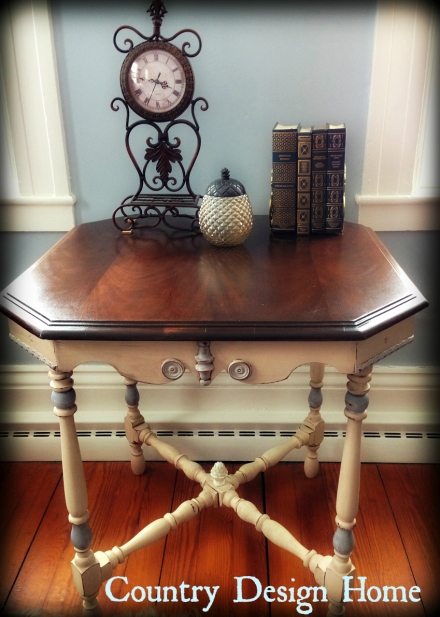
 OK, so I painted all of the raised detail with the same home-made blue paint concoction that I used in the
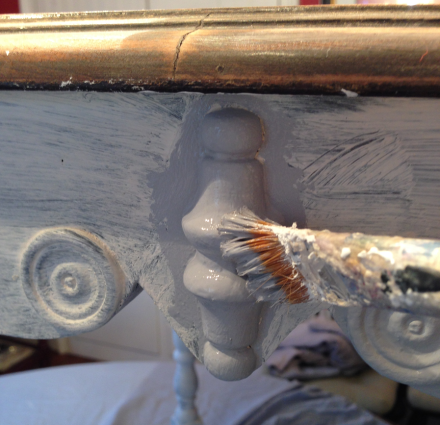


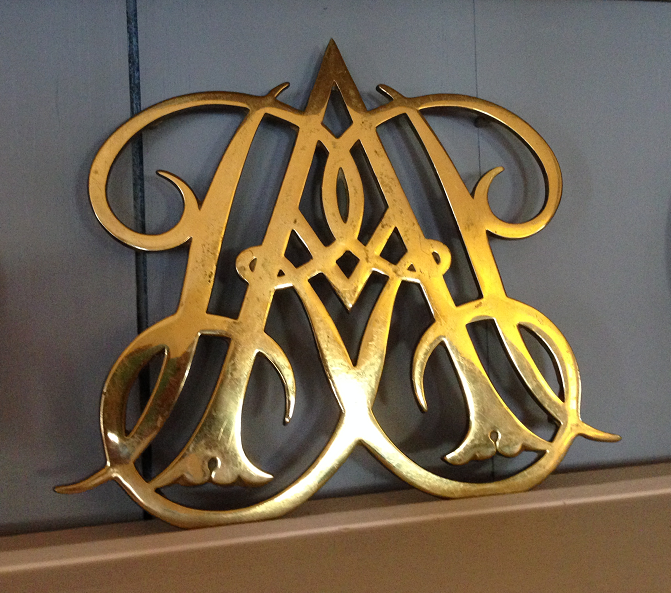
 Colonial Williamsburg is an historic site that Coach and I love and have visited many, many times. This is the