Brimming With Fresh Ideas


Aqua Thunderbird

Whew! Another epic road trip adventure to Brimfield, via Framingham for a flea market stop and Palmer for an old church fair before we even reached the big show! This was the car after those stops, not much room left…

Brimfield Car Before

But once we had arrived, it was a go! Hours of walking, shopping, chatting and checking out what was hot and what was not. The hotBrimfield Signs Color

 of the year, if I was judging Brimfield trends? Fresh minty green

Mint Lamb

Mint Wicker Table and Dresser

Mint Statues

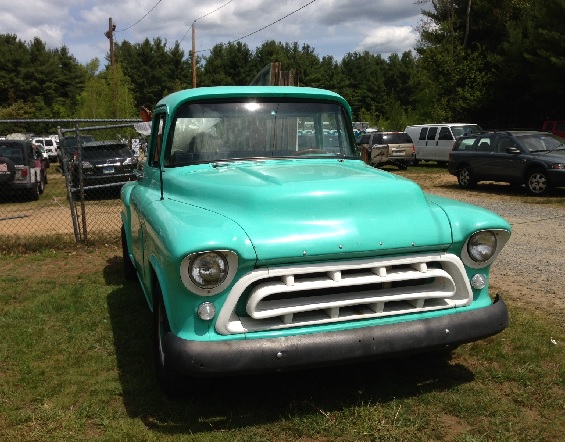
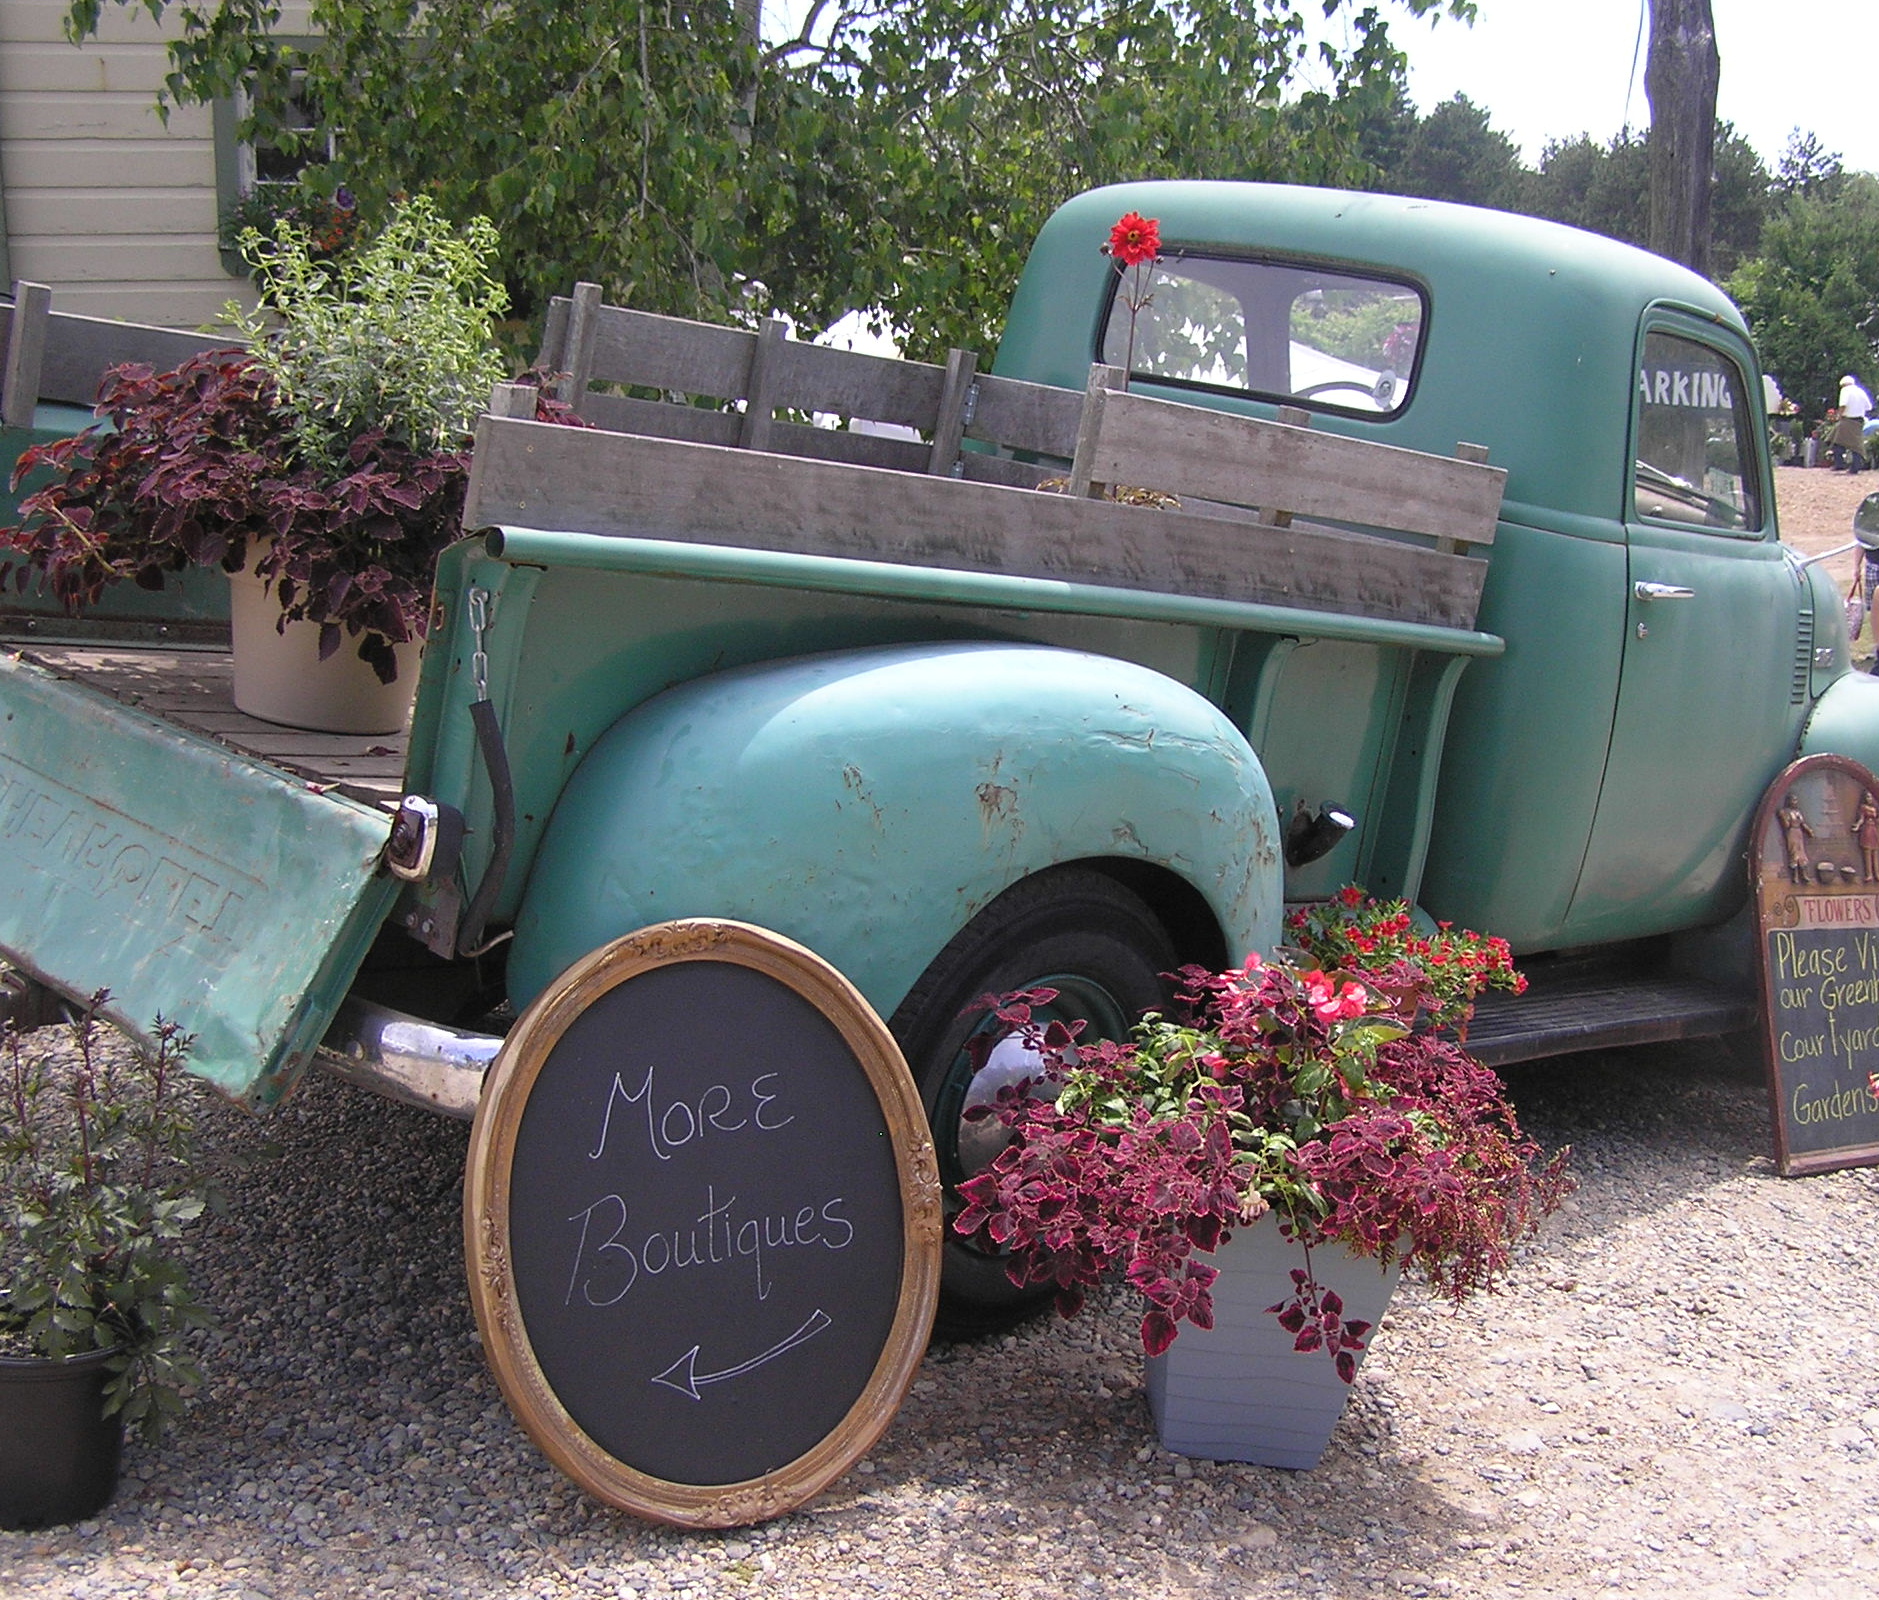
and pastel blues (ah, my dream truck- if only I had won the mega millions last night!)

Brimfield Aqua Pickup Truck

and not an orange anything in sight. This time it was all about more natural, muted colors

Brimfield Basket Pile Rustic

and pastel hues.

Brimfield Distressed Cupboard and Pitchers

Brimfield Vintage Stove

Worn, distressed, milk-painted and Annie Sloan’d furniture as far as the eye could see!

Aqua Desk

Even an old junky ladder takes on a new life with a coat of distressed blue paint : )

Mint Ladder

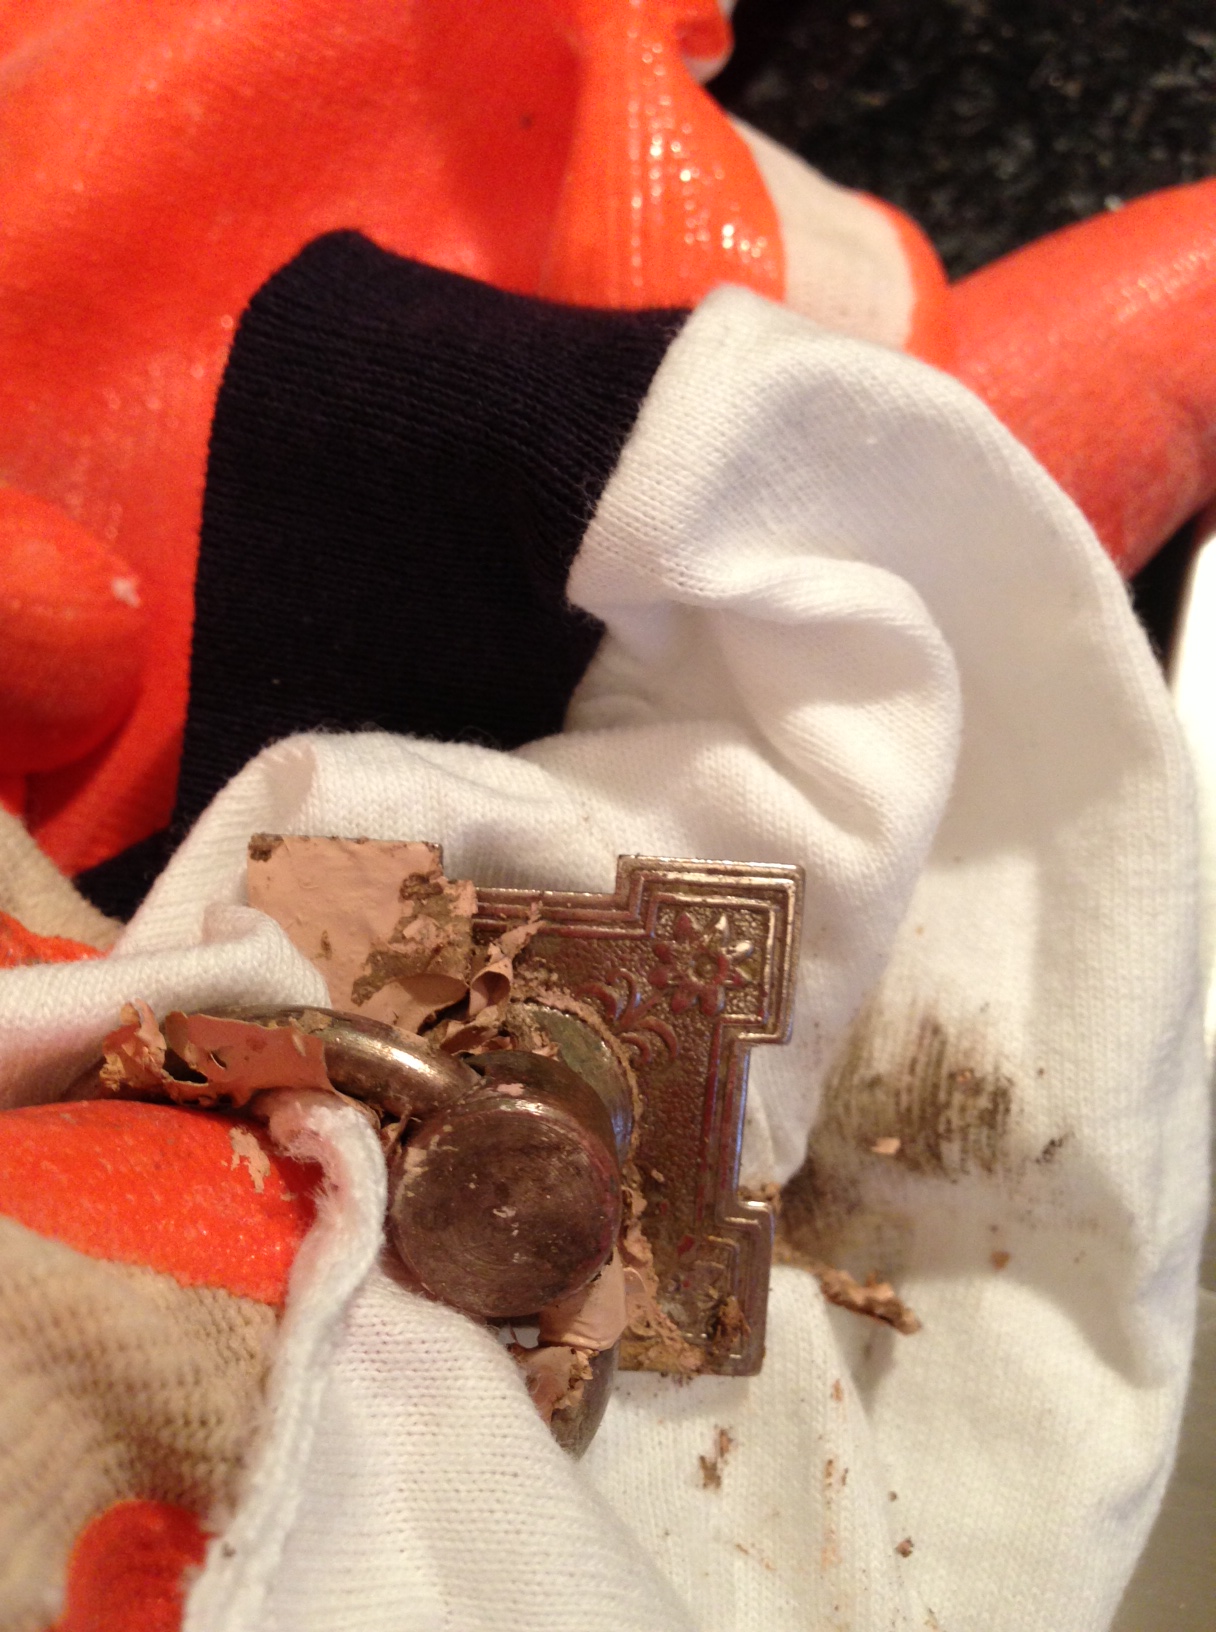
And architectural panels become dear hearts with some tin snips, satin ribbon and a few crystal baubles.

Mint Green Tin Heart

This year, the trend seemed to move away from industrial chic, and more into schoolhouse rock. Loads of old desks, chairs, science lab tables and beakers and lockers, lots of lockers.

Brimfield Barn Mint Lockers

“Sign, sign, everywhere a sign

Brimfield Signs Wood

Blockin’ out the scenery, breakin’ my mind

Brimfield Signs Parking

Do this, don’t do that,  can’t you read the sign? “

Brimfield Signs Warning

by the Five Man Electrical Band

Just wondering, where are people getting these signs? They all seemed to be in mint condition- are they climbing up poles under the cloak of darkness and taking them to sell at flea markets? These street signs were everywhere-and so not cheap either!

Along our five mile journey on foot, we came across this booth by Cari Cucksey from Cash & Cari. Loving her re-purposed sign.

Cash and Cari Sign

Her booth had all sorts of cute, remade, recycled products like these old license plate bags.

 Brimfield Cash and Cari License Plate Bags

And piles of plastic letters and numbers- one can only imagine where these originated!

Brimfield Cash and Cari Letters

This year, Nancy & Robin from Vintage Thymes Monthly Market had a fantastic booth representing the Norwood shops- they both look pretty great considering they had been working in a tent for a the past week!

The Girls from Vintage Thymes

As decorating trending goes, so does lighting. While last year’s lamps leaned more towards turbines and propellers, this year’s standouts were Steampunk-meets-Back-To-The-Future-inspired style.

Lighting Industrial Gears

Fanciful, intricate designs from fabulous, creative minds.

Brimfield Lighting Steampunk

Not to be unnoticed, these mid-century crystal beauties from Collection by Kelly McDonnell caught my eye as well.

Brimfield Lighting Crystal Orb Chandelier

What’s a market in farm country without some animals? Horses were big this year (well, they are big as a rule, so popular would be a more appropriate descriptive term)

 Animal Horses Animal Horse Head Animal Horse and Indian

but taxidermy appears to be making a comeback as well. What an angelic face- didn’t even know what hit it!

Animal Doe Head

And who wouldn’t need a gigantic yellow polka dot bear?!? Is the circus in town?

Yellow Dot Bear

Do you think this cage would be big enough?

Brimfield Peacock Cage

These two displays are a study in contrasts: the female mannequins accompanied by an ironing board,

Brimfield Mannequins and Ironing Board

while the male guy (why wasn’t he wearing those jeans, I wonder) was wearing a hard hat. Some things never change…

Brimfield Mannequin Army

Finally, we scored a couple of items: coach discovered this pile of old (well, I think they are old, but after reading Killer Stuff and Tons of Money, you never know what’s been artfully disguised) burlap potato sacks.

Brimfield Potato Sacks

They’re pretty stinky, but have great style and color. I discovered this campy violin shaped coffee table.

Brimfield Coffee Table

The dealer was asking $20, so coach started to walk away. This was the hard sell to me:

Seller Guy: “What do I need to do to make this deal work?”

Me: “You need to make it be shaped like a whale”

Seller Guy (looking befuddled): Why’d you ask me the price if you wanted a whale table and not a violin table?”

Me: “I was thinking I could make it into a whale.”

Seller Guy: “OK, you can have it for $10”   Sometimes it works when you act like you don’t have a clue…

At the end of five hours of traipsing through endless rows of tents, filled with anything and everything, I kind of felt like this guy.

Brimfield Crash Test Dummy

Dusty and exhausted. Destined for a crash landing. Which I did, in the car on the way home…but I can’t wait for July!! Have a sunny Sunday everyone! Susan

Pretty Painted Bottles

Hey, it’s High Five for Friday time! But this week I am calling it Freakin’ Fun Friday, because I want to share with you this super fun craft project – any one can do this, it’s quick, easy (a little messy) but soooo country pretty!

The Painted Bottle Project

Browsing Pinterest the other night, I came across this project from Work In Progress Kits and literally jumped off the couch and said “I can do this!”. Coach and I have collected quite a number of old bottles, some dug up right in our own backyard,

Antique Bottles

some in more recent estate sales and auctions. Many are old, rusted, scratched and lidless, essentially worthless (don’t worry Coach, I didn’t paint the Old Log Cabin Bourbon bottle in the back-turns out that one is worth something!) so I figured this would be just the trick to spice them up! Here’s the how-to: First, you need some clear glass bottles and jars. Anything will do, doesn’t matter if they’re old or new, but the ones with the embossed labels on the outside look especially cool once they are done.

Bottles Clear

Wash thoroughly- I put mine through the dishwasher to make sure I got all of the grease and dirt off. Choose your paint colors. Home Depot has these awesome Behr paint sample pots- for $2.94 each if you want custom colors-but these were in the Oops! Bin for 50 cents apiece!

Bottles Behr Pots

I also have a number of the little craft paints, and those actually work better for the smaller-necked bottles.

Bottles Paint Jars

So I grabbed a pile of paints, assembled my bottles and got to work. You simply take the paint and bottle of choice, pour the paint inside,

Bottles Navy Pour

turn the bottle until it is completely coated on the inside

Bottles Navy Drip

turn the bottle upside down and allow all of the excess paint to drip back out into its original container

Bottles Navy Pour Out

wipe the edge to give it a nice clean finish (loving this little blue bottle with the mint green inside edge : )

Bottles Mint Green and Blue

allow to dry overnight…add flowers, battery tea lights, whatever you would like to decorate. But remember- this is acrylic paint- you can’t use real candles or put water in them! The paint makes the embossing stand out on the bottle- before the paint I didn’t even know there was a ship on this bottle. Bottles Embossed Detail

You can mix and match the paint colors- like the blue and green one above. Or you can stick to all one color- whatever works for your decor. A couple of simple tips: more is better– pour in enough so you are not standing there trying to swirl around a little bit- takes forever! Remember, you will be pouring most of it back out anyway.

Bottles Navy Bottom

Propping for time’s sake. Watching paint drip is almost as bad as watching paint dry. So set up a propping/dripping area where you can set it and forget it until all of the big globs are gone.

Bottles Blue Drip

Keep a container of wet wipes handy. This project does get messy, as you can see by the pics.

Clorox Wipes

These are essential for getting a clean edge on the top of the bottle, and for cleaning off your hands as you go. You don’t want to transfer fingerprints from one jar to the next. So there you have it- super fun project for a rainy day. Simple enough for kids, pretty cool results. Have a great weekend everyone! We’re off to Brimfield on Saturday- can’t wait to share what we find. Susan

It’s High Time to Shop!

In an early High Five for Friday!, I wanted to give you a sneak peek at all things country being offered in my shop at the Vintage Thymes Monthly Market. After what seems like a year (actually its only been 6 weeks since I agreed to join the market- but boy my arms are tired!) of sanding, staining, waxing, painting, cleaning and hauling loads of great vintage stuff in my poor car-soooo many dings and bumps : ( CRV Hauling Stuff

 I am finally ready to debut my collection!

Country Design Home: A Carefully Curated Collection of  Simply Casual Country Style Furnishings & Accessories.

Market Sign

This was the before:

Market Space Before

And this was during (I really thought I was going to need a bigger booth!)

Market Pre-Staging

And this is now:

Country Design Home Shop

In my shop, you will find hand-crafted items, like these very cute shutter chalkboard signs,

Chalkboard Signs

refurbished beauties like this pink and gray Victorian commode that was featured in a previous blog post: Coming Unhinged

Market Pink Commode

and of course, my newly created wrought iron shutter top patio set! Shutter Patio Set If you get there early, you might find this amazing aqua blue vintage hinged and locking steel box Market Aqua Steel Box presumably from the back of my dream pickup truck

Vintage Pickup Truck

(but I have a feeling that one’s not going to be there long, judging from the oohs and ahs of anyone who saw it…), loads of creamy white stoneware and crocks, mason jars by the barrel, vintage tin milking pails, luscious yellow enamel bowls and these cute tin daisy canisters with cut glass knobs.  If you follow my blog, you know I am all about color. This month is pretty pastels, reflected in the paints and accessories I chose to highlight. I love muted grays and blues as much as the next girl, but for me, color brightens my world and makes me happy : ) market cupboard closeup The cupboard shown here was in my dining room for years. Moved around a bit, but finally landed back in the barn. What was once an old, tired dark brown stained wood was transformed with Annie Sloan French Linen Paint and Soft Wax Finish and Benjamin Moore Chalkboard Paint on the buffet top.  Or, if you have a hankering for some home-made ice cream, how about this vintage ice cream maker? market aqua ice cream maker If you are getting ready to plant, I suggest this 9 clay pot vintage iron rack. The pots are chalkboard painted, so you can erase my numbers and label them with the various plants and herbs you are nursing along.Clay Pot Planter I had a blast putting my shop together, with special thanks to Coach, who is my fabulous picker, Lisa Mokaba, my right hand girl and lover of all things vintage, Nancy Granese, who added her amazing artwork for my space and the fabulous ladies from Vintage Thymes Monthly Market-Robin and Nancy-who have helped me immeasurably with great staging and pricing advice : ) Vintage Thymes Market Shop The entire market is stacked to the rafters with great vintage finds, and ready for opening day-tomorrow!  So much to see, so much to buy! I hope you have a truck : ) The hours of operation are Friday, May 10 from 9-6, Saturday May 11 from 9-6 and Sunday May 12  from 12-5. The address: WinSmith Mill Market at the Norwood Commerce Center, 61 Endicott Street, Norwood, MA.  Google Map Here. Hope to see you all there! Now I’m going to take a breath and have a cup of coffee before I start getting ready for June. Happy Shopping, and a very Happy Mother’s Day everyone! Susan

So…Mother Did Know Best

20130507-071953.jpg

A few weeks ago, I blogged about the First Annual Guerilla Staging Competition at Mill 77 Trading Company in Amesbury to benefit “Our Neighbor’s Table”. To refresh: we chose a category out of a hat, then had 40 minutes to race through the shops collecting whatever we could move to create a beautiful, photo-worthy room. What a blast!! Our team, Mother Knows Best, with the category Clothing and Accessories, used our collective creative minds to produce a Paris-inspired turn-of-the-century boudoir. This was the before: 

20130507-072016.jpg

This was the after:20130507-071505.jpg

Then I sent out a request to all of you in internet-land for votes! For two weeks we sat on pins and needles awaiting the final word. The votes were finally tallied over the weekend, and guess what?!? We won first place!! So I would like to take this opportunity to thank everyone out there who visited the website, clicked on the YouTube link and either “liked” the video or voted for us online. We couldn’t have done it without you. It was great fun, for a really great cause, and we can’t wait til next year’s competition! I like the sound of defending champions : ) As for me, I think I’ll use my winnings to purchase a new nail gun!! Have a terrific Tuesday everyone!! Susan


Fancy That! Easy Chalkboard Art!

We’ve all seen the signs. Fancy chalkboard art is all over Pinterest, it’s at weddings and birthday parties and on this month’s cover of Country Living Magazine.

Chalkboard Country Living Magazine

So, you ask, how does one (who really cannot draw more than stick figures) create a great-looking sign that you can be proud of? Well, I have done quite a bit of research and have read many, many how-to tutorials. Most involved special transfer paper, graph paper, rulers and grids and painstaking copying. That didn’t appeal to me-I like quick, fast and easy (insert joke here). The more things I get done, the more things I get to keep doing! I needed a sign for next week’s booth, so I thought this would be the perfect opportunity to try my own approach to chalking it up. Here we go:

Step 1: Go to the barn and get an antique cupboard door that’s been hanging around for generation or two-thanks, Coach!

Antique Door

If you are making your own chalkboard, like I did, I recommend Benjamin Moore Chalkboard paint.

Chalkboard Paint-Benjamin Moore
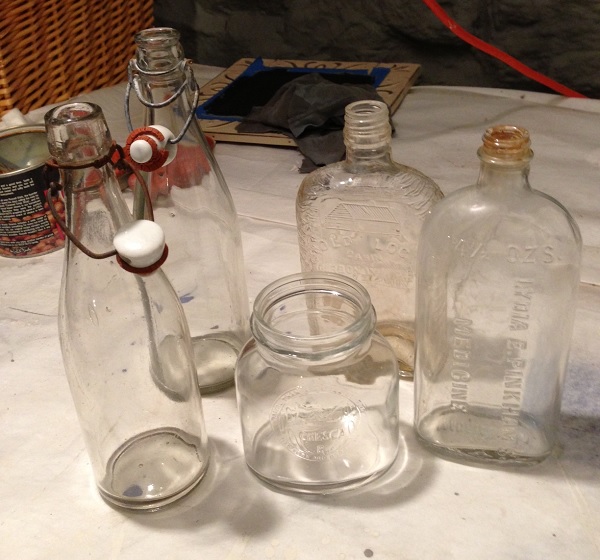
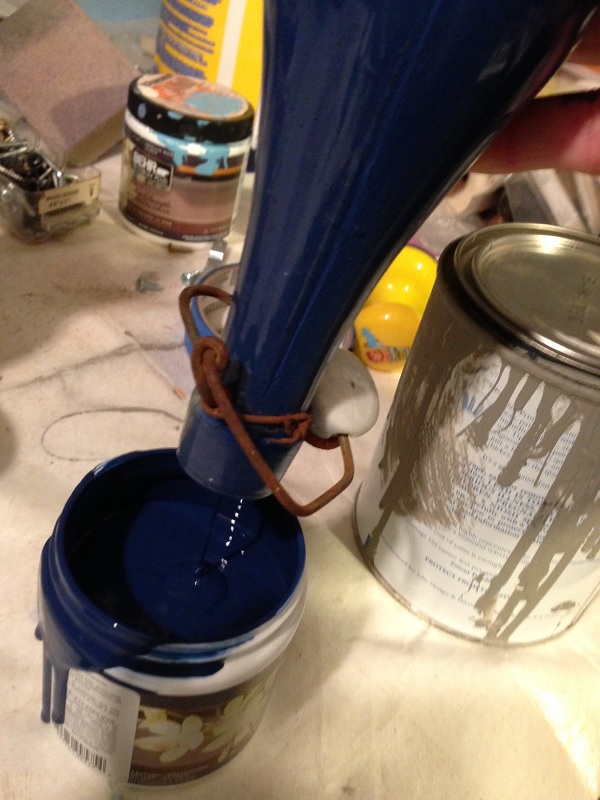
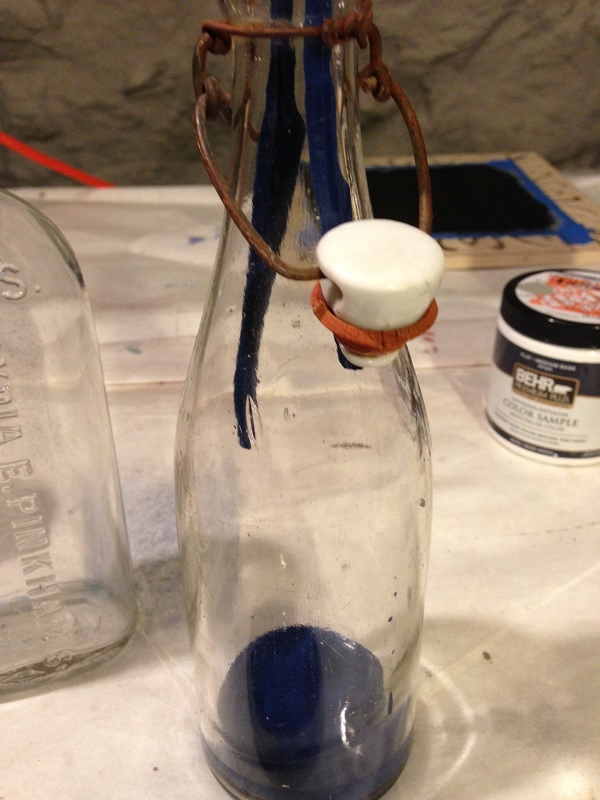
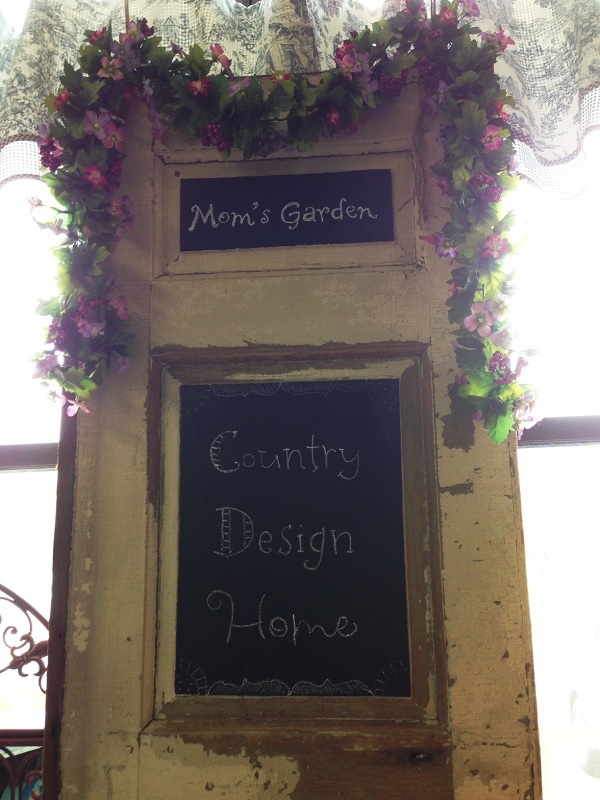
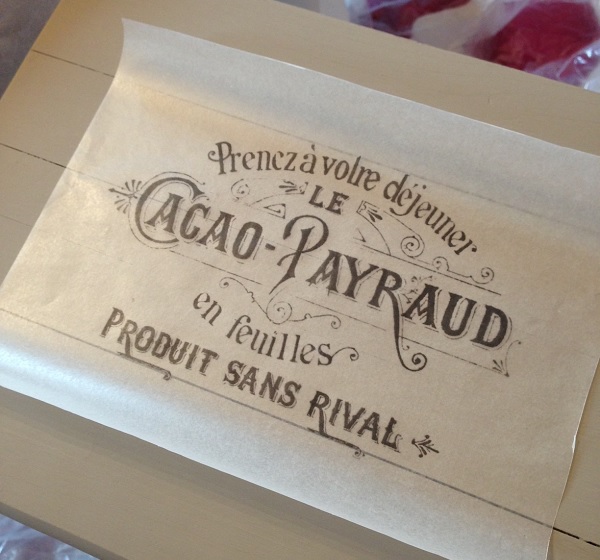
I have tried many brands and this one is very smooth and creates a nice writing surface. You need two coats. Follow the directions on the can. It takes 3 days to cure. Follow the directions on the can. Make sure you “size” the board before you write on it with chalk. Then wipe it down. Follow the directions on the can.

Step 2. Decide what you want to say. I needed to make two signs: one for Country Design Home and one for the name of the monthly market. For the May market, its Mom’s Garden.

Mom;s Garden

Use your basic paint program or photoshop or whatever you use to create the words and graphics you would like to have on your sign. You can be as fancy or plain as you like. Size them to the exact specs of the board you are decorating. You will need to create the entire board, and you can do that in sections or all on one 8 1/2 x 11 sheet of paper. Print them as you normally would on regular printer paper, do not flip them to the reverse. If you have printed a large design in sections, you need to tape the whole thing together before you tape it to the board. You can use the program from Blockposters to create a large mural-type board.

Step 3. Flip the paper over and then take some sharpened chalk and draw along the lines of the print. I will call this reverse chalking. Be neat, but you don’t have to be fanatical about it. That’s what wet wipes are for.

Reverse Chalking

And yes, you can sharpen chalk with a regular pencil sharpener-who knew?! And it doesn’t make that squeaky “nails on the blackboard” noise either!

Chalk Sharpener

Step 4. Carefully place the paper, chalk side down on your prepared surface. Don’t move it around too much or it will leave smudgy stuff on your nice clean board. Tape it in place. Repeat, tape it in place.

Taped Design

Step 5. Take something smooth but pointy- like this cuticle thingy (lord knows, I don’t use it for my nails…) and rub all of the lines that you want to magically appear on the chalkboard.

Cuticle Press

Step 6. You can carefully lift the paper up just to make sure you have transferred all of the chalk lines you need as you go.

Chalkboard Design Check

Step 7. When you are happy that the design has been transferred to your liking, you carefully remove the paper, and voila! Instant fancy printing!  I added just a few corner embellishments, but this is where you can go crazy adding all kinds of cute graphics free hand!Chalkboard Sign

You will most likely need to use your sharpened chalk to clean up the edges, deepen the color and thicken the lines. (I also read somewhere that you should wet the chalk or the board to make the lines darker and clearer. That didn’t work for me, but have at it if you don’t think your lines are dark enough.) If you make a mistake, just use a wet wipe and try again.

Step 8. If you wish to make this permanent, then spray with some matte acrylic spray. I read somewhere that you could use hairspray, but I didn’t try it so I can’t vouch for that technique.Krylon Matte Finish

Step 9. Chalk it up to another great D.I.M. (Do It Myself) tip from Country Design Home! Susan

To Market We Go!!

It’s Wanderlust Wednesday, and this past couple of weeks Coach and I have been driving all around the Boston area. Logged 185 miles in one day last weekend, pickin’ and junkin’ and packing up the CRV!

Market Odometer

Why, you ask!? Well, I have finally decided to put my money where my blog is and join the Vintage Thymes Monthly Market beginning in May-so excited!!! This is my empty booth, waiting for some country design treasures…

Market Space Before

The first time I ventured down to visit the WinSmith Mill Market (remember that whole “snow through the sunroof“, mixing up photos fiasco!?), I was completely impressed by the all of the shops, but my attention was drawn to the Vintage Thymes Monthly Market in particular.

 Vintage Thymes Monthly Market

I loved the feel of the old tannery space, with soaring ceilings and wooden floors, with shoppers everywhere clutching their newly prized possessions, reminiscent of a bustling General Store offering vintage goods and wares. Busy as it was, one of the owners, Nancy Murphy, spent time with me chatting about the Market, the participating vendors and their goals and aspirations. It became clear to me that this is way more than just a job for her, it is a passion, one that is shared by millions of others out there who love to refurbish and recycle and make what was once old, new and beautiful again. And since we have a barn full of “junque”, and Coach is adding to the collection daily, like this gorgeous red Radio Flyer wagon we found over the weekend… Radio Flyer Wagon

…I figured it was high time to join in the fun! So, beginning the weekend of May 10, 11 and 12th, I will be offering a carefully curated collection of  of antiques and vintage goods,

Market Tasco Sign

reflecting the simple casual country style I love to feature in my blog posts. LOVE this old crackled scale…

Market Simmons Scale

Some of the items are untouched and will be offered as they were discovered at estate sales and auctions (minus the dust and cobwebs)

Vintage Aqua Ice Cream Maker

but many pieces have required painting & polishing, (like this pink commode I wrote about in “Coming Unhinged” a couple of weeks ago)

Market Pink Commode

and staining and waxing as well. This is the table I decorated with the wax paper printer transfer technique in “Waxing Nostalgic

 Cacao Telephone Table

To give you an idea of what will be available, I have added a Pinterest Board: Vintage Thymes Monthly Market, that you can visit.

Wooden Footstool with Rubber Treads

This month’s theme is Mom’s Garden, so you can expect to see quite a bit of garden-inspired furniture and accessories. (and, yes, that’s a real anchor- Coach dragged it home last weekend- what the heck am I supposed to do with that!?)

Anchor

Not everything posted there will be available each month, as I only have so much room in my booth!  And once it’s sold, it’s gone, and I will mark it as such on the Pinterest board. Some things will have a “before” pic, and once I complete the refurbishing, I will post the “after” as well. I adore this dreamy mint farmhouse table, but it did need a lot of TLC. Wait til you see the after!!   Market Mint Table

I will be pinning additional items as the date gets closer, so check back often, and if you see something you must have, drop me an email @ countrydesignhome@gmail.com and I will see if I can squeeze it into the CRV! OK, back to work…see you in May! Susan

Waxing Nostalgic

In a recent post, I blogged about transferring French Typography onto wooden furniture using wax paper– this week’s High Five For Friday! Yup-regular old wax paper– the old-fashioned kind we used to wrap our sandwiches in for our tin lunch boxes-is suddenly all the rage again.Sandwich wrapped in wax paperSo I thought I would give the wax paper transfer method currently posted on my D.I.M. Pinterest page a try, since I am working on some new pieces. Coach found this cute little old pine telephone table that I thought would work nicely.

Telephone Table Before

(This one’s from the olden days, folks, when we had those gadgets attached to the wall called telephones, with an attached cord so you had to sit down to talk on them and use loads of paper books with names and addresses and phone numbers in them : )…

Wax Transfer Phone Image

Here are the steps:

1. Cleaned and steel wooled. It hardly had any finish on it so no sanding needed. But I made sure that the inside was clean as well. Nothing worse than opening up some cute, vintage refinished piece only to inhale the strong odor of musty cigarette smoke.

2. Added 2 coats of Annie Sloan French Linen paint. Love the soft color and the flat finish.

Telephone Table Painted

3. Got some wax paper (this pic shows parchment paper which apparently works as well, but I haven’t tried that yet)

Wax papers

4. Find a picture- I got mine from the Graphics Fairy– and print it in your REGULAR INK JET PRINTER!! Not a laser printer, apparently that just melts the wax. Make sure when you go to settings you reverse it for the transfer process prior to printing. Cut the wax paper to the same size as a regular sheet of copy paper. Slowly feed the wax paper into the printer, being careful not to let it wrinkle or crease. Once printed, allow time for it to dry so it won’t smear when you lay it down on your piece.

Wax Paper in Printer

5. Dampen (NOT WET!) the furniture so it will accept the ink. Center the wax paper, print side down, on to your piece of furniture.

Wax paper transfer on table

6. Now just start rubbing all over the design, pressing firmly. I tried two methods of transfer- the credit card- which I found had too sharp of an edge to really press.

Wax paper transfer with credit card

The back of a spoon-perfect! Rub the image until  it is completely transferred.

Wax paper transfer with spoon

The harder and longer you rub, the darker and clearer your image will be. You can carefully pick up the paper and check underneath as you go along, but just make sure you put it back exactly in the same spot- otherwise the image will appear blurry. Allow to dry (about 5 minutes)

7. Finish with a coat of Annie Sloan Soft Wax.

Wax paper French Typography transfer

8. Since we no longer have giant phones and tons of phone books, I discovered a cute new storage place for my Ipad!

Wax Paper French Typography Transfer

TGIF everyone!! So happy to finally have some nice sunny weather-NOT!!! Susan

Coming Unhinged

Recently I have been working on quite a few pieces of “junk-tiques”, so Coach and I have been frequenting the auction, estate sale and flea market circuit, and have come home with quite a few great country finds.

CDH Junk-Tiques

Of course, most of them need a little, nea, a LOT of TLC, so over the weekend we opened up the HICC (seriously, you don’t know what that is?!?)

HICC

fired up the sander and got to work on the transformation process. When I came across an old commode at an indoor flea market, my intention was to sand it all down and then restain/antique it. But I just couldn’t bring myself to strip away all those years of paint and the beautiful layers of colors, ending with the final soft pink it is today. However, the same did not hold true for the drawer pulls and hinges-years of caked-on paint had obliterated the design and the finishes- who does that?!? Paint Removal with Vinegar I get painting the chest, heck, we all do that. And I understand that painted hardware is “in” right now, but people, if the hardware has beautiful inlaid flowers and a gorgeous pewter patina, leave it alone!!! Paint Removal from Hardware That being said, I needed to find a way to strip all of the old paint off without harming the hardware, my granite countertops and my sinuses. Pinterest to the rescue!! I found several DIY pins with all kinds of methods that did not include harsh chemicals, so I kind of combined a few and came up with my own quick and easy method. Simply: fill an old saucepan with water (enough to cover the hardware completely), add a couple of tablespoons of white vinegar and a few drops of dish soap. Any kind of white vinegar will do, but I especially like this one because it says “Nice!”, and nice matters, as a friend of mine recently reminded me : )

Paint Removal with Vinegar

Drop in the hardware.

Removing Paint in Water and Vinegar

Bring the whole concoction to a boil. Paint Removal with Boiling Water Allow to slow boil for 20-30 minutes (keep making sure you have enough water in the pan- don’t want to singe the hinges!). Keep checking the pieces- after 10 minutes or so you will begin to notice stuff floating in the water, and if you pick up a piece, you can see the paint starting to peel away. Paint Removal Boiling Water After 30 minutes, start taking the pieces out one at a time-you need to keep the others submerged until you are ready to clean them, otherwise the paint will reharden and stick. I used a toothpick and a small toothbrush (preferably not one you are using again!) to get into the crevices. Paint Removal with Toothbrush Buff the piece with a terry cloth towel to remove any clinging bits, then rinse in water and wipe dry. Can you believe the beautiful detail I uncovered under those layers of paint!?!? Paint Removal Paint Peel At this point, you can use a little metal polisher-like this awesome stuff use because: 1. It’s from Cape Cod- which we love and 2. It really works!! Cape Cod Metal Polishing Cloths

Individual little cloths already soaked with not-too-smelly cleaner-easy and neat. Polish, buff dry and you are done. Once completed, the drawer pulls were re-attached to the pretty little pink commode, which I finished with a crystal door pull and a touch of Annie Sloan French Linen Chalk Paint and Soft Wax. Annie Sloan French Linen

So now the once simple pink commode with the layers of painted hardware has a new look, not exactly what I had envisioned when I first spotted it at an antiques market, but I think the improvised version is even better…do you agree?

Pink Commode Finished

And it also has a new heart– which I uncovered as I was sanding the layers on the bottom of the chest-so sweet!! Paint Removal Heart Detail Have a terrific Tuesday, everyone!  Just remember to do what you love, follow your instincts and don’t come unhinged if it all doesn’t quite go according to plan. Susan

PS: I have joined a new weekend blogging link party sponsored by Serenity Now: Creative Solutions for Staying Sane. It’s a fun read and has loads of great ideas for everything from cooking to awesome DIY projects! Check them out!

Weekend Update-Vintage Style!

This weekend is gonna be fun for vintage and antiques shopping! Loads of pickin’ places to choose from, so this week’s High Five goes to Antiques and Flea Market Finds! On the south shore of Boston, the weekend shops at WinSmith Mill Market Winsmith Market Legendin Norwood (recently featured on Channel 5’s Chronicle) are open, as usual, but this weekend also marks the return of the Vintage Thymes Monthly Market! Open Friday, Saturday and Sunday, they have restocked their shelves and are ready to sell!

 Vintage Thymes

Here is a pic from Beach Cottage Living’s new booth in the Vintage Thymes Market-great soft colors and fun beachy stuff-now if only we could have some beach weather around here…

Beach Cottage Living

This Sunday, Todd Farm in Rowley is opening for the season, cold weather be damned!

Todd Farm Sign

For those of you unfamiliar with Todd Farm, it is like a smaller slice of Brimfield heaven on the north shore of Boston. Hundreds of vendors, selling everything from old furniture to vintage guitars and just loads of fun junk and stuff. Well worth the trip up Rte 1a, but better go early- they open at 5am and they are only open on Sundays!!

And lastly, the Guerilla Staging Competition at the Mill 77 Trading Company in Amesbury begins tomorrow!

Mill 77 Guerilla Sign

Yours truly will be participating as a team member of “Mother Knows Best”. This is a first annual event to benefit “Our Neighbors Table“, so it should be a lot of fun and a lot of laughs. 40 minutes to design a room using only the available props on hand is most definitely a challenge, but they do have some really nice props! I will be blogging and tweeting about it, unless of course, we come in last place : (

Mill 77 Trading Company

Have a great weekend everyone! Hope you “pick” something fun to do!! Susan

Design Challenge!!

Have you ever seen the “White Box Challenge” on HGTV?! Do you ever watch design shows and think “I could do a better room than that!” Well, now is your chance to strut your design and staging stuff and show off your style sense to the world- and you don’t even have to fly to L.A!

Mill 77 Exterior

Next weekend, April 6 & 7, The Mill 77 Trading Company in Amesbury, Mass will be hosting its first annual Guerilla Staging Competition!

This is a two-day event, where teams of 2-4 amateur design fanatics will compete to win cash prizes or gift certificates, all to benefit Our Neighbors Table in Amesbury.  Mill 77 Our Neighbors Table

The idea? There will be a staging area set up (not necessarily a white box, more like a cleared out space, but you get the picture.)  HGTV White Box Challenge

The teams will blindly choose a category- there is a long list of potential ones, including Cats and Dogs, Vintage Kitchen Goods, Mid Century Modern and Make Yourself At Home. Then the team has 40 minutes, that’s right, 40 minutes, to run through the shop, grabbing whatever would work to tell the story and then create a themed space, using only the items available in the store! If you’ve not been to the Mill before, there are so many great things you could use to decorate your space. Room after room of everything from antique dressers and desks, kitchenware and clocks…

Mill 77 Trading Company

to vintage toys, artwork,  lighting and sports memorabilia.

Mill 77 Trading Company

The event will be video-taped and the show-stopping rooms will be photographed for publicity and online voting. You can sign up online, its only $10 per person, and remember, the proceeds go to a great cause!

Mill 77 Trading Company

I’m a member of the team “Mother Knows Best”- two moms and their daughters who love to decorate, have fun and win money : ) So sign up today for your chance to be a design star- you never know who might be watching! Have a great weekend everyone! Susan