Decorating is all about layering-doesn’t matter if its a castle or a nursery. You start with a blank canvas, then slowly add colors and textures until you have achieved your desired effect. Along with paint and wallpaper and furniture, the baby nursery décor wouldn’t be complete without soft goods- draperies, sheets and pillows and a blanket or two.
 I put together this flannel quilt with fabrics I chose from the vast selection at Joanns. Who knew that black and white nursery prints were a thing?!
 There were so many to choose from, I had a difficult time deciding.
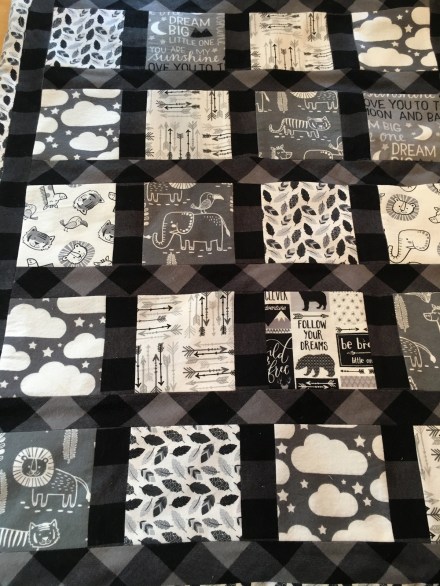
![]() But, in keeping with the overall woodland theme, I went for the same types of fabrics-
But, in keeping with the overall woodland theme, I went for the same types of fabrics-
 trees and mountains and leaves and baby animals-along with a few inspirational quotes for the baby-to-be.
 All in black and white and framed in graphic black and gray buffalo check.
 This soft flannel quilt is not hand stitched-at this point in my life I have neither the patience nor the inclination to produce that type of quilting masterpiece. Instead, it is machine stitched and machine washable-perfect for a typical messy baby : )
When I create these types of quilts, I just lay all the pieces out in whatever pleasing pattern seems to work. I often utilize the very scientific “squint test”: place everything, then stand back and squint- this blurs the prints but gives you an overall sense of the balance of colors. Then I cut. The stitching is fairly simple: the squares are first stitched to the borders, then filling and backing is added. If you can sew a straight line, you can create a quilt like this in just a few short hours. Along with the mountain mural, it adds another layer of interest to the room.
Along with the quilt, I crafted one of these fleece blankets- you see them everywhere, and they are absolutely the simplest thing in the world to make!
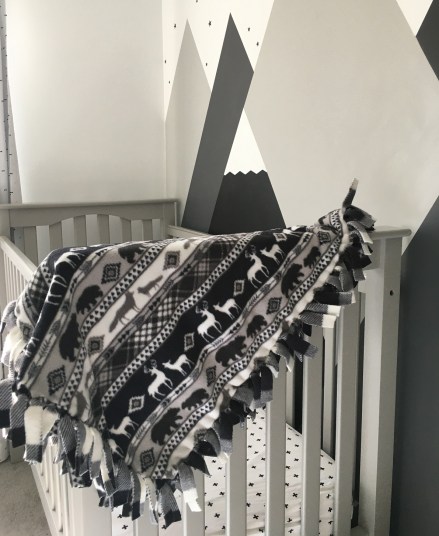 Two pieces of fleece, any size, back to back. Cut squares into the corners, cut along the edge in 1-2 inch increments all the way around. The wider the cut, the fatter the fringe. The deeper the cut, the longer the fringe. Then you just tie knots to attach front to back. Warm and soft and very cute-and also machine washable!
My daughter chose these sweet pin-dot black out panels from Target.
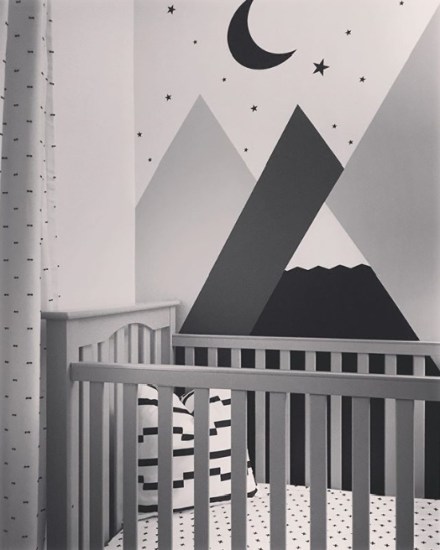 Even though they are white, they do a nice job of blocking out the late afternoon sun that beams into the nursery. Pillows-the graphic one from Ikea, the Arbra pillow from some quilt fabric scraps I had left over.
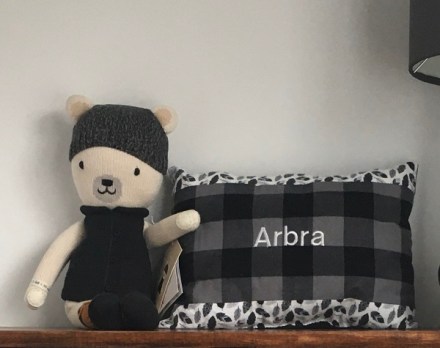
That one’s from me (I’ll explain later : ) Moving on to the next project! Still waiting for baby to arrive : ) xoxo Susan

 and began implementing a design plan that I had been “Pinning” for months on end. The cottage was a blank slate, painted throughout in a pale gray color called “Reflection”…soft and serene and inspired by the colors of the natural beauty that surrounds us in Maine.
 Over the past 6 months, I have done my best to transform that blank slate into a warm and welcoming landing spot for family and friends, using the stunning coastline as my color inspiration.
 I recall that when we were in our initial discussions about how to decorate, Coach lamented that we would have to spend $50K to furnish a three bedroom home. But, I am here to tell you that it is simply not the case! Yes, we have purchased a few brand new things, ie: a super comfy sofa…
 privacy window blinds, the mattresses and all of the bedding (because, yuck : ) and a couple of accent pieces. But the majority of the decorating has been accomplished using cast-offs, inherited treasures…and LOTS of flea market finds that I have reused, repaired and refurbished…for thousands less than if we had gone to a furniture store and purchased everything off of a show room floor! Although it is still a work in progress, we are closed up for the winter now…so its time to reflect back and see what has been accomplished and what is left to be done. I don’t really have a lot of dramatic “before” pics, although this was the living/dining/kitchen area during construction…not much to see here, folks!
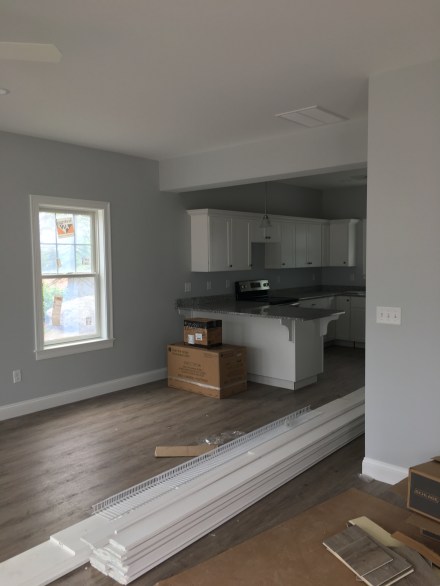 So I will just show you a few of my favorite “afters”. This vintage cupboard was recently transported north, tethered and roped onto the roof of our SUV…it has been in our dining room at home for many years, rather hidden in the corner. Now it is taking center stage…and decorated for the seasons! The blue buffalo check wool blanket is from
  The fireplace wall faces the front door, and welcomes our guests into our home. The electric fireplace, purchased almost a decade ago at the
 The LOG CABIN room. Well, what can I say? When Coach and I first started the process of finding our vacation home, my dream was to discover a pretty little log cabin tucked remotely away in the woods on a lake or stream. After looking at said houses, we realized that 1. We really didn’t want to live isolated in the woods 2. We are not lake or stream people, but are drawn to the sounds and sights of waves crashing on the shore.
 Which brings me to the LOG ROOM- I figured if I couldn’t have an entire log cabin…at least I could create the feel in one room! The log bed was a CL find, the side tables and log bench were flea market and thrift shop finds, as was the art work and accessories. The buffalo check (hmmm, there is a common thread here) drapery panels were markdowns from the


 Once you decide on your larger furniture pieces, start adding the accents, then dress it up as you go with accessories and artwork. For me, this is a fluid process…nothing stays in one place for too long…that little whale pillow has migrated from couch to chair to bench and back : ) and the fireplace has already graced two different spaces. I imagine I inherited that trait from my mom…coming home from school I would often find her re-painting a wall or a bookcase or single-handedly pushing a baby grand piano across the living room. What I have discovered on this journey is that no matter how you decorate your space, as long as it brings you…
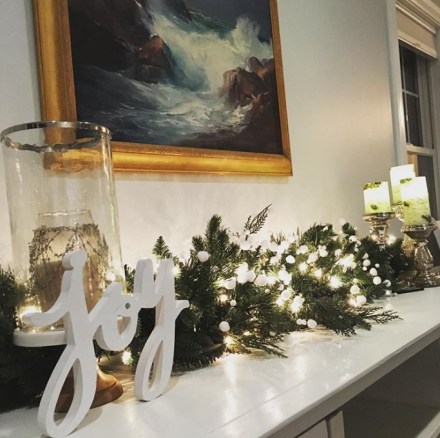 then you are on the right track. Have a great Sunday everyone, and GO PATS! xoxo Susan


