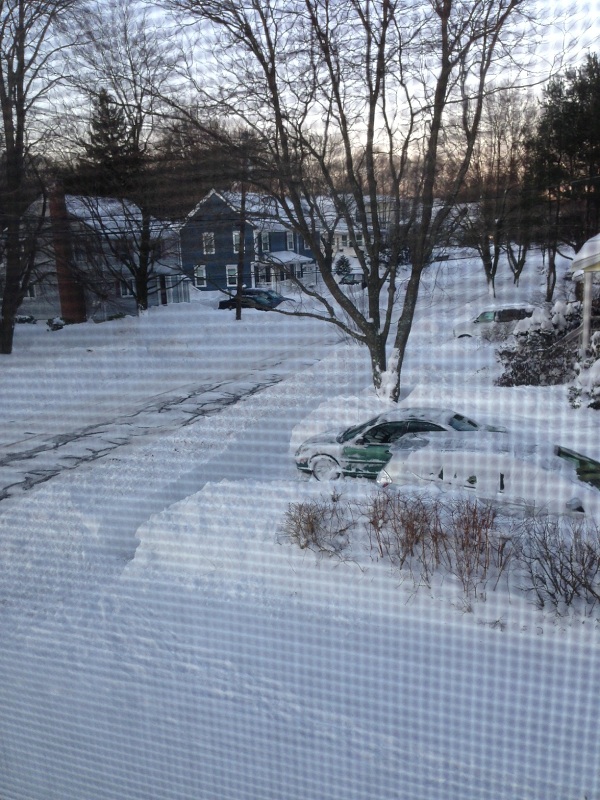
Last summer Coach and I completed a major outdoor renovation, transforming our deck into a screened-in porch. (Of course, today, on the eve of the official first day of spring here in Boston, the porch still isn’t useable due to yet another ridiculous snow storm!) OK, so once the porch construction was completed, we decided on red, white and blue nautical decor, using primarily vintage castoffs and refurbished finds.
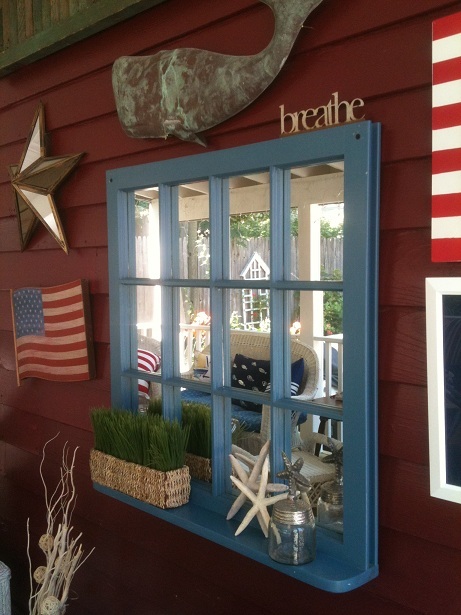
Of the DIY projects that I posted here, the one with the most interest (and great comments!) was The Whale’s Tale.

The old whale-shaped table was scooped up at a yard sale for $5,

then cleaned,
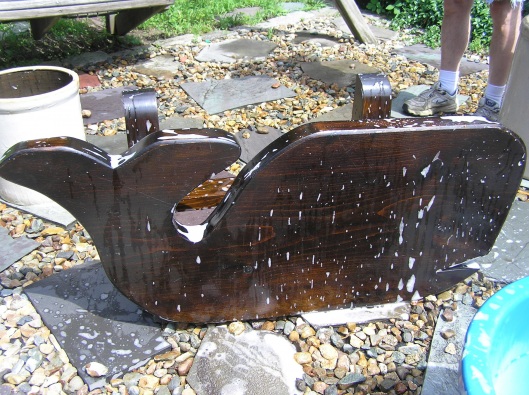
sanded and painted,
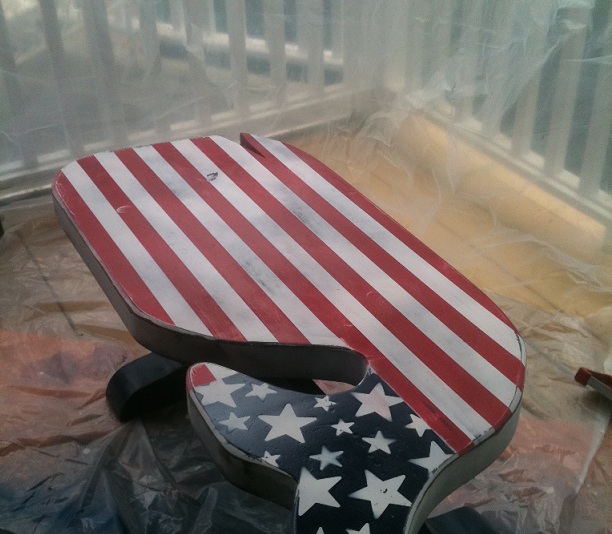
glazed and finished the table to give him a new, patriotic glow.

Recently, I submitted the project to This Old House, and it was selected for the This Old House Don’t Buy It, DIY It! Contest. For those of you not familiar with This Old House (hard to imagine…), it was one of the original home improvement TV Shows, beginning in 1979 and starring Bob Vila. Originally airing 13 episodes filmed in the Boston area, the show has grown into a national cultural icon. Presently aired on PBS, and hosted by Kevin O’Connor, This Old House continues to provide valuable information and resources for owners of older homes through the show, their website and magazine.

I am not sure if, at some point, I may need your votes to help me win $100 and a spot in the upcoming July Reader’s Issue of This Old House, but I will keep you posted! In the meantime, if you have a DIY project to share with This Old House, click here and fill in the online forms. (of course, just make sure it’s not as nice as my patriotic pal : ) Have a whale of a Tuesday everyone! Susan


 Time for some simple D.I.M! (Do It Myself, because if I don’t, who else will!? ) I really didn’t want to ruin the cute pic on the front, in the event that I would want to use it again. So I flipped it over to the back side, where there was a nice, clean, even surface to work with. You can pretty much transform anything into a chalkboard! Here’s how:


