BHG Flea Market Decorating Book…A Review

Better Homes and Gardens Flea Market Decorating Book

Photo Courtesy of Better Homes and Gardens

Everyone know Coach has books. Lots of books. Thousands of books.

Stacks of books in the barnAlthough typically he is more inclined to pick up historical books and vintage magazines rather than novels or DIY manuals, he recently came across this Flea Market Decorating Book at a…where else…flea market, so he grabbed it for me. This Flea Market Decorating…Creating Style with Vintage Finds book by Better Homes and Gardens (*BHG) was published in 2000, but is even more relevant today than it was than a decade ago. Today, flea marketing is big business, and dealers, decorators and homeowners alike know the thrill of the hunt and how to create home environs with one amazing found piece as the inspiration. This book contains page after page of glossy photos with inspired decorating ideas utilizing all styles of flea market finds. Some are maintained in their original form, some are altered in the necessary way to fit the intended space, like this hospital gurney turned bathroom vanity.

BHG Flea Market Decorating Hospital Gurney Bathroom Vanity

Photo Courtesy of Better Homes and Gardens

The book is separated into chapters: The hunt (what to look for when flea market shopping), defining a style (which style suits you?

Cottage Style

BHG Flea Market Decorating Antique Cupboard Cottage Style

Photo Courtesy of Better Homes and Gardens

Retro Rustic

BHG Flea Market Decorating Retro Rustic Dining Set

Photo Courtesy of Better Homes and Gardens

Modern Country

BHG Flea Market Modern Country Decorating Bedroom

Photo Courtesy of Better Homes and Gardens

Salvage Chic

BHG Defining a Style Salvage Chic

Photo Courtesy of Better Homes and Gardens

or Fifties Plus

BHG Flea Market Decorating Mid-Century Modern Fifties Plus

Photo Courtesy of Better Homes and Gardens

Once you find your treasure, you’ll find the chapters bringing it home (integrating your newly found pieces into your existing home decor, both inside…

BHG Flea Market Decorating Dresser in Kitchen

Photo Courtesy of Better Homes and Gardens

…and out

BHG Flea Market Decorating Outdoor Patio

Photo Courtesy of Better Homes and Gardens

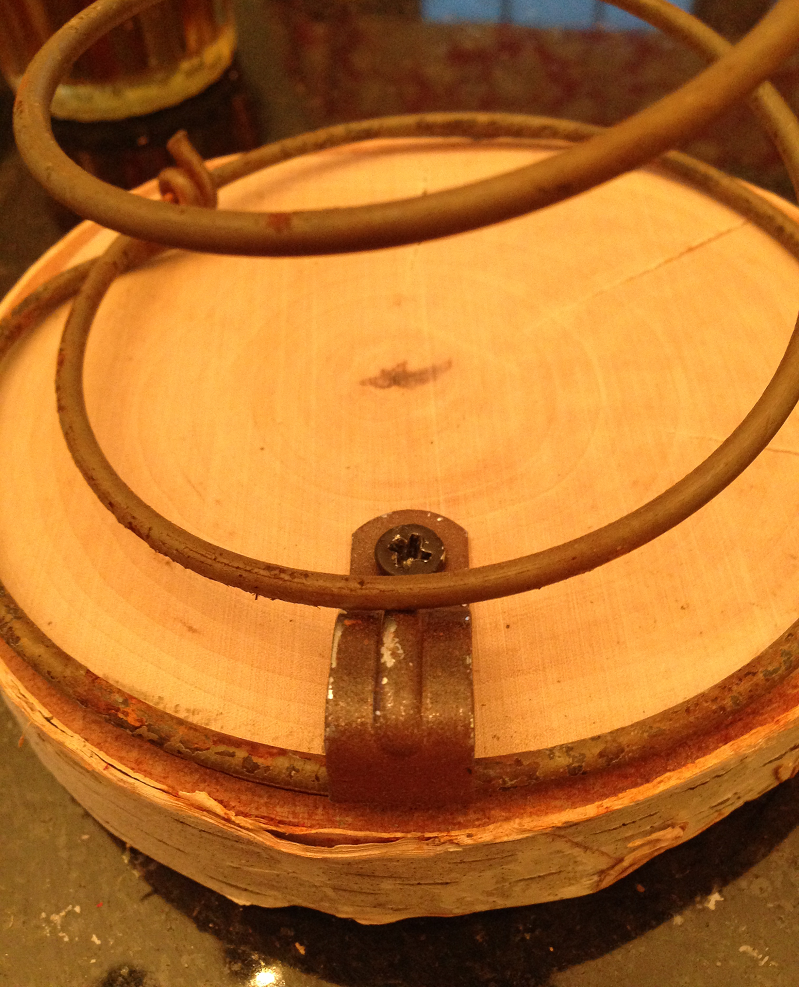
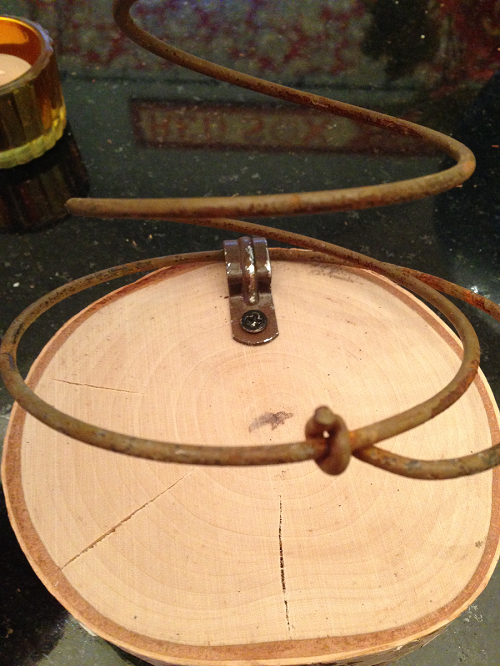
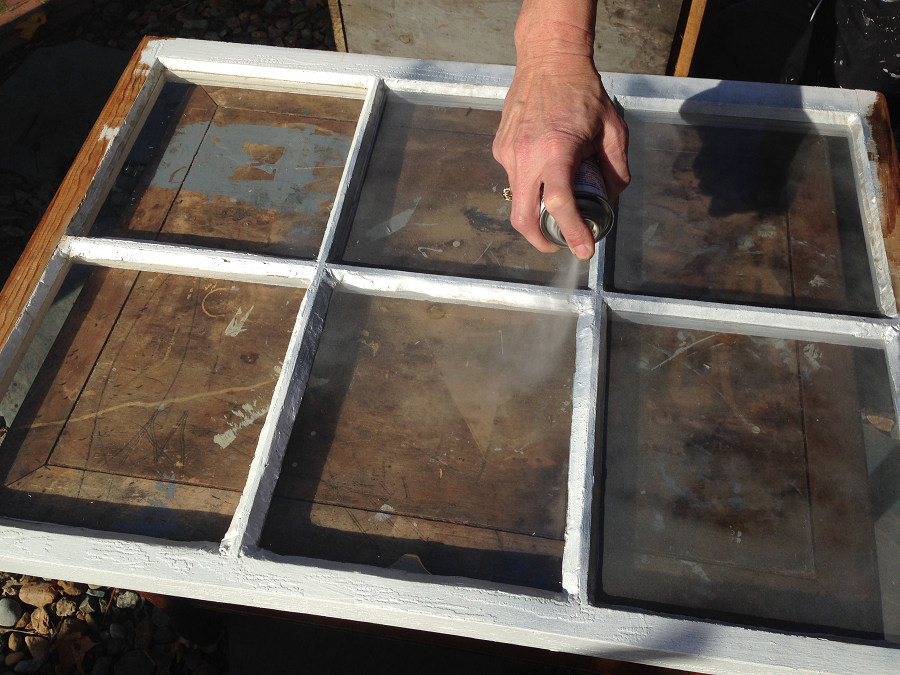
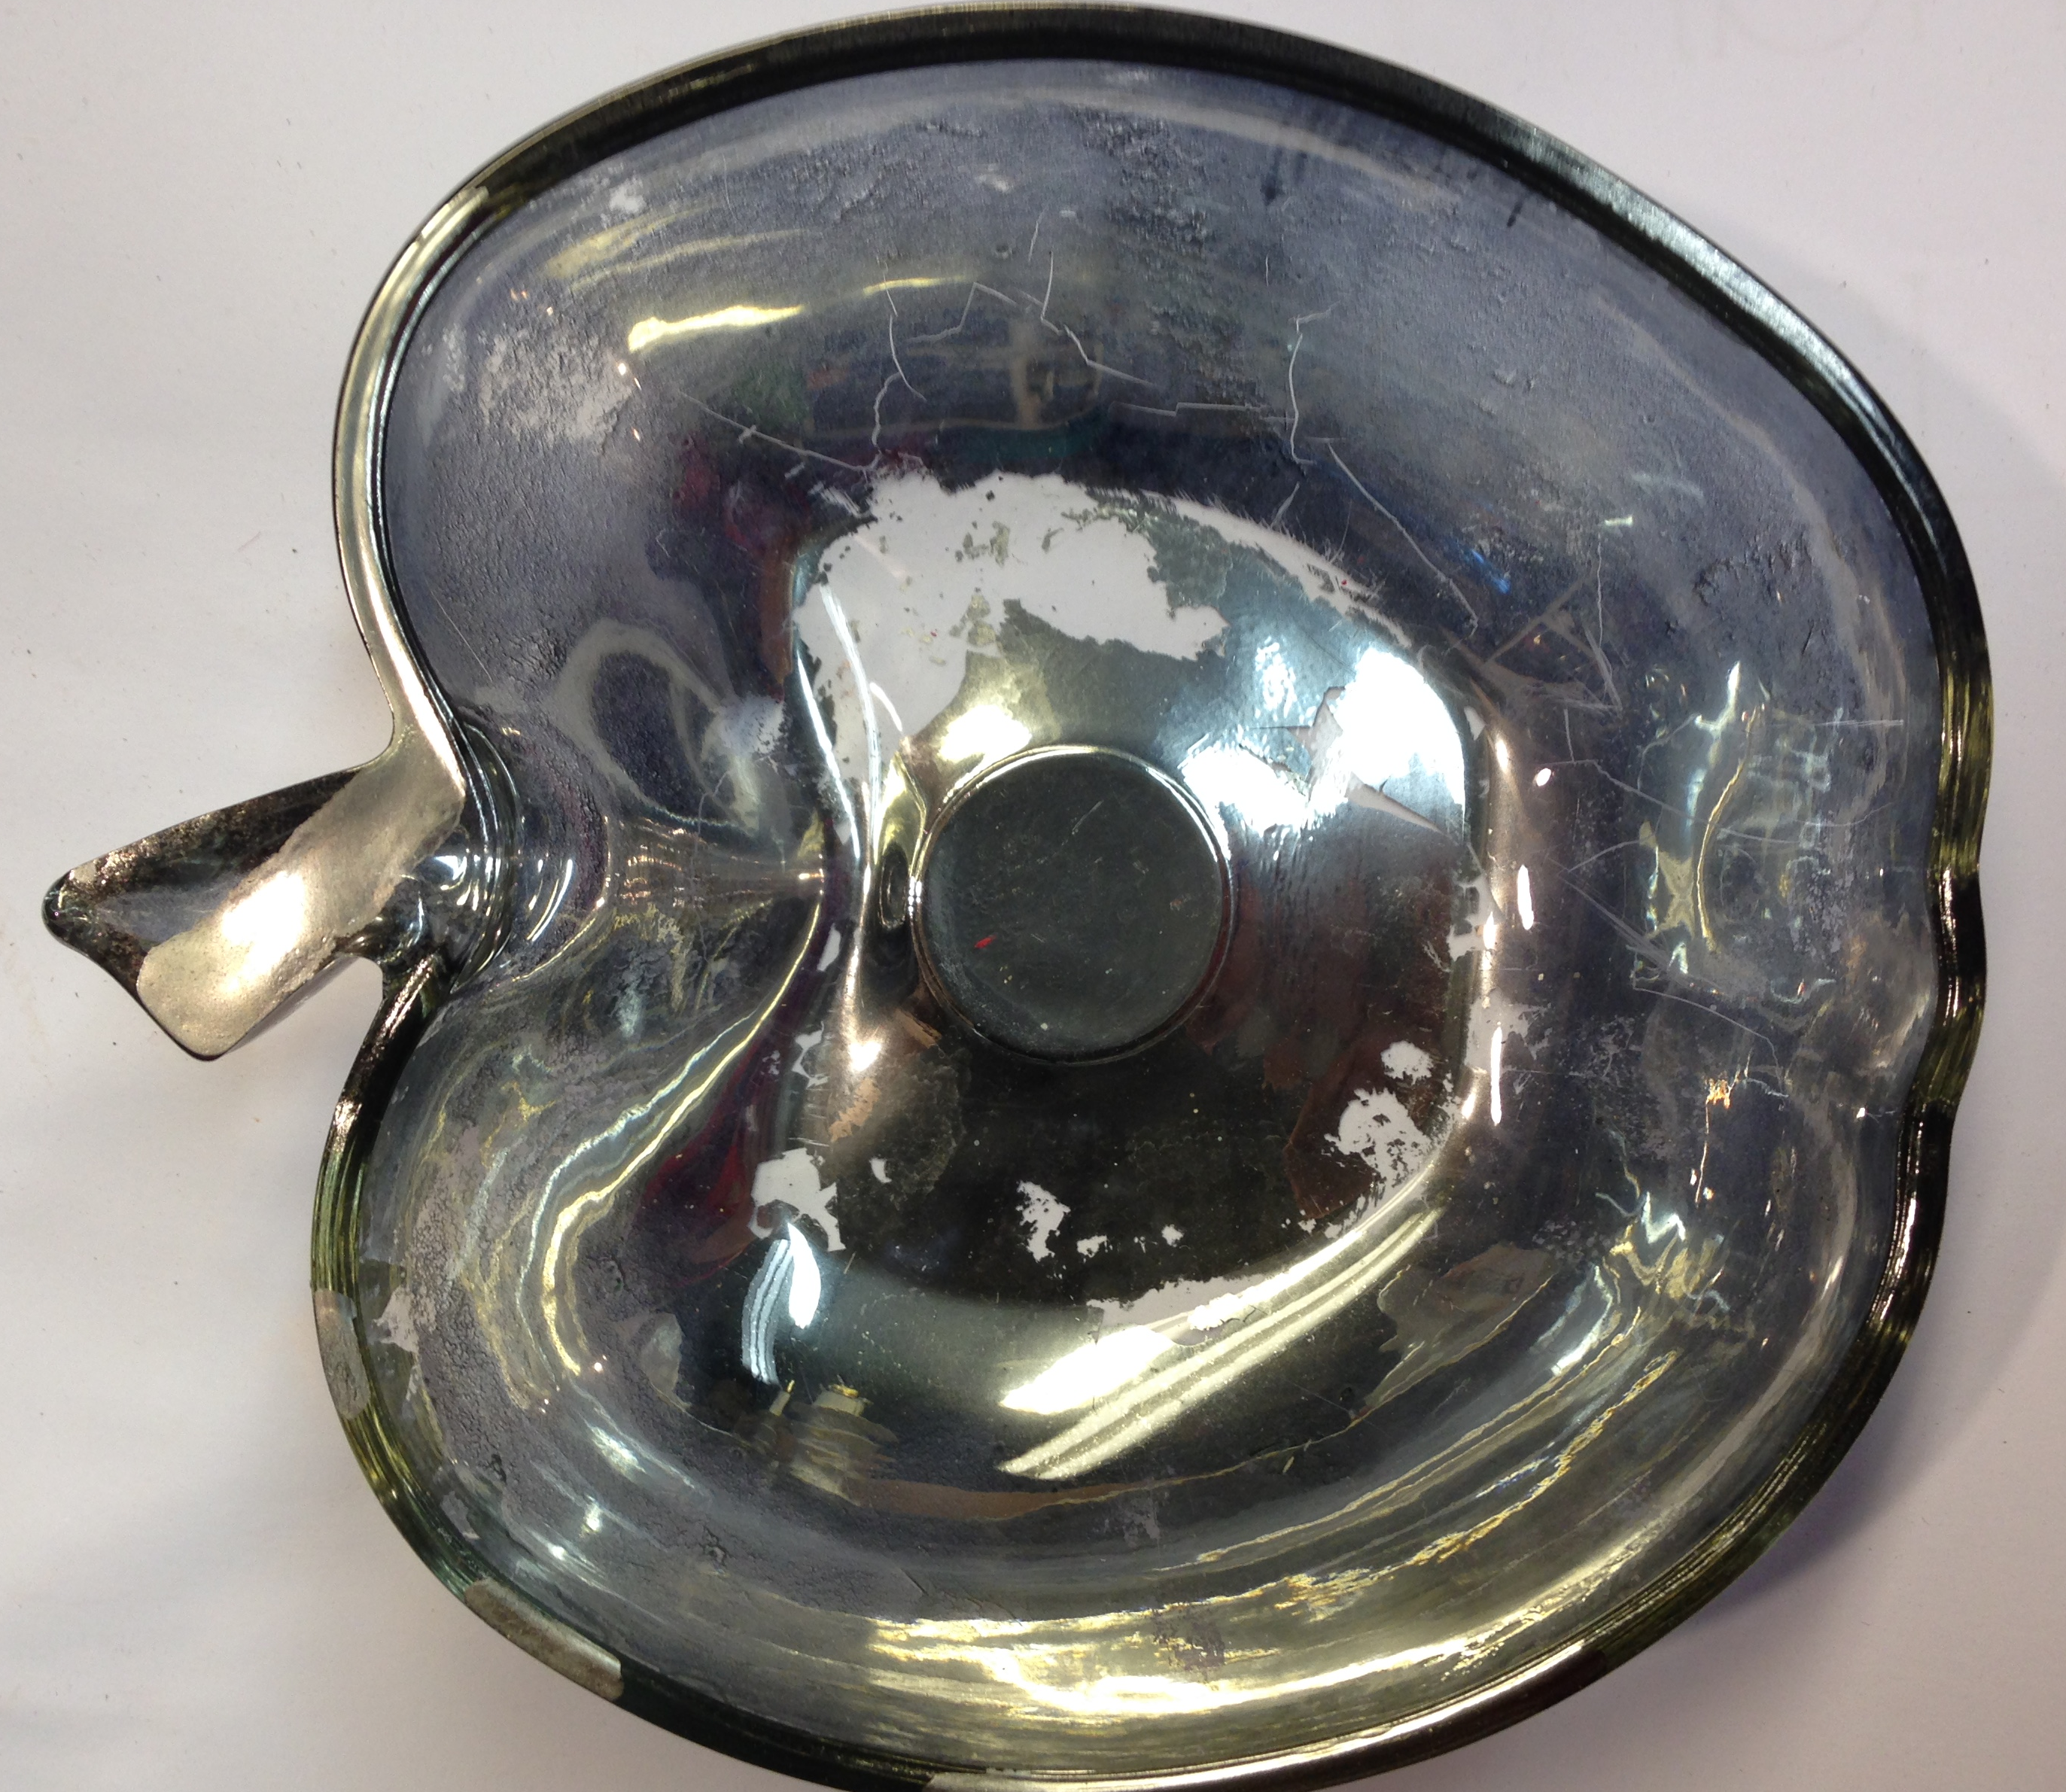
&  can it be saved (with helpful DIY tips…everything from refinishing wood to rewiring old lamps)

BHG Flea Market Decorating Book Restoring Finish on Table

Photo Courtesy of Better Homes and Gardens

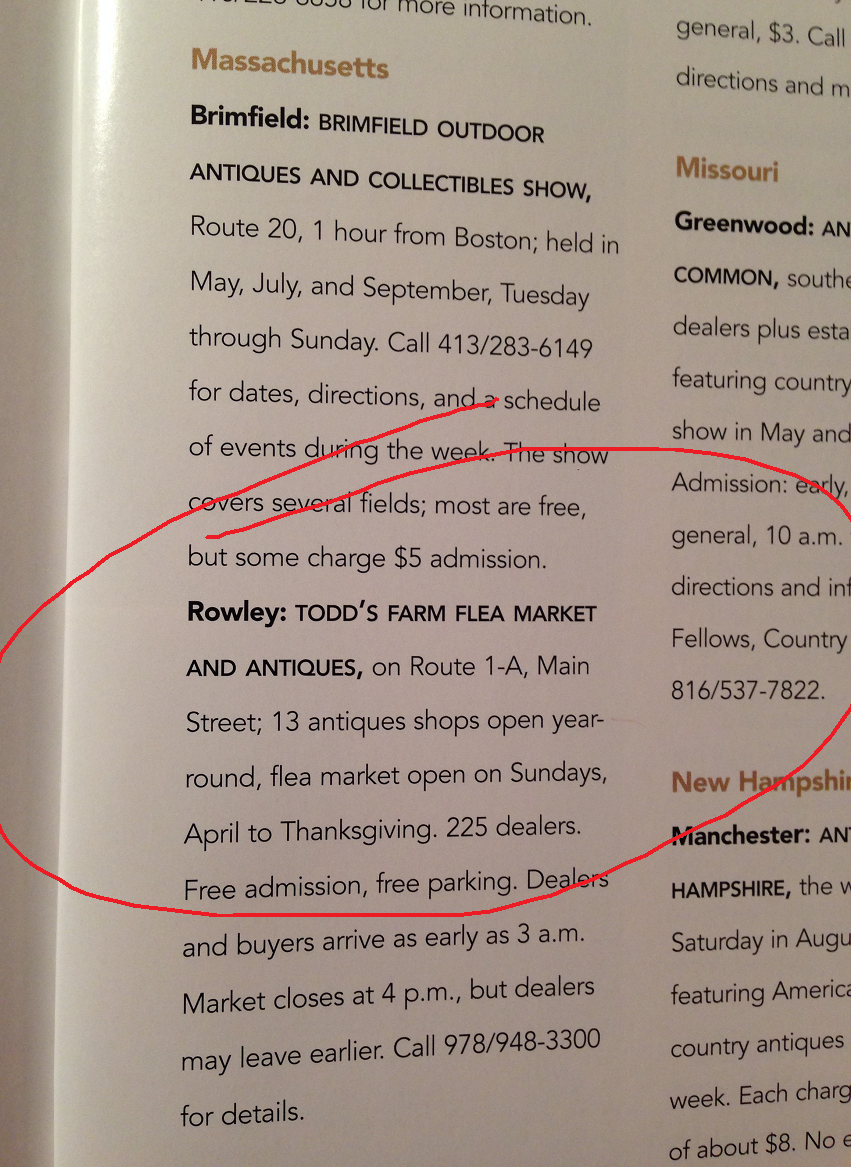
to be most invaluable. At the end there is a national listing of flea markets and look here..my two favorite Massachusetts markets! Brimfield Flea Market and our very own Todd Farm Flea Market (April can’t come fast enough, my friends!)

BHG Flea Market Decorating Book Todd Farm AdIf you are an avid flea marketer (like me and Coach) and love to decorate with vintage furnishings, this book could quickly become your flea market bible. So many inspired ideas and great design mixed in with helpful hints and information. If you are lucky enough, you can find it at your local flea market, or it is still available on Amazon.com. Now if you will excuse me, I have to go make a bowling pin trunk : )

BHG Bowling Pin Trunk Table

Photo Courtesy of Better Homes and Gardens

Do you have a favorite room designs with flea market decor?? If so, please share it with me- just send a pic and I will post it here and on my social media pages : ) Have a great (& not too snowy) Sunday everyone!! Susan


New Life For An Old Cupboard-Without Paint!

When Coach first acquired this unpainted vintage glass front cupboard, my first inclination was to paint it, distress it and add some new knobs.

Vintage Glass Cupboard Before

But every time I walked past it, for some reason it tugged at my heartstrings just a bit, although I was not sure why. We don’t have anything else like it in our home, and its just a simple little cupboard…one that you would find in your grandmother’s kitchen. And then it hit me…it was reminiscent of my grandmother’s kitchen table…the same wood color, the same glowing finish. So, as an homage to time gone by and Sunday Pot Roast dinners at my grandmother’s house, I decided to clean it up, shine it up and give it new life, but to leave it unpainted. Some old furniture just screams for a coat of paint and some embellishment, but this vintage hutch quietly begged to be restored to its former quaint and simple beauty. It was quite dirty and greasy, so I cleaned it up with some household cleaner. I was left with a rather splotchy finish…it appears that someone along the way decided to add a layer of varnish or stain in a rather streaky fashion. Using some Mastercraft Poly Gel Wipe On Stain,

Vintage Cupboard Mastercraft Wipe On Gel StainI attempted to even out the overall color as best I could. You simply paint or wipe the stain on,

Vintage Cupboard Side Panel Gel Stainlet it sit for a couple of minutes, then wipe it off, leaving as much or as little as you would like.

Vintage Cupboard Front Panel Gel AppliedYou need to work quickly and in small areas, as this stuff gets tacky fast. (It is a bit smelly, so despite the below freezing temps, I had the window open and a fan running continuously.) Once all of the wood was finished, I decided to add some vintage wallpaper to the back of it to add some color…this fresh green check is simple and looks like it could have been in grandma’s vintage kitchen.


Vintage Cupboard Check Paper Background and Drawer LinerI papered the back using decoupage glue…this wallpaper was not pre-pasted, and then followed suit with the drawer as well. The hinges were dirty and in need of some cleaning,

Vintage Cupboard Hinges Varnishedso I left them, along with a bottle of brass cleaner for Coach to use, thinking that would do the trick…until he called me and said it wasn’t working. So I instructed him to try the silver cleaner…again no luck. So I took another look at them, first thinking it was rust and then finally realized that whoever varnished the piece left the hinges in place and varnished right over them! Time for the heavy duty stuff: this LIFT-OFF varnish remover does the trick,

Vintage Cupboard Lift Off Varnish Removerhas very little odor and is water-based…so not too offensive to use indoors. I put the hinges in a metal tin with the remover, waited 20 minutes, scrubbed with a little warm water and an old toothbrush (do you save yours? I always do, just for times like these…,)

Vintage Cupboard Scrubbing Hinge with Toothbrushthen buffed with a bit of steel wool and they were good to go.

Vintage Hinge Buffed with Steel WoolI love the detail on these hinges…very art deco, and matched to top crown of the piece,

Vintage Cupboard Refurbish No Paint Top Crownwhich helps to determine what time period it originated from. There were six rather beat up wood knobs,

Vintage Cupboard Knobs Beforeso I replaced the glass door hardware with some cut glass knobs,

Vintage Glass Front Cupboard with Glass Knobsthen crackled and painted the door and drawer knobs to match the green plaid paper.

Vintage Cupboard Crackled Wood KnobsFinally, I filled the finished piece with some of my milk glass collection…can this be any cuter!?!

Vintage Cupboard Finished Filled with Milk GlassIs the finish perfect? No. I would’ve had to strip the entire piece down and start fresh if that was the look I was hoping to achieve. What I wanted was a fresh piece of furniture that looked as if it had been used and loved and worn, so that it would tug at someone else’s heart strings. Then they would use it for their own collectibles and kitchen wares…and someday their grandchildren would remember it fondly.

Vintage Glass Front Cupboard FinishedBecause, alas, I have no room for it in our home, so this one is in the Barn at Todd Farm if you’re interested in taking a look. Have a fresh new week, everyone! Susan

Vintage Ski Hat Rack & Wreath

Oftentimes, Coach will come home with stuff and my first reaction is, “not one more thing-don’t buy anything else!” And I stomp off to go find something to do while I stew about the fact that the barn is no closer to being my workshop than it was six months ago. Because it’s still full of stuff…no matter how much we sell, it never seems to get emptied. So after I get over it, I go back and look at the new stuff that he has brought home…sometimes right away, sometimes a few weeks or months later. Inevitably, I discover some new pieces that I can work with. Such is the project I shall name:

The Vintage Ski Hat Rack On The White Picket Fence With The Stove Burner Wreath. 

Vintage Ski Coat Rack

As with most of the items I refurbish, I have no clue where they came from. All I know is one day they just appear on the porch or the deck or the yard or the basement, where they remain until I decide what to do with them. So here is the story of The Vintage Ski Hat Rack On The White Picket Fence With The Stove Burner Wreath. At the barn last Sunday, one of the other vendors was admiring the skis that we had in our shop. He had recently created a coat rack from a large pair and instructed me on the how-to. So, since I had a white picket fence section (doesn’t everyone?),

Vintage Ski Hat Rack White Picket Fence
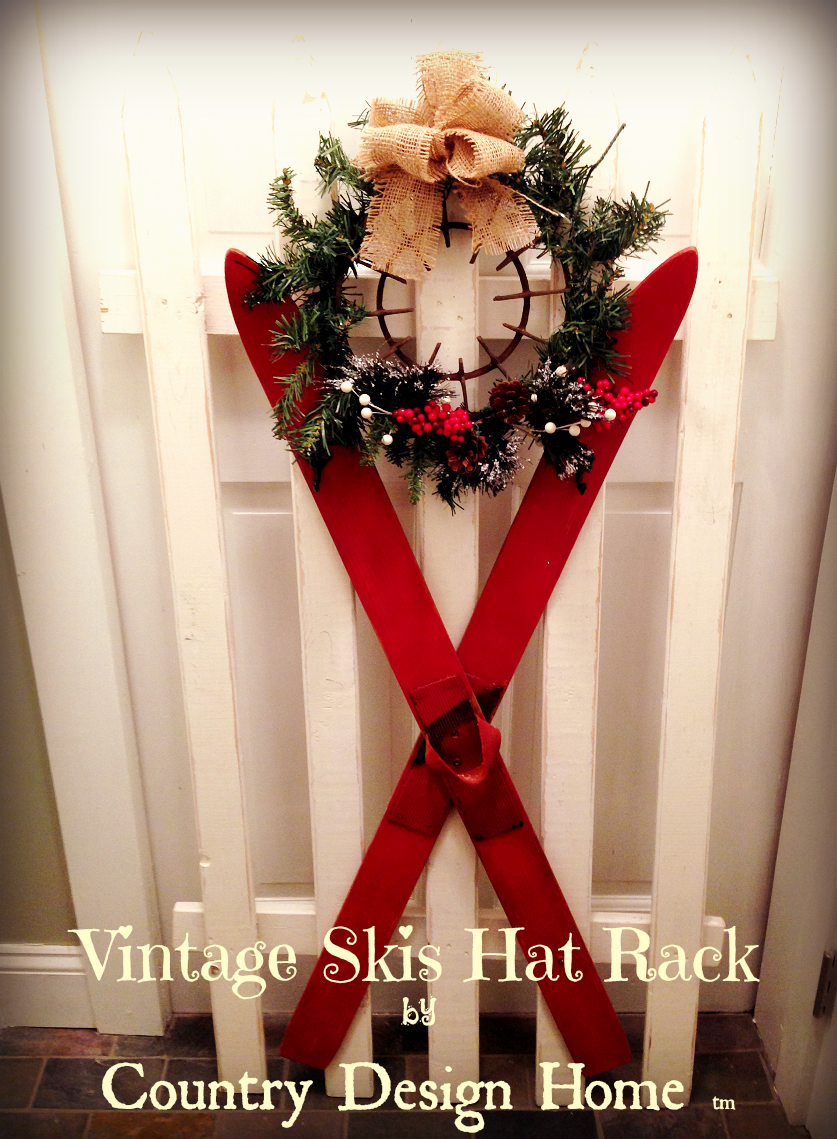
I decided to mount the skis on the fence to create a functional wall-hanging rack for caps. The skis are on the small side, so I supposed you could hang a kids jacket or two on it as well. Once I mounted the skis to the fence. I added the hooks.

Vintage Ski Hat Rack Hanging HooksBut it just looked so plain, so I decided to add the wreath.

Vintage Ski Hat Rack on Picket Fence by Country Design HomeSince I didn’t have a wreath form handy, I used the next best thing: an old rusty burner grill from a stove top. It’s round, it has little hooks for wrapping stuff around it…why not?

Rusty Stove Burner Grill

So I took some garland and wrapped it around the burner ring and secured with wire.

Wrapping Burner Grill with Greens for wreathThen I made a little garland with some berries and twigs and such and attached it to the bottom of the wreath with wire.

Wreath made from Burner Grill

Then I added a burlap bow to the top.

Burlap Bow for wreath

Then I hung it on the Vintage Ski Hat Rack On The White Picket Fence. 

Vintage Ski Coat Rack

Cute-right?! This will be at the shop at the Holiday Open House in the Barn at Todd Farm this weekend. Hope to see you there! Sue


Holiday Open House in the Barn @Todd Farm

As you might know if you regularly follow my blog, Coach and I, along with Lisa from RitaJo’sVintage,  have spent our summer and fall Sundays in the Barn at Todd Farm,

Barn at Todd Farm Postcard

a local antiques and flea market in Rowley, Massachusetts. Lots of 4:30 am Sunday mornings, hanging out with the roosters in dawn’s early light

Todd Farm Antique Truck at Dawnas we sleepily sold our wares to dealers and hipsters and Sunday shoppers searching for bargains and repurposed junque. The Todd Farm Flea Market

Todd Farm Flea Marketis split into two distinct areas: the outdoor fields, where hundreds of dealers spend their Sundays from March to November offering their treasures (at amazingly discounted prices) and the Barn at Todd Farm

Barn At Todd Farm Postcardwhich used to be primarily a junk storage facility, but is now home to various dealers and folks like us

Country Design Home in the Barn At Todd Farmwho love to recycle and refurbish furniture and collectibles. This weekend marks the 1st Annual Holiday Open House inside the Barn at Todd Farm. The barn itself is also split in two: the main barn, where our booth is located in an old dairy stall (sans cows)

Dairy Stall in the Barn at Todd Farmand the beautifully restored rustic annex

Inside the Barn at Todd Farmthat has been completely refurbished from floors to the rafters. The Holiday Open House will take place this Saturday and Sunday from 10-5 in the annex of the barn, featuring local vendors like JWrobel Studio

JWrobel in the Barn at Todd Farmand Special Guest Vendor: The Vintage Bazaar!

The Vintage Bazaar at the Barn At Todd FarmBut the vendors in the main part of the barn will all be there as well! Just wear your flannels because since apparently cows never needed heat, there isn’t any in the main part of the barn (other than our warm greetings, our JOY marquee sign and perhaps some hot spiced cider : )

Joy Rusted Bedspring Marquee SignSo bundle up and head on up to the Barn at Todd Farm Holiday Open House at 275 Main Street in Rowley.  Hope to see you all there! Susan

Candy Cane Mason Jars-DIY!

For the past couple of weeks, I have been spending lots of time working on Christmasy crafts in preparation for this weekend’s Holiday Open House at the Barn at Todd Farm. (Full details on Friday, but it is going to be fun, I promise : ). This Candy Cane Mason Jar

Candy Cane Mason Jar from Country Design Home
is one that I created last year and it was a big hit. Very simple and quick to make, it only requires a jar, masking tape, red and white paint and whatever holiday embellishments you may have hanging around. Here are the DIY instructions:

1. Clean and dry the mason jar to make sure there is no dirt or dust on the inside or outside.

2. Paint the jars an under color. In this case, these were home made red chalk paint, but you can start with white, since the stripes are the same size.

Candy Cane Mason Jars Painted Red Undercoat

3. Measure around the neck of the jar.

Candy Cane Mason Jar Measuring Neck
This one was 9 inches around the narrow part of the neck, which is where I was going to begin taping.

4. Mark off @ one inch intervals all the way around, depending on the width of the tape, which was one inch.

Candy Cane Mason Jar Measuring masking tape width


If you have different size tape, you need to figure out the math to make the stripes equidistant.

Candy Cane Mason Jar Measuring One Inch Intervals
5. Following those marks, start your tape at the rim and bring it down the jar to the base at an angle, depending on how much of a “swirl” you want to create.

Candy Cane Mason Jar Taped Jars

Make sure that you press the tape down firmly along the edges so you don’t get “bleeding” underneath. “Bleeding” is when the paint sneaks underneath the tape and creates little bits of color where you don’t want it to be.

Candy Cane Mason Jars Pressing Tape Edges
6. This is where you can change your stripes to be as fat or skinny as you would like. Just make sure you start at the top markings so the stripes are the same approximate width. They don’t have to be perfect, just close enough : )

7. Paint inside the taped stripes with the white paint, not too thickly, because you want it to be slightly transparent to allow the candlelight to shine through. On this jar I’m using Chroma Color by Cari Cucksey in a Crisp Linen White.

Candy Cane Mason Jar Painting White StripeThis is not chalk paint, but a very smooth finish latex that can be painted on any surface, then left with a shine or sanded down for a matte finish. One coat is all you need.

8. Allow the paint to dry completely.

9. Peel off the tape, and you are left with a striped candy cane mason jar…but, you’re not done yet! See all those little jaggedey edges? Those are the “bleeding” dots I was talking about. Very bad. They must go.

Candy Cane Mason Jar Tape Removed Striped

10. Take a piece of sandpaper and lightly sand the jar, exposing the raised lettering of the glass and smoothing out any rough areas and dots of paint that my have bled under the tape. The more you sand, the more rustic the jar appears and the more light shines through. Totally personal preference.

Candy Cane Mason Jar Sanding Edges

11. Decorate the neck of the jar. In this case, a bit of jute rope and some jingle bells completes the look.

Candy Cane Mason Jar Jute Rope Jingle Bells Decoration

12. When you light the votive inside the jar, it glows and shows off the mason jar raised glass lettering. The more you sand the more the light shines through. And there you have it, a pretty perfect Candy Cane Mason Jar to decorate your mantel or tabletop and light up your Christmas decor.

Candy Cane Mason Jar from Country Design Home

OK, back to my workshop to finish up for the weekend-I know how Santa’s elves must feel right about now : ) Have a sweet Thursday everyone! Susan

Rusty Bedspring Coil Votive Holder-DIY!

What do you do when you have not one, but two giant, antique, rusty bedspring frames? Well, the first one you transform into a large marquee sign for your shop,

Rusty Bedspring Marquee Sign

and the second one you mull over for awhile until you come up with a bright solution. So, without further ado, I’m introducing the

Rusty Bedspring Coil Votive Candle Holder!

Rusty Bedspring Coil Votive Candle Holder Country Design Home

Now, I have spotted many a rusty bedspring photo with a votive tucked underneath, but I wanted to take it up a notch by adding a second rustic element: the birch log slice. This elevates the rusty bedspring into a lovely woodland mantel decoration, does it not? Here’s the how I did it:

1. Get Coach to drag out the rusty bedspring frame from behind the fence where it had been weathering over the summer.

Vintage Rusty Bedspring Frame with Coils

Have Coach cut off all the rusty bedspring coils during your freezing cold yard sale. Watch the pile ( of coils and $$$) grow.

Rusty bedspring coils in box

2. Assemble your ingredients: A rusty bedspring coil (well, you know where I got these, and I have a ton more if you need one!), a birch log slice (this one I got at Michaels for $6.99 using  a 50% off coupon, but you could certainly go into the woods and grab a log or two and slice ’em up), a votive candle-whatever style you choose as long as it fits in the bottom of the ring

Rusty Bedspring Coil ingredients

and a small clamp and screw (these I had kicking around the workshop-but if you need to purchase one, they’re in the plumbing aisle at your local hardware store. And they don’t need to be old and rusty, they’re not going to show anyway.)

Small Clamp for Hinged Coil Spring Votive Holder

3. Place your rusty bedspring coil on the log slice and arrange in a pleasing manner. These springs are not exactly round, but neither are the log slices, so its a win-win. In this case, I kind of liked the little coiled knot in the front, but you could certainly turn that to the clamp side, or the rear of this rustic piece of art.

Rusty Bedspring Coil in place

3. Attach the rusty coil to the log slice with the clamp assuring that you hold the clamp securely in place with the coil underneath the arched part-this will create a hinge effect.

Attaching Rusty Bedspring to Log Slice clamped

Now, this can be a bit tricky, because in order to attach the screw properly, you need to hold it at a 90 degree angle while you push down. So, just use the spring as a “tunnel” and go right down the middle. Remember, its a spring, so you can push it down to get a better grip on your screwdriver.

Attaching rusty bedspring coil to log slice

4. Test out your mechanism by slowly lifting the coil away from the log slice and you will immediately see the simple brilliance of this design! You’ll note that the coil does not slide off the log, thereby creating a safe cage for your votive to sit inside. So, in the event that somehow your rusty bedspring coil votive holder gets knocked over while the candle is burning inside, the rusty coil and the votive stay firmly in place : )

Lifting Hinge of Coiled Bedspring Votive Holder

5.  Decorate your holiday mantel with your new rusty bedspring coil votive candle holder and wait for the compliments! So, there you have it. A simple, quick and easy project that costs under $4 (assuming that you have a box full of rusty bedspring coils).

Rusty Bedspring Coil Votive Candle Holder Country Design Home

Now you’ll have to excuse my while I go slice up one of my precious birch logs and make a few more of these. I see many potential Christmas gifts in the works! Hope you have a sunny Sunday everyone, Susan


Through the Looking Glass Mirror-A DIY Project!

A few weeks ago, a customer came into the shop at the barn and purchased 6 of our old white, multi-paned windows for a wall installation. Once it was completed, she texted me this pic-which is awesomely creative and sooo Pinterest-worthy!

Window Wall InstallationShe took the windows and hung them on her dining room wall, framed by some old shutters, to create an interesting backdrop for her candles-she loves dining by candlelight- and the glass window panes reflect the light for some very romantic dining!! Loving that painted vintage buffet, BTW. Since Coach and I had recently sold our old gigantic dining room hutch, I now have a large blank wall in my dining room that is screaming for some attention. This seemed like the perfect solution, and since we have a bunch of old white windows hanging around,

White multi-paned windows for DIY

I thought it would be fun to experiment. But, I decided that I wanted at least one window to be a mirror, not clear panes of glass. Here’s where the fun started! Rather than going out and purchasing six mirrors to replace the window panes, I decided I would make my own with this can of Krylon Looking Glass Mirror Paint

Krylon Looking Glass  Mirror Paint

I cleaned the reverse side of the window  (pretty thoroughly, I thought) to make sure there was no dust or streaks.

White multi-paned window for DIY

Then I scraped the paint around the edges to clean it up.


Scraping window edges for paint prep

For this technique, you spray the reverse side of whatever object you want to transform into mirror so that the finished product has a glassy look. Taking it outside, (this stuff is a wee bit smelly, folks) I used the can of Krylon Looking Glass Mirror Paint and proceeded to spray the reverse side of the window. Following the instructions, I shook the can for 2 minutes, then held the can 8-10 inches away from the surface and lightly sprayed the first coat.

Spraying window with Krylon Looking Glass Mirror Paint

Then I waited a minute, shook the can for 10 seconds, then repeated, adding 5 layers of mirror paint in total. While each layer was drying, you could see the vapors evaporating into thin air, which was like a cool science experiment.

Mirror Paint Evaporating

As each layer was added, I could see that the window was becoming more opaque and less transparent. By the final coat, I could no longer see the trunk that the window frame was resting on.

Mirror Paint Evaporating

Then I waited for the magic to happen. After the drying period, I flipped it over and discovered that my window was now a mirror-yay! But not a crystal clear mirror, more like an old, dusty mirror, which is perfectly fine for the look I am trying to achieve with this wall installation.

DIY Window Mirror Reflection

But, why, you ask!? You followed the instructions perfectly! BUT,  I didn’t clean the glass properly! Behind the glass, you can see the streak marks that I left behind with my paper towels. Lesson learned. If you want a crystal clean mirror, you MUST start with a crystal clean glass surface! (When I first purchased this can of Krylon Looking Glass Mirror Paint, I started experimenting and sprayed this little candy dish, which came out beautifully mirrored. But I left it outside to dry and then it rained, so this is what happened.

Crackled Mirror Paint Apple Dish

Whoops. In both cases, total user error. But, I still love my mirrored window, and it is the first piece of my new dining room wall installation, coming soon! Have a great Thursday everyone and make it a reflection of the real you : ) Susan

PS: If you are in need of some awesome multi-paned white windows-we’ve got extra!

An Autumn Day on the Farm

Good morning! First I would like to say that I am soooo happy to be back and writing again! It has been a long month of technical voodoo that has plummeted me into the depths of blogging despair, only to be rescued by Matt from Pixel Junction.  He has been patiently answering my (numerous and voluminous) questions and repairing my word press mess, restoring and beautifying my blog. We are not quite there yet, but should be where I really want it to be shortly. In the meantime, there is no reason why I can’t start sharing with you again! Consider this my “soft opening” before the big grand opening. BUT, there is one thing I need from you, dear readers. In the process of moving my blog from wordpress.com to wordpress.org, my entire list of blog subscribers was lost in cyberspace. So that means all of you, even those of you who are reading this right now, only found me via another social media outlet. (or because you’re my family and friends and I begged you to please sign back up so I know at least someone is getting this!)

Yesterday was one of our final days of the season in the Barn at Todd Farm Flea Market.

Barn At Todd Farm PostcardIt has been a lot of fun, and we have met some really great people along the way! But I am looking forward to having the winter off (no more 4:30 am alarm on Sundays!!) FYI- the outdoor flea market season ends on November 30. However, the barn has an annex that is opening on that same day, and will remain open year round (they have heat!) In the meantime, you only have a few Sundays left to see the flea market in full Sunday operation. As we strolled around yesterday, I couldn’t help but notice how beautiful everything looked, not only in the contrast of the bright autumn leaves, but also against the gray November sky in the background. On any given Sunday, there is so much going on at the flea market with shoppers and vendors trading and selling and bargaining. Strolling around, sipping coffee early in the morning is the best time to catch a glimpse of the goods that vendors bring along to sell.

Antique Grates

Todd Farm Antique Vent Grates

Mr. Tin Snowman – cute little guy. But he was back in the truck because he lost his arm and needed some fixin’. Happy that he’s made of tin and not real snow!!

Tin SnowMan Outdoor Lawn Ornmanet

 Neon Dog Sign– On any given Sunday, the fields and barn are filled with shoppers who are on the end of a leash. Dogs of all shapes and sizes come to visit. They need this sign.

Todd Farm Neon Dog Sign

Vintage License Plates. If you had a chance to view my blog post about the giant USA map created by Aaron Foster & decided to give that a try, then this is the go-to place to get your plates!

Todd Farm Rusted License Vintage Plates

Rusted Finials. If you look closely, you can see the leaf sitting in the middle of the pile-almost undetectable because the finials have rusted to the color of fallen leaves.

Todd Farm Flea Market Rusted Finials

The Antique Wagon. This beauty sits outside the barn door, where we get to look at it all day long. You know when you see something all of the time, you stop SEEING it? I am not sure if it was the sunlight or just the contrast of the blue sky, but this wagon looked especially blue today. Can you imagine what role this wagon played when Todd Farm was a working dairy farm?

Todd Farm Antique WagonThe Wheel. Gorgeous rusted, no longer functional.

Antique Wagon Wheel

American Made. The old rusted plate is a testament to the way things used to be made. This one’s from Detroit.

Todd Farm American Made Steel PlateFinally, our Rusty Bedspring Marquee Sign now says “JOY”. Which is exactly what I am feeling right now as I am writing this blog post.

Joy Rusted Bedspring Marquee Sign

I’m happy to be back and I hope you’ll join my “blog club” again (there is a “subscribe” box on the right side. Just add your email and you are done. I promise, we NEVER use your emails for promotional purposes. Only to hear from me!)  Have a great Monday, everyone! Susan


Cheap Crackled Halloween Mason Jar

I love to crackle stuff. What does that mean? You take new stuff and make it look like the paint has been on it forever and is cracking and flaking off. Sort of a faux old look. Typically I use different brands of crackle medium available at my local crafts store, depending on the price and my coupon stash. To see a before and after on a piece of furniture I redid for our family room, check this coffee table out.

Antiqued Crackled TableSo, the other morning I wanted to crackle a mason jar or two for Halloween, but when I went to grab the crackle medium, I didn’t have any left! Apparently I have been crackling up a lot, so the bottle(s) were empty : (

I had seen many “pins” on Pinterest about using regular glue to get the same effect as the more expensive crackle medium. In fact, I had I previously attempted said technique, but it was a fail. Painted on the glue, allowed to dry, painted on the paint and waited. And waited. And nothing happened. (Normally I would have pics of this, but I deleted the fail photos. No sense writing about nothing.) But, I’m nothing if not persistant in my awesome DIY attempts, so I tried for round two. Before I did, I rechecked the glue instructions and noted my one fatal flaw: I allowed the glue to dry completely (what you would normally do with the crackle medium), which was so wrong! You only wait for it to get tacky (about 15-20 minutes), then paint over it! So here is the new successful DIY crackle with dollar store glue tutorial.

Orange Crackled Mason Jar Fall Scene

1. Take a jar, a brush and a bottle of cheap school glue.

Crackled Mason Jar Dollar Store School Glue2. Paint the entire surface with the glue, wherever you would like the crackle to appear.

Mason Jar Painted in Glue

3. Allow to get tacky (not like that’s really cheap and gaudy, just sticky), but NOT DRY. This takes about 15-20 minutes depending on how thick you painted the glue on. The thicker the glue, the larger the cracks.

Mason Jar Painted Orange Streaks4. Paint the top coat whatever color you would like. I happened to use some orange chalk paint I mixed up for some other projects. But you don’t need to use chalk paint. Make sure when you are painting that you only go over each section once and in one direction. Trying to go back over a section you already painted results in messy clumps of glue and paint. Which also looks old, but not necessarily good.

Mason Jar Coated Orange Paint over Glue5. While you watch the paint dry, you check out the other mason jars that you had already painted and applied a watered-down matte glaze to and notice that those are involuntarily crackling as well!! Hmmm. Gonna experiment more on that later.

Candy Corn Mason Jar Crackled Finish6. Go to bed and wake up in the morning to run to the basement to check out the dried jar. (Kind of like Christmas morning when you are so excited to see what it under the tree. Except you have to go to the yucky basement. And there’s no tree.) BUT, there is a crackled jar!!

Orange Crackled Mason Jar Dried7. Decorate jar with a bit of raffia (also from the dollar store) and place it on your window shelf. Light the candle, but be careful, don’t want to set that raffia on fire and ruin your freshly crackled jar!

Lit Mason Jar Crackled HalloweenSo, there you have it. Crackling with cheap school glue really DOES work-the total cost? The mason jar- well you know about the mason jars, we have dozens. The raffia rope and glue, $1 each but I only used a tiny bit so we will say 20 cents. Hope your Thursday is all its cracked up to be! Susan

Excentrique Design at Old Stone Farm

The very first time I visited and blogged about the Vintage Bazaar at Pettengill Farm (it’s this weekend, folks!) I featured a company named Excentrique in my blog post. Pretty sure this hot pink vintage table scape caught my eye : )

Excentrique Pink ChairsSince that post, over two years ago, Excentrique has moved from the fields of Pettengill Farm to their permanent home in this impressive two-story barn at Old Stone Farm in West Newbury, Mass.

Eccentrique Barn ExteriorAlthough the barn is a new build, it was designed with yesteryear in mind. Solid granite steps lead up to the massive wooden sliding doors that welcome you into the barn where you will be overwhelmed by the sheer beauty of the architecture and the decor as well.

Eccentrique Vintage Crystal ChandelierThe barn shop is owned and operated by Brenda Lucci Bradley, shown here with her assistant Sam, who is presently studying design in Florence, Italy!

Eccentrique Brenda And SamThe barn is decorated with a combination of antiques and vintage finds,

Eccentrique Vintage Map Vignettealong with refurbished mid-century modern pieces paired with eclectic decorative accessories.

Eccentrique Needlepoint Chair and PillowIn the upstairs loft I discovered these amazing orange crocodile chenille side chairs,

Eccentrique Orange Retro Chairpaired with a mid century table and vintage lamps. The perfect spot to kick back, relax and have an afternoon chat.

Eccentrique Vintage Upstairs VignetteThere are several hand-crafted and painted fireplace mantels, styled for each season with candles and glassware, lanterns and vintage glassware.

Eccentrique Fireplace MantelScattered throughout the barn are colorfully co-ordinated corners that allow you to imagine how the pieces would appear in your own home. The mixed blues are striking.

Eccentrique Vintage BluesLoving this vintage look aqua fridge with the country-style vintage aprons.

Eccentrique Big Chill Vintage FridgeBrenda not only sells at her shop, she is also an accomplished interior designer. Presently working on an historic Vermont country inn, Brenda shared her mood boards with me and explained her overall design concept of the spaces she is transforming, one room at a time. Through her design company, Journey By Design, Brenda offers full service design consultations, offering her expert services from overall design concept and project management to the complete styling of your project.

Eccentique Vermont Design BoardsExcentrique is open by appointment or for special weekend events that highlight each season.

Excentrique AutumnThe next open barn is scheduled for Oct 4 & 5. Or, you can contact Brenda to set up an appointment to stop by and shop. She’ll be happy to show you around!

Eccentrique Happy MannequinBut lucky you! She will also be setting up shop at the Vintage Bazaar at Pettengill Farm this weekend! Make sure you stop in and say hello, and tell her Sue from Country Design Home sent you. Have a great weekend everyone-see you at the Bazaar! Susan