For the past couple of weeks, I have been spending lots of time working on Christmasy crafts in preparation for this weekend’s Holiday Open House at the Barn at Todd Farm. (Full details on Friday, but it is going to be fun, I promise : ). This Candy Cane Mason Jar

is one that I created last year and it was a big hit. Very simple and quick to make, it only requires a jar, masking tape, red and white paint and whatever holiday embellishments you may have hanging around. Here are the DIY instructions:
1. Clean and dry the mason jar to make sure there is no dirt or dust on the inside or outside.
2. Paint the jars an under color. In this case, these were home made red chalk paint, but you can start with white, since the stripes are the same size.

3. Measure around the neck of the jar.

This one was 9 inches around the narrow part of the neck, which is where I was going to begin taping.
4. Mark off @ one inch intervals all the way around, depending on the width of the tape, which was one inch.

If you have different size tape, you need to figure out the math to make the stripes equidistant.

5. Following those marks, start your tape at the rim and bring it down the jar to the base at an angle, depending on how much of a “swirl” you want to create.

Make sure that you press the tape down firmly along the edges so you don’t get “bleeding” underneath. “Bleeding” is when the paint sneaks underneath the tape and creates little bits of color where you don’t want it to be.

6. This is where you can change your stripes to be as fat or skinny as you would like. Just make sure you start at the top markings so the stripes are the same approximate width. They don’t have to be perfect, just close enough : )
7. Paint inside the taped stripes with the white paint, not too thickly, because you want it to be slightly transparent to allow the candlelight to shine through. On this jar I’m using Chroma Color by Cari Cucksey in a Crisp Linen White.
 This is not chalk paint, but a very smooth finish latex that can be painted on any surface, then left with a shine or sanded down for a matte finish. One coat is all you need.
8. Allow the paint to dry completely.
9. Peel off the tape, and you are left with a striped candy cane mason jar…but, you’re not done yet! See all those little jaggedey edges? Those are the “bleeding” dots I was talking about. Very bad. They must go.

10. Take a piece of sandpaper and lightly sand the jar, exposing the raised lettering of the glass and smoothing out any rough areas and dots of paint that my have bled under the tape. The more you sand, the more rustic the jar appears and the more light shines through. Totally personal preference.

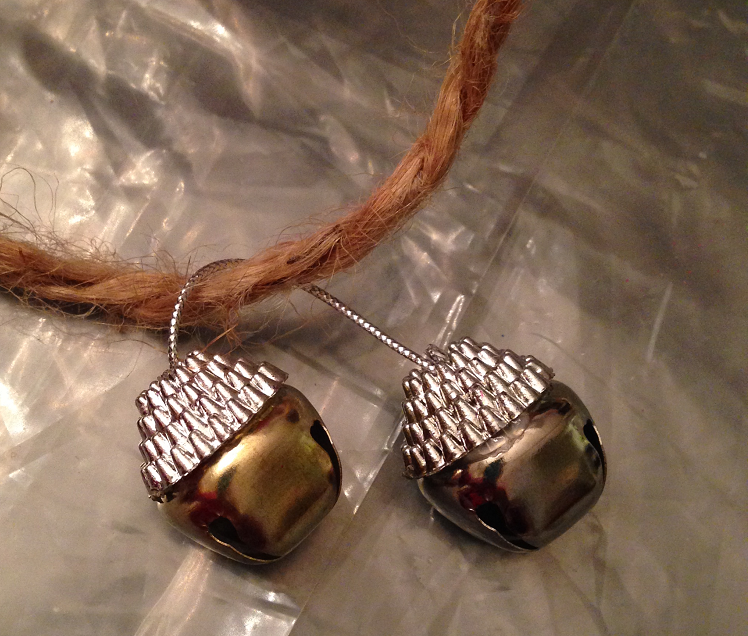
11. Decorate the neck of the jar. In this case, a bit of jute rope and some jingle bells completes the look.
12. When you light the votive inside the jar, it glows and shows off the mason jar raised glass lettering. The more you sand the more the light shines through. And there you have it, a pretty perfect Candy Cane Mason Jar to decorate your mantel or tabletop and light up your Christmas decor.
OK, back to my workshop to finish up for the weekend-I know how Santa’s elves must feel right about now : ) Have a sweet Thursday everyone! Susan


