We’ve Moved! (but not far…)

This past couple of months, Coach and I have been working really hard to create a new fresh look for our space in the Barn at Todd Farm. Well, actually, its my new space…but I didn’t move far- just across the aisle! Our friends and barn co-inhabitants from The Laughing Cottage moved down to the front entrance of the barn, leaving their space available. So, Coach and I decided that because of its size and orientation (it is wide rather than deep) it made sense for me to make the move to give us a lot more wall space to hang our artwork and decorative stuff. We moved into a blank slate, basically plywood walls and floors, and set out to create a warm and welcoming space with a slightly nautical theme. We painted the back chipwood wall, first with an undercoat of white,

Barn Booth painted wall

and then I dry-brushed over it in shades of grays and blues. (woops, I forgot to take the after picture, but if you look real close behind the whales, you can see the finished wall).

Barn Booth Back Wall Styled

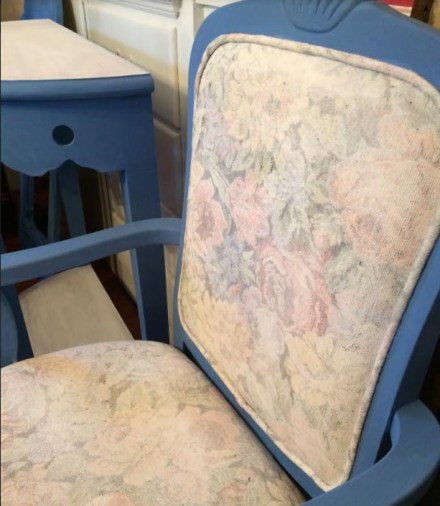
The bookcase wall, which had been covered with rustic shutters, took on a mid-century modern look once I painted random squares with pops of color and stained the rest.

Barn Booth Painted Shelving

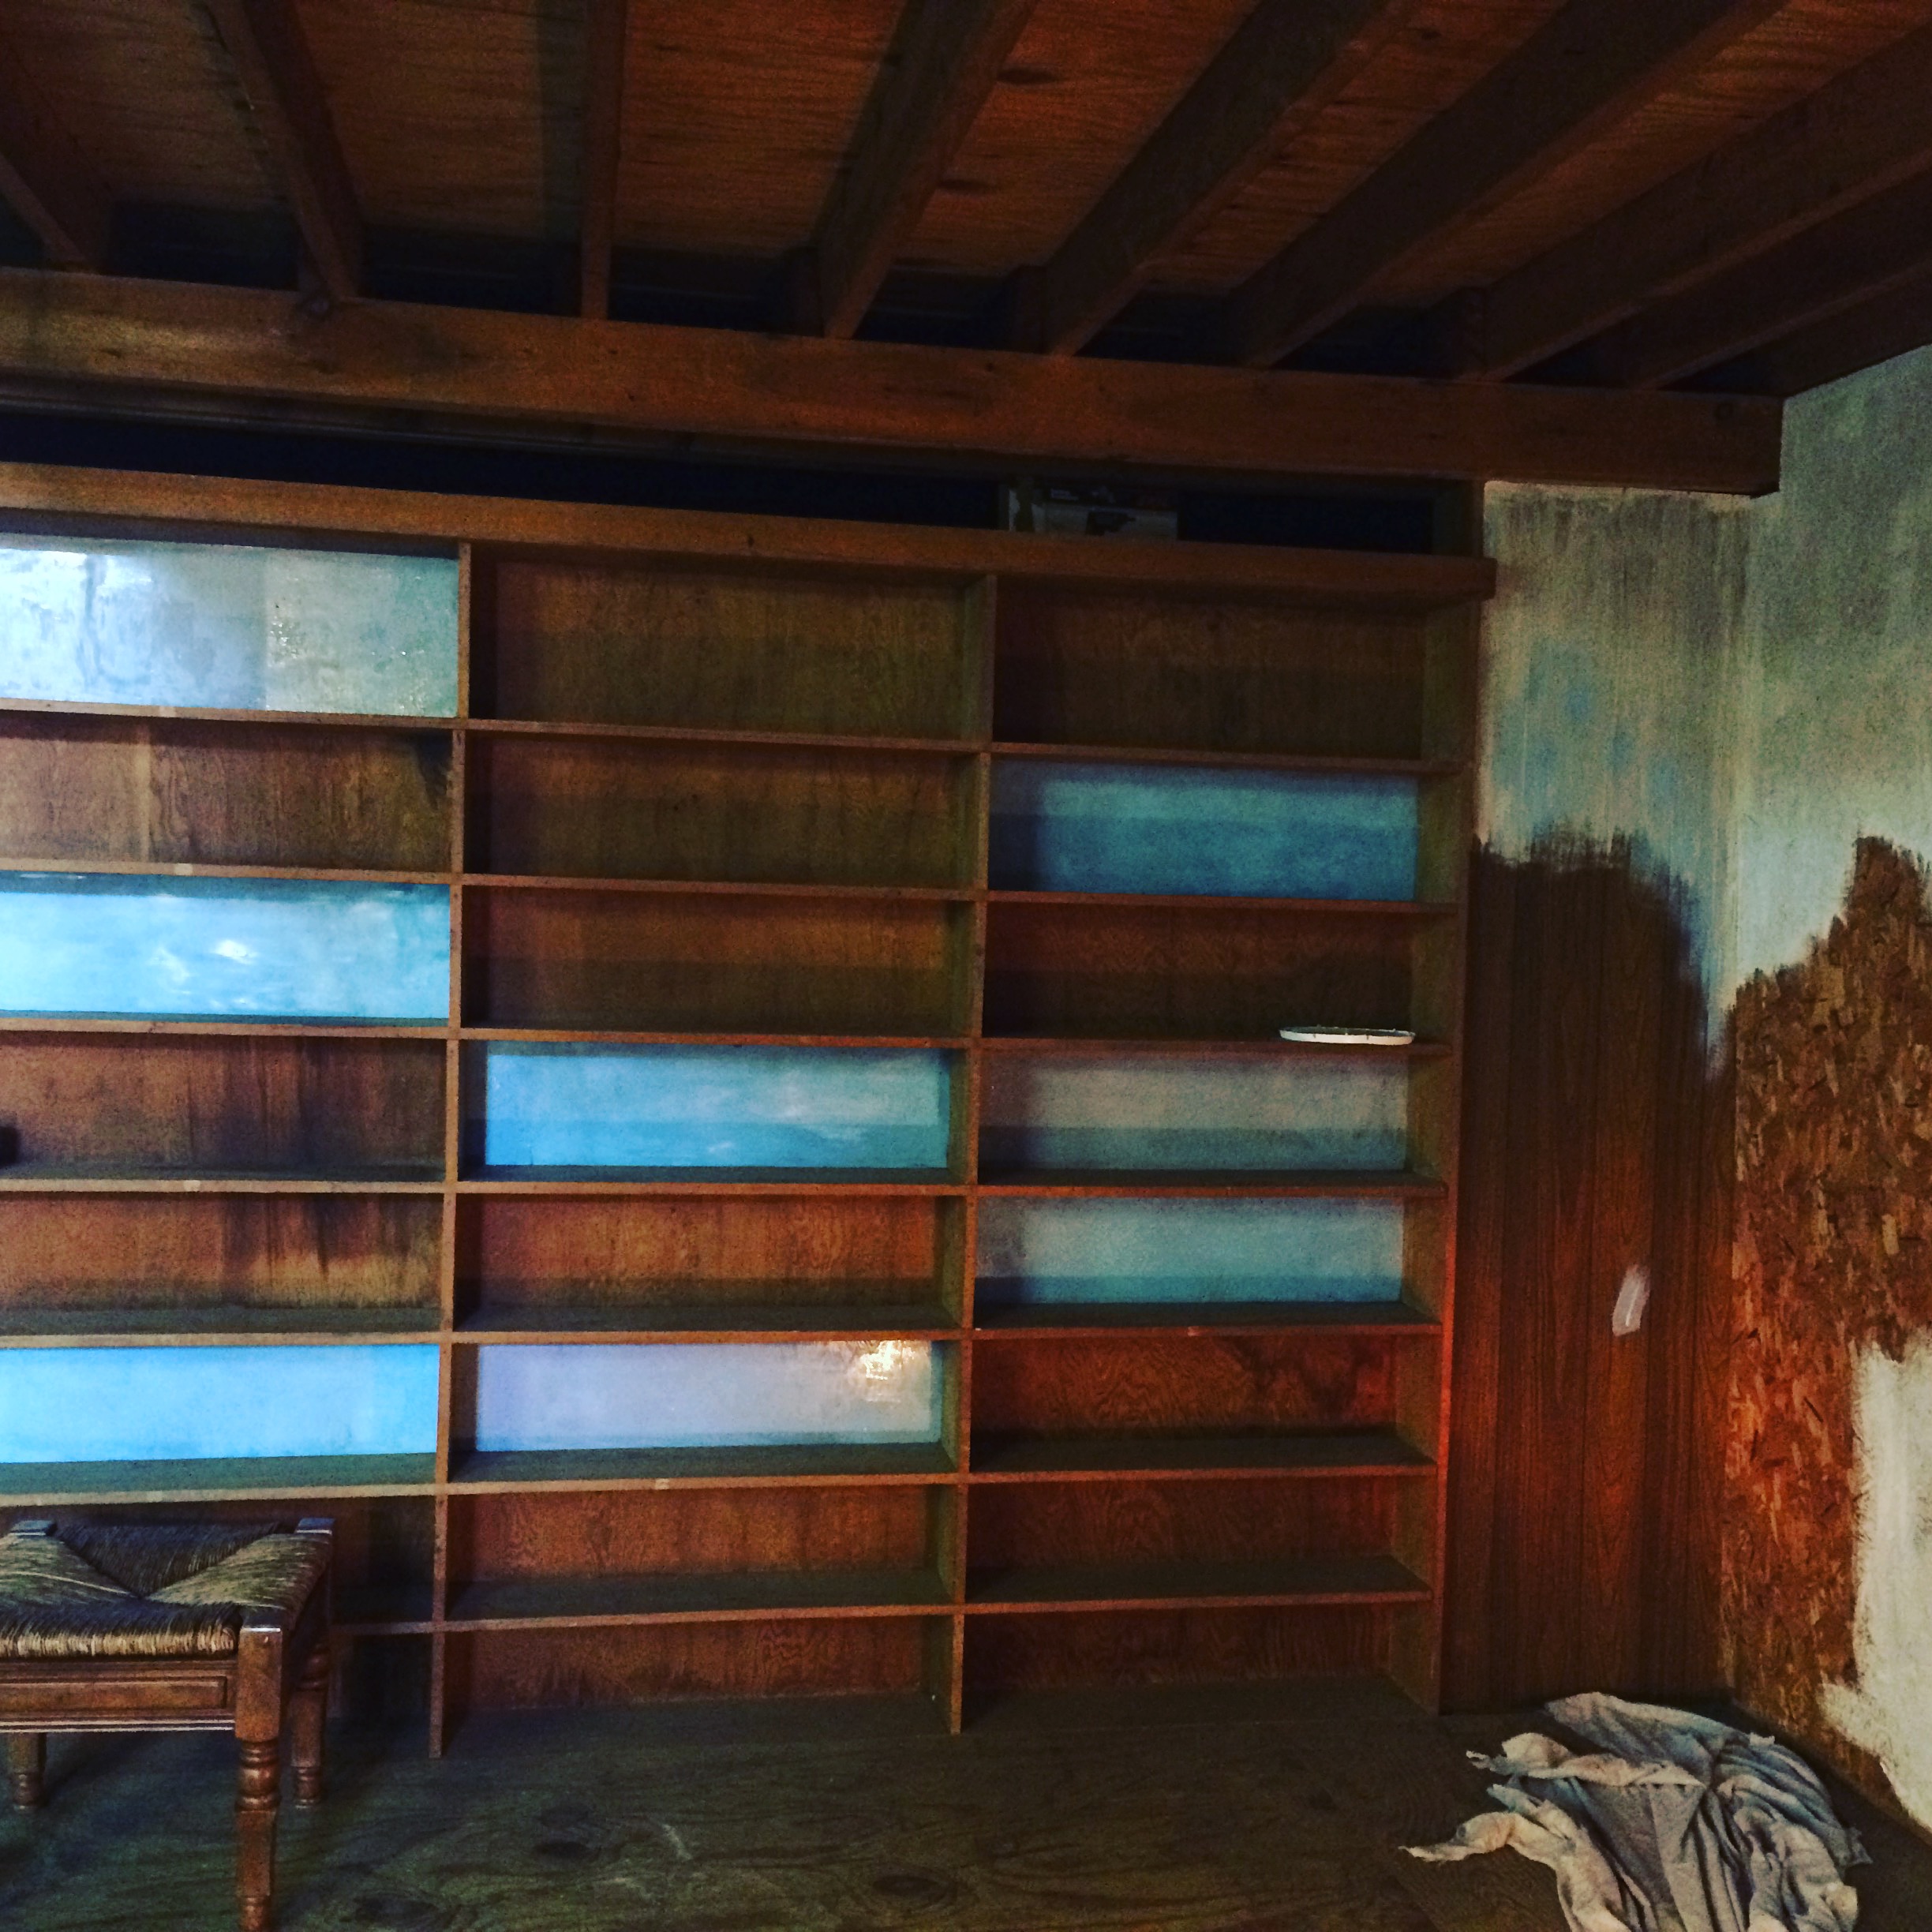
Then, we filled it with all sorts of curated items, hung a ladder and some fish net and patio lights for ambiance. So cute!

Barn Booth Bookcase Wall Lights

Then, the floor! Well, what was once a dusty, plain brown plywood

Barn Booth Plywood Plank Flooring

is now a striped and stenciled masterpiece that continually draws customers’ attention and comments-who just love it!

Barn Booth Old Trunk

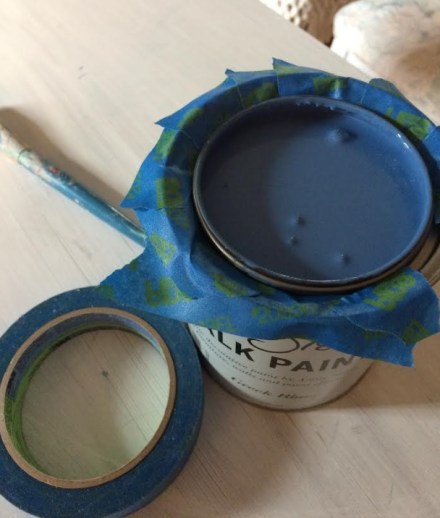
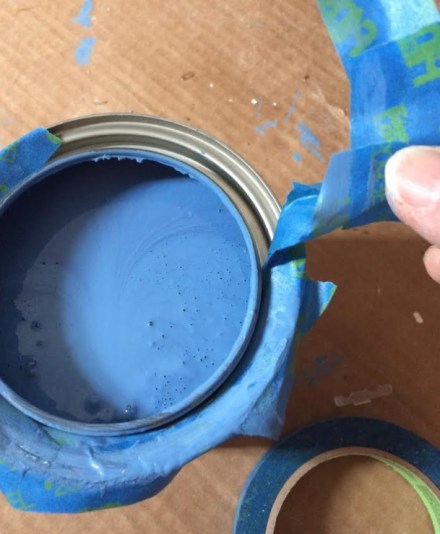
The painted floor stripes were simple to do-measured, then taped off, followed by painting alternating stripes of General Finishes Milk Paint in Coastal and Federal Blue. You can see in the photo below that I did create more of a paint-washed look rather than a solid color. I wanted it to look old and worn, not shiny and new, so I used a brush rather than a roller- an arduous task, but worthwhile in the end.

Barn Booth Painted Stripe Flooring

By the time I was finished with the stripes, they were already dry and ready for the stencils! I created a large pattern on my handy-dandy Cricut machine and cut it-so large, that I had to piece it together with tape!

Barn Booth Cut Stencil

Stenciling was done with a large sponge and some random acrylic paint I mixed together in a pale chartreuse.

Barn Booth Spacing Stencils

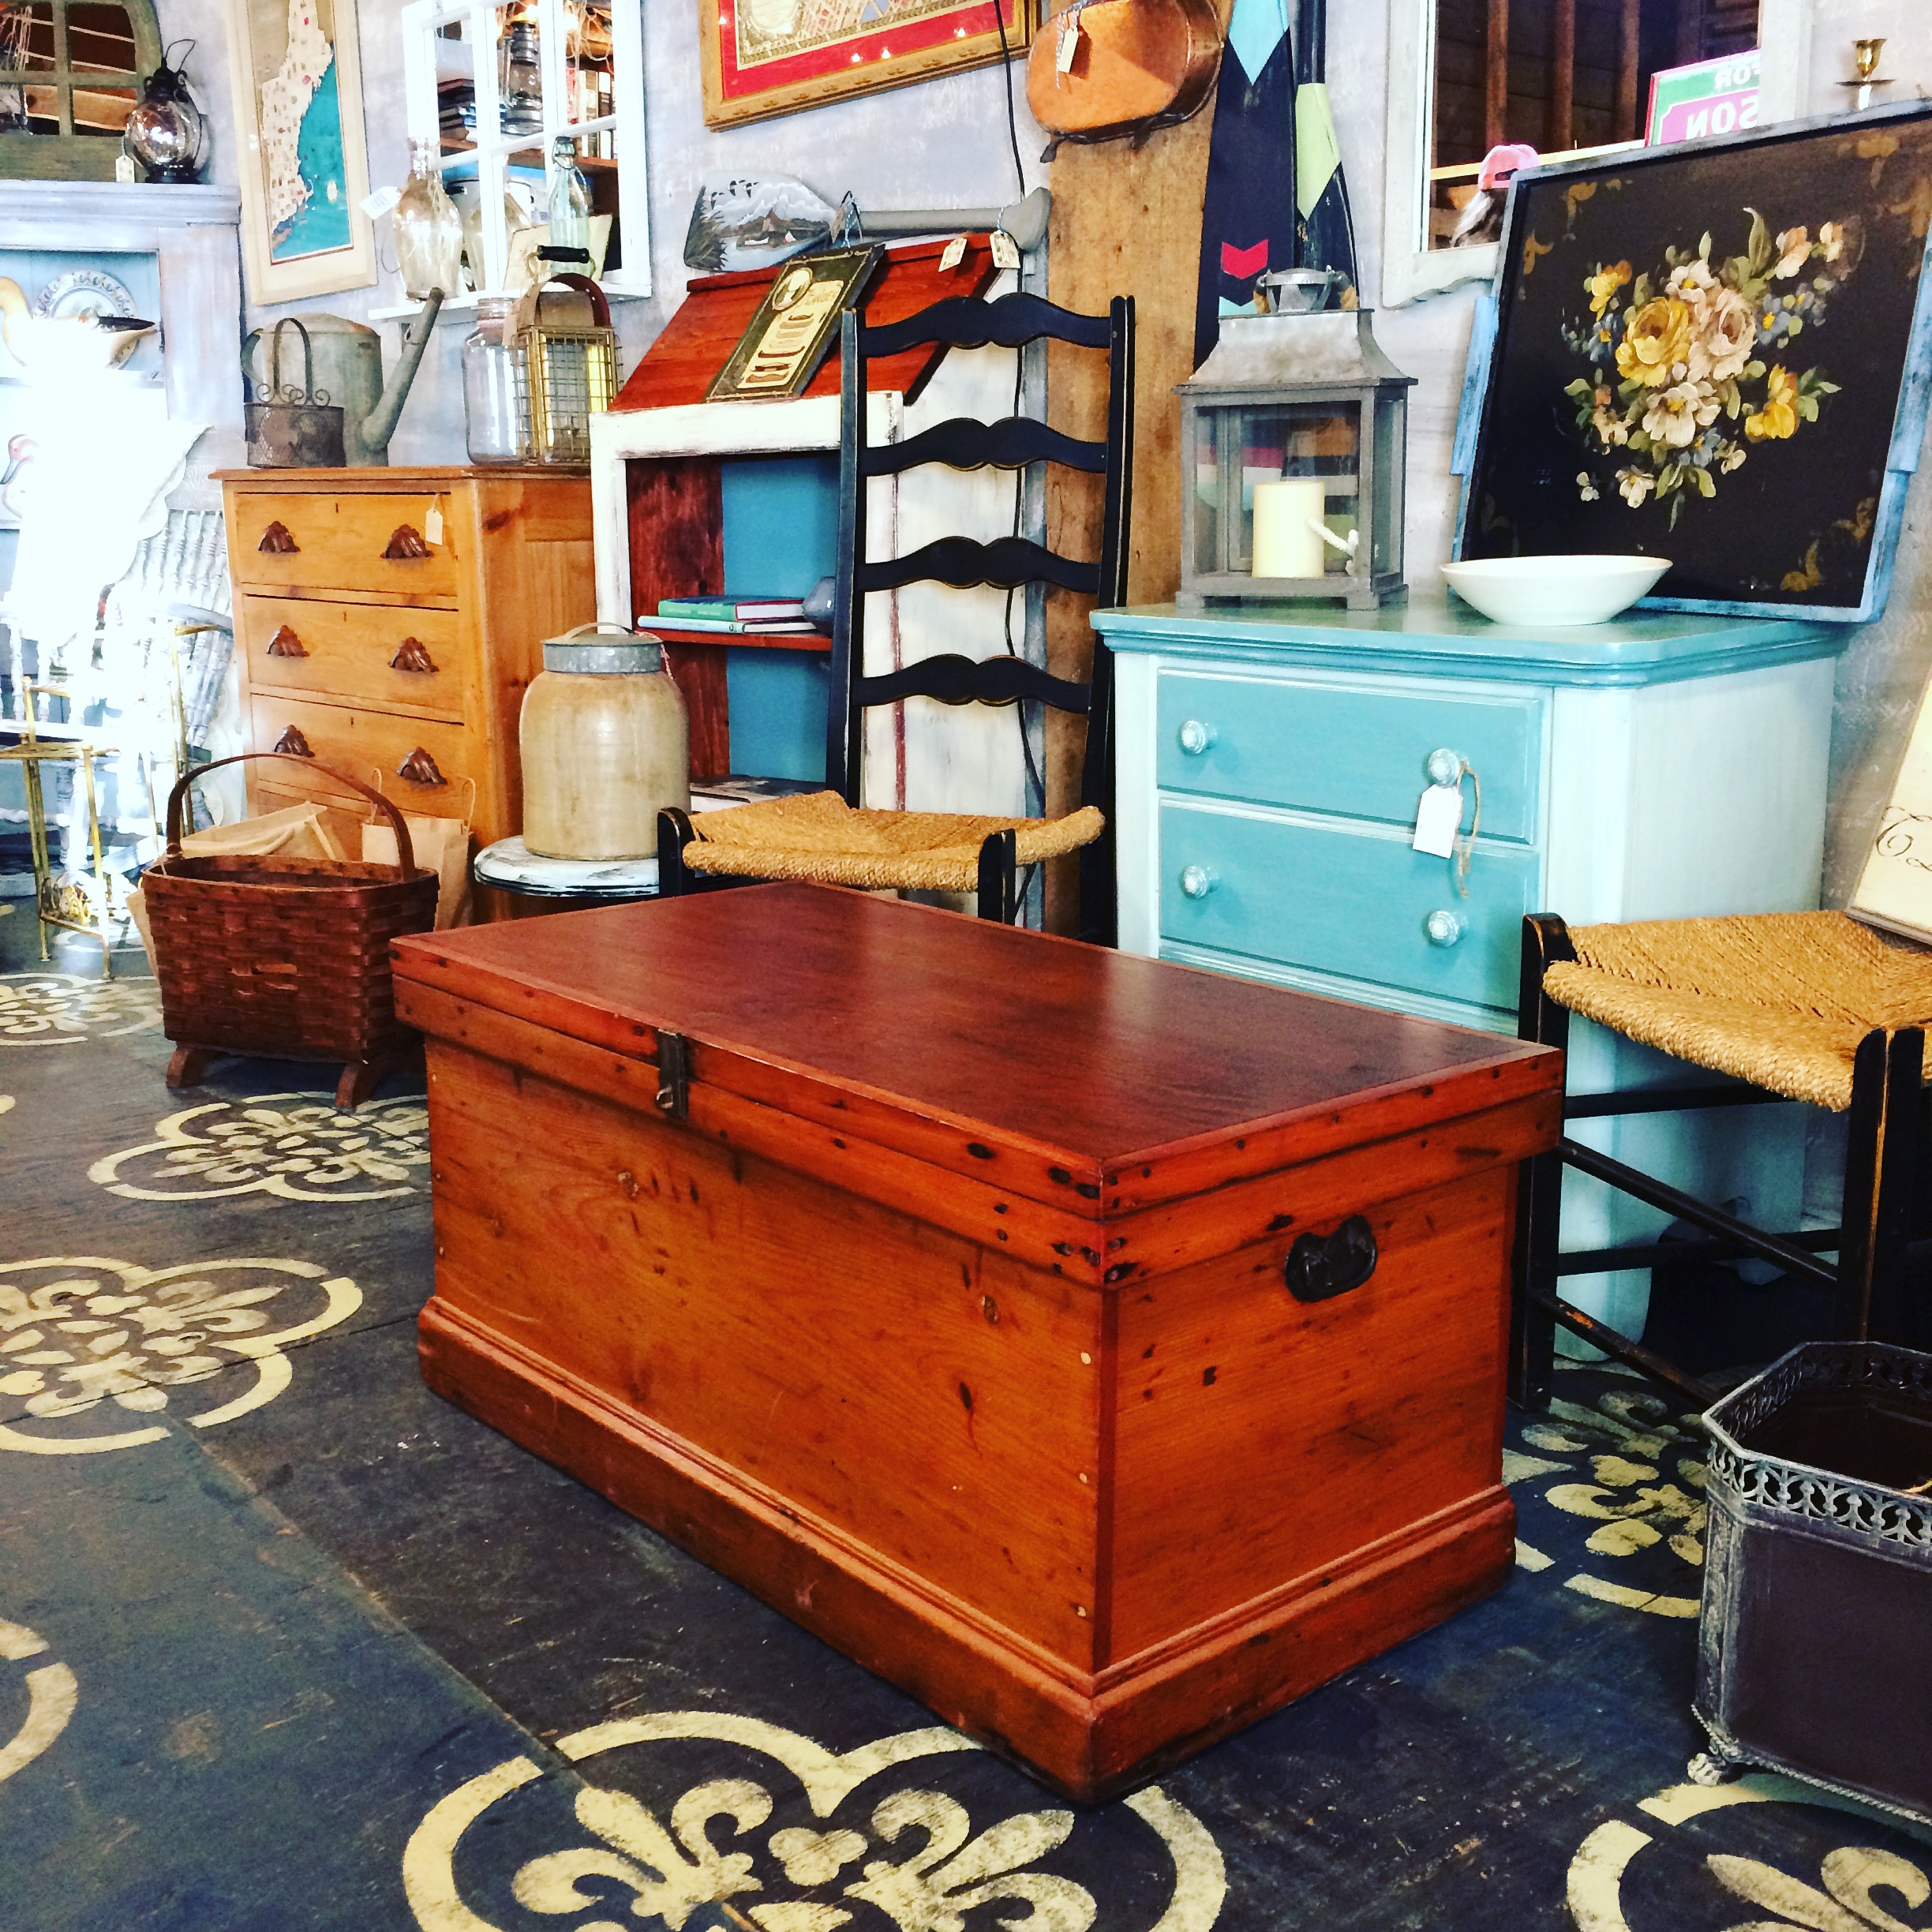
Spacing was a bit tricky- I started in the middle in front of the beam (which I thought was centered, but not quite) and worked to the left and right. Along the way, I gave up the measuring tape and just eyeballed it to make sure I could fit it all in. As is sometimes the case (but not always), the stenciled design fit perfectly! So now my space is filled with pieces that I have refurbished and lots of cool junk that Coach has picked along the way. Actually, quite a few of these pieces sold on our flea market opening day this past Sunday- but there are plenty more where those came from!

Barn Booth Styled

If you haven’t been up in awhile, or have never been to The Barn at Todd Farm, come on up and visit us in our sweet new space.

Barn Booth Bookcase Wall

(and Coach is now in my old space with the rusty bedspring light)- with a new name- American Vintage GoodsRusty Bedspring Marquee Light In Shop PM

So stop on by and say Hi!! And have a wonderful (albeit WET) Wednesday! Susan xoxo

DIY Aha Moment

With all of the painting and staining and top-coating I do on a daily basis, you would think that I know all the tricks of the trade. And I do…kinda…sorta, well, for the most part. Except every once in awhile I have an “aha” moment where I think- “geesh- why didn’t I think of this before?!?”

Do you ever open a brand new can of paint and think, “oooh, how pretty!?” Well, I do, every time, because I love the potential and promise that a fresh new paint color brings to any project. So, I use the paint for that project, then slap the lid back on until the next time…and then I pry it off (because now it’s kinda stuck to the rim because of the left- over paint from the last time) for the next project. And so it goes, and with each project the rim becomes more caked and coated with dried paint (that break off into little tiny micro-chips..which eventually fall into the can and leave lumps while I am painting.) And eventually, I can no longer get a nice snug seal on the paint can and the remaining paint becomes dried and unusable. Ugh.

Annie Sloan Old White Can Edge

So, the other day, after I opened my can of Annie Sloan Greek Blue Chalk Paint (oh, my goodness, this color is swoon-worthy…) I vowed to make sure the cover and rim were clean and clear when I was finished for the day. But here is the issue: there is that second indent in the edge of the can where the lid fits- and that fills up with paint as you wipe your brush along the edge to remove excess paint during the painting process.

Paint Can Edge.jpg

It is virtually impossible to get it clean and paint-free unless you do some surgical intervention with Q-tip(s)-time consuming and messy!

I have tried using the “rubber band” method, where you place the rubber band in the center of the opening and run your brush along that instead of the can’s edge.

Paint Can Rubber Ban Method

But I can attest to the fact that since rubber bands are made out of, well, rubber, there are times when they “bounce back” and the paint will splatter around. And, its messy to remove. Plus, every once in awhile I need to stop and restir my paint and then the rubber band is in the way.

Yesterday, I was looking at the can of paint I was about to open (well, actually, I was searching for the paint can opener because I always seem to lose those), and right beside it was a roll of painter’s tape. You know, the blue kind that we use to mask off anything and everything. My AHA moment! So I grabbed the tape and created a rim guard all around the perimeter of the opening, inside that second indent where the paint typically collects.

Painters Tape Edge Annie Sloan Greek Blue

Because the tape is straight and a quart can is round, I used several small pieces, overlapping as I went along to create a paint barrier. I went to work, painting my pieces, and when I was done, I simply peeled the tape away from the edge and voila!

Removing Tape from Annie Sloan Greek Blue

Perfectly clean…no more caked edges and micro-dots of paint on my projects! Shark Tank here I come! This is a sneak peek at the pieces I am using the Annie Sloan Greek Blue Chalk Paint on- isn’t it gorgeous!?

Annie Sloan Greek Blue Painted Chair

Here’s hoping you have a perfectly mess-free Friday, everyone! Susan xoxo