Beautiful Bonita Springs

Luckily for me, I have friends and relatives on both (warm) coasts of the US. A few weeks ago, I traveled to California

View of San Diego Harbor from Coronado

for a bit of R & R. So, it was only fair that last week I hopped on a flight to Florida, returning just in time to host Easter festivities on Sunday! While the trip to Cali was merely for fun, my Florida jaunt had a more lofty purpose. My wonderful friend Jan-a two time cancer survivor-is quite involved with an organization called Relay for Life.

Relay for Life

If you have not heard of it, you can click here for more information and to get involved.

Relay for Life

The primary fundraising campaign for the American Cancer Society, Relay for Life events are staged throughout the country to raise funds for research and cancer awareness and hopefully, someday, a cure. Which brings me to last week, when I traveled to Florida to lend Jan a hand while she held a RFL fundraiser at her winter home in Bonita Springs.

IMG_6643
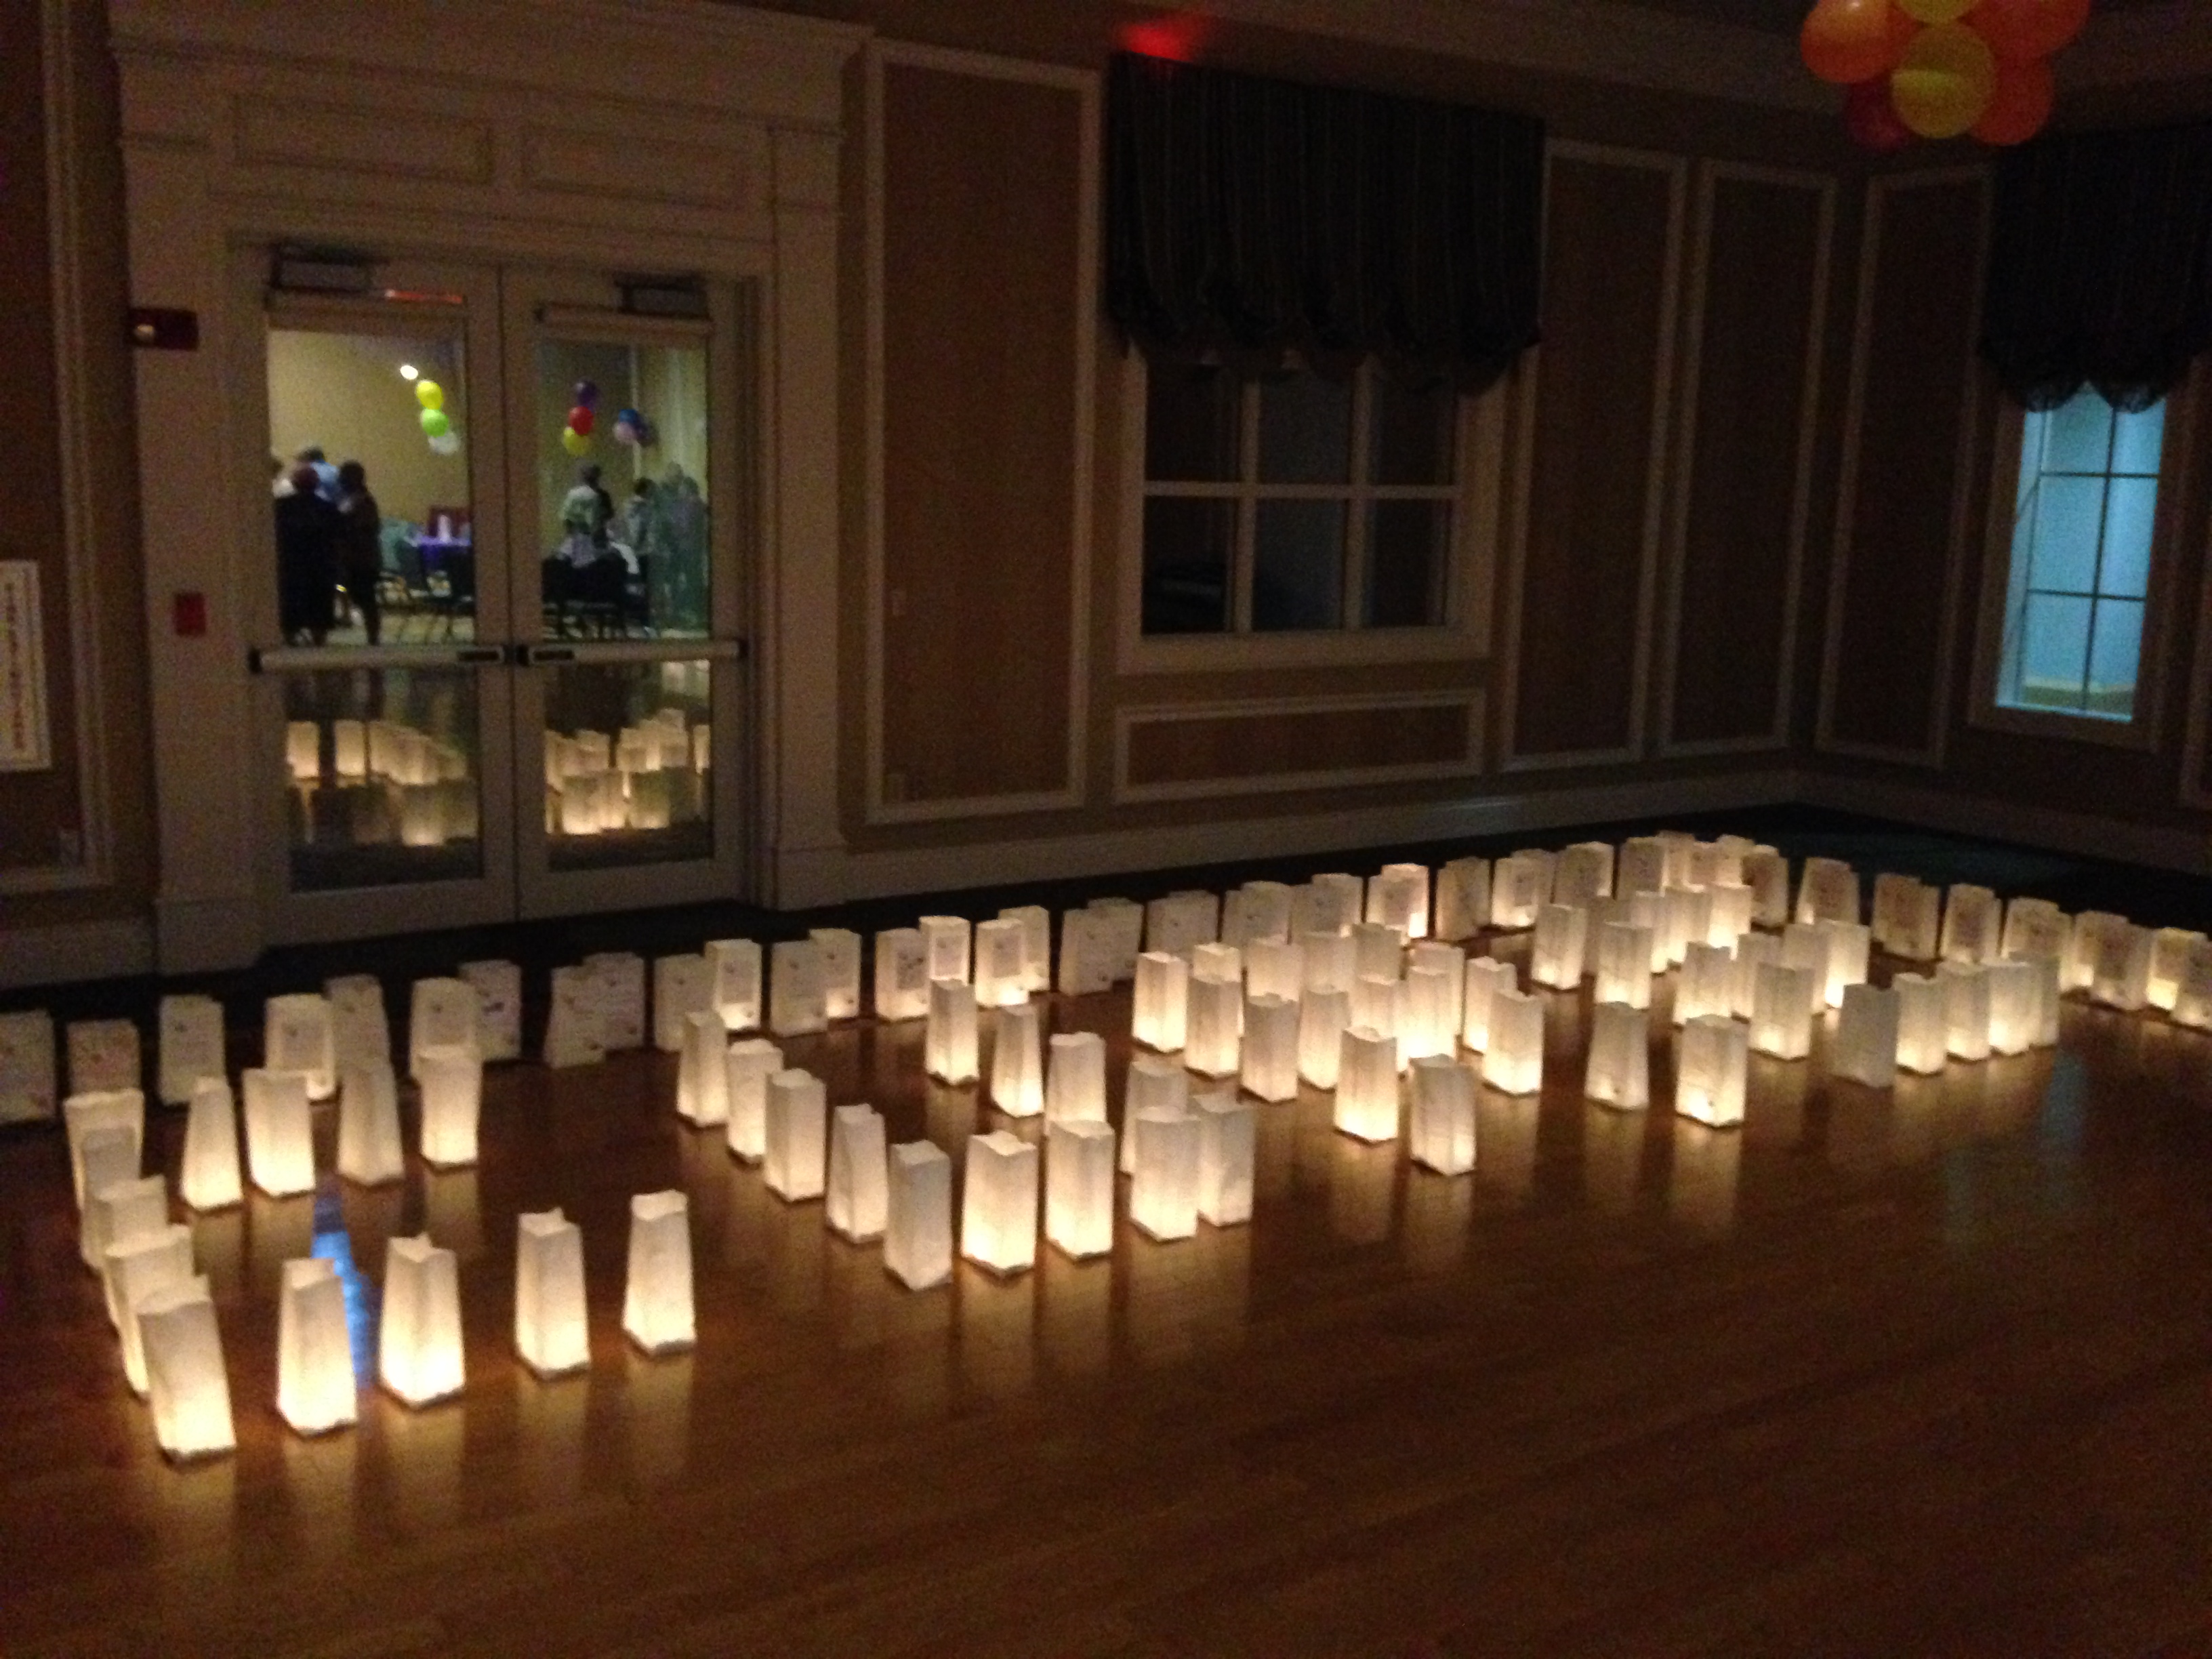
The Relay for Life fundraiser event was held indoors, because (unfortunately, we had threats of rain. But it didn’t dampen the spirits of the people who came to participate in such a worthwhile event. The Luminaria bags are purchased in honor of, or in memory of loved ones who have bravely battled cancer.

IMG_6681On the evening of the event, the bags are filled with sand and tealights to illuminate the HOPE

Relay for Life HOPE
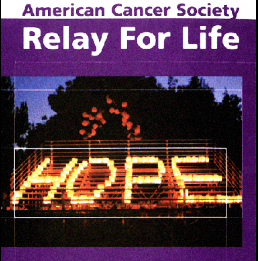
in all of us that someday will lead to a CURE.

IMG_6702Of course, while I was there, we did do some sightseeing and shopping (have you heard of Charming Charlie and Ross Dress for Less?!? OMG!!!) and some power walking, (have you ever visited someone and decided to go for a walk in their neighborhood, only to discover after an hour, that you are lost and have to rely on Siri to guide you back home? No? So that’s just me…) admiring the scenery while enjoying some much-needed sunshine and warm tropical breezes.

IMG_6649
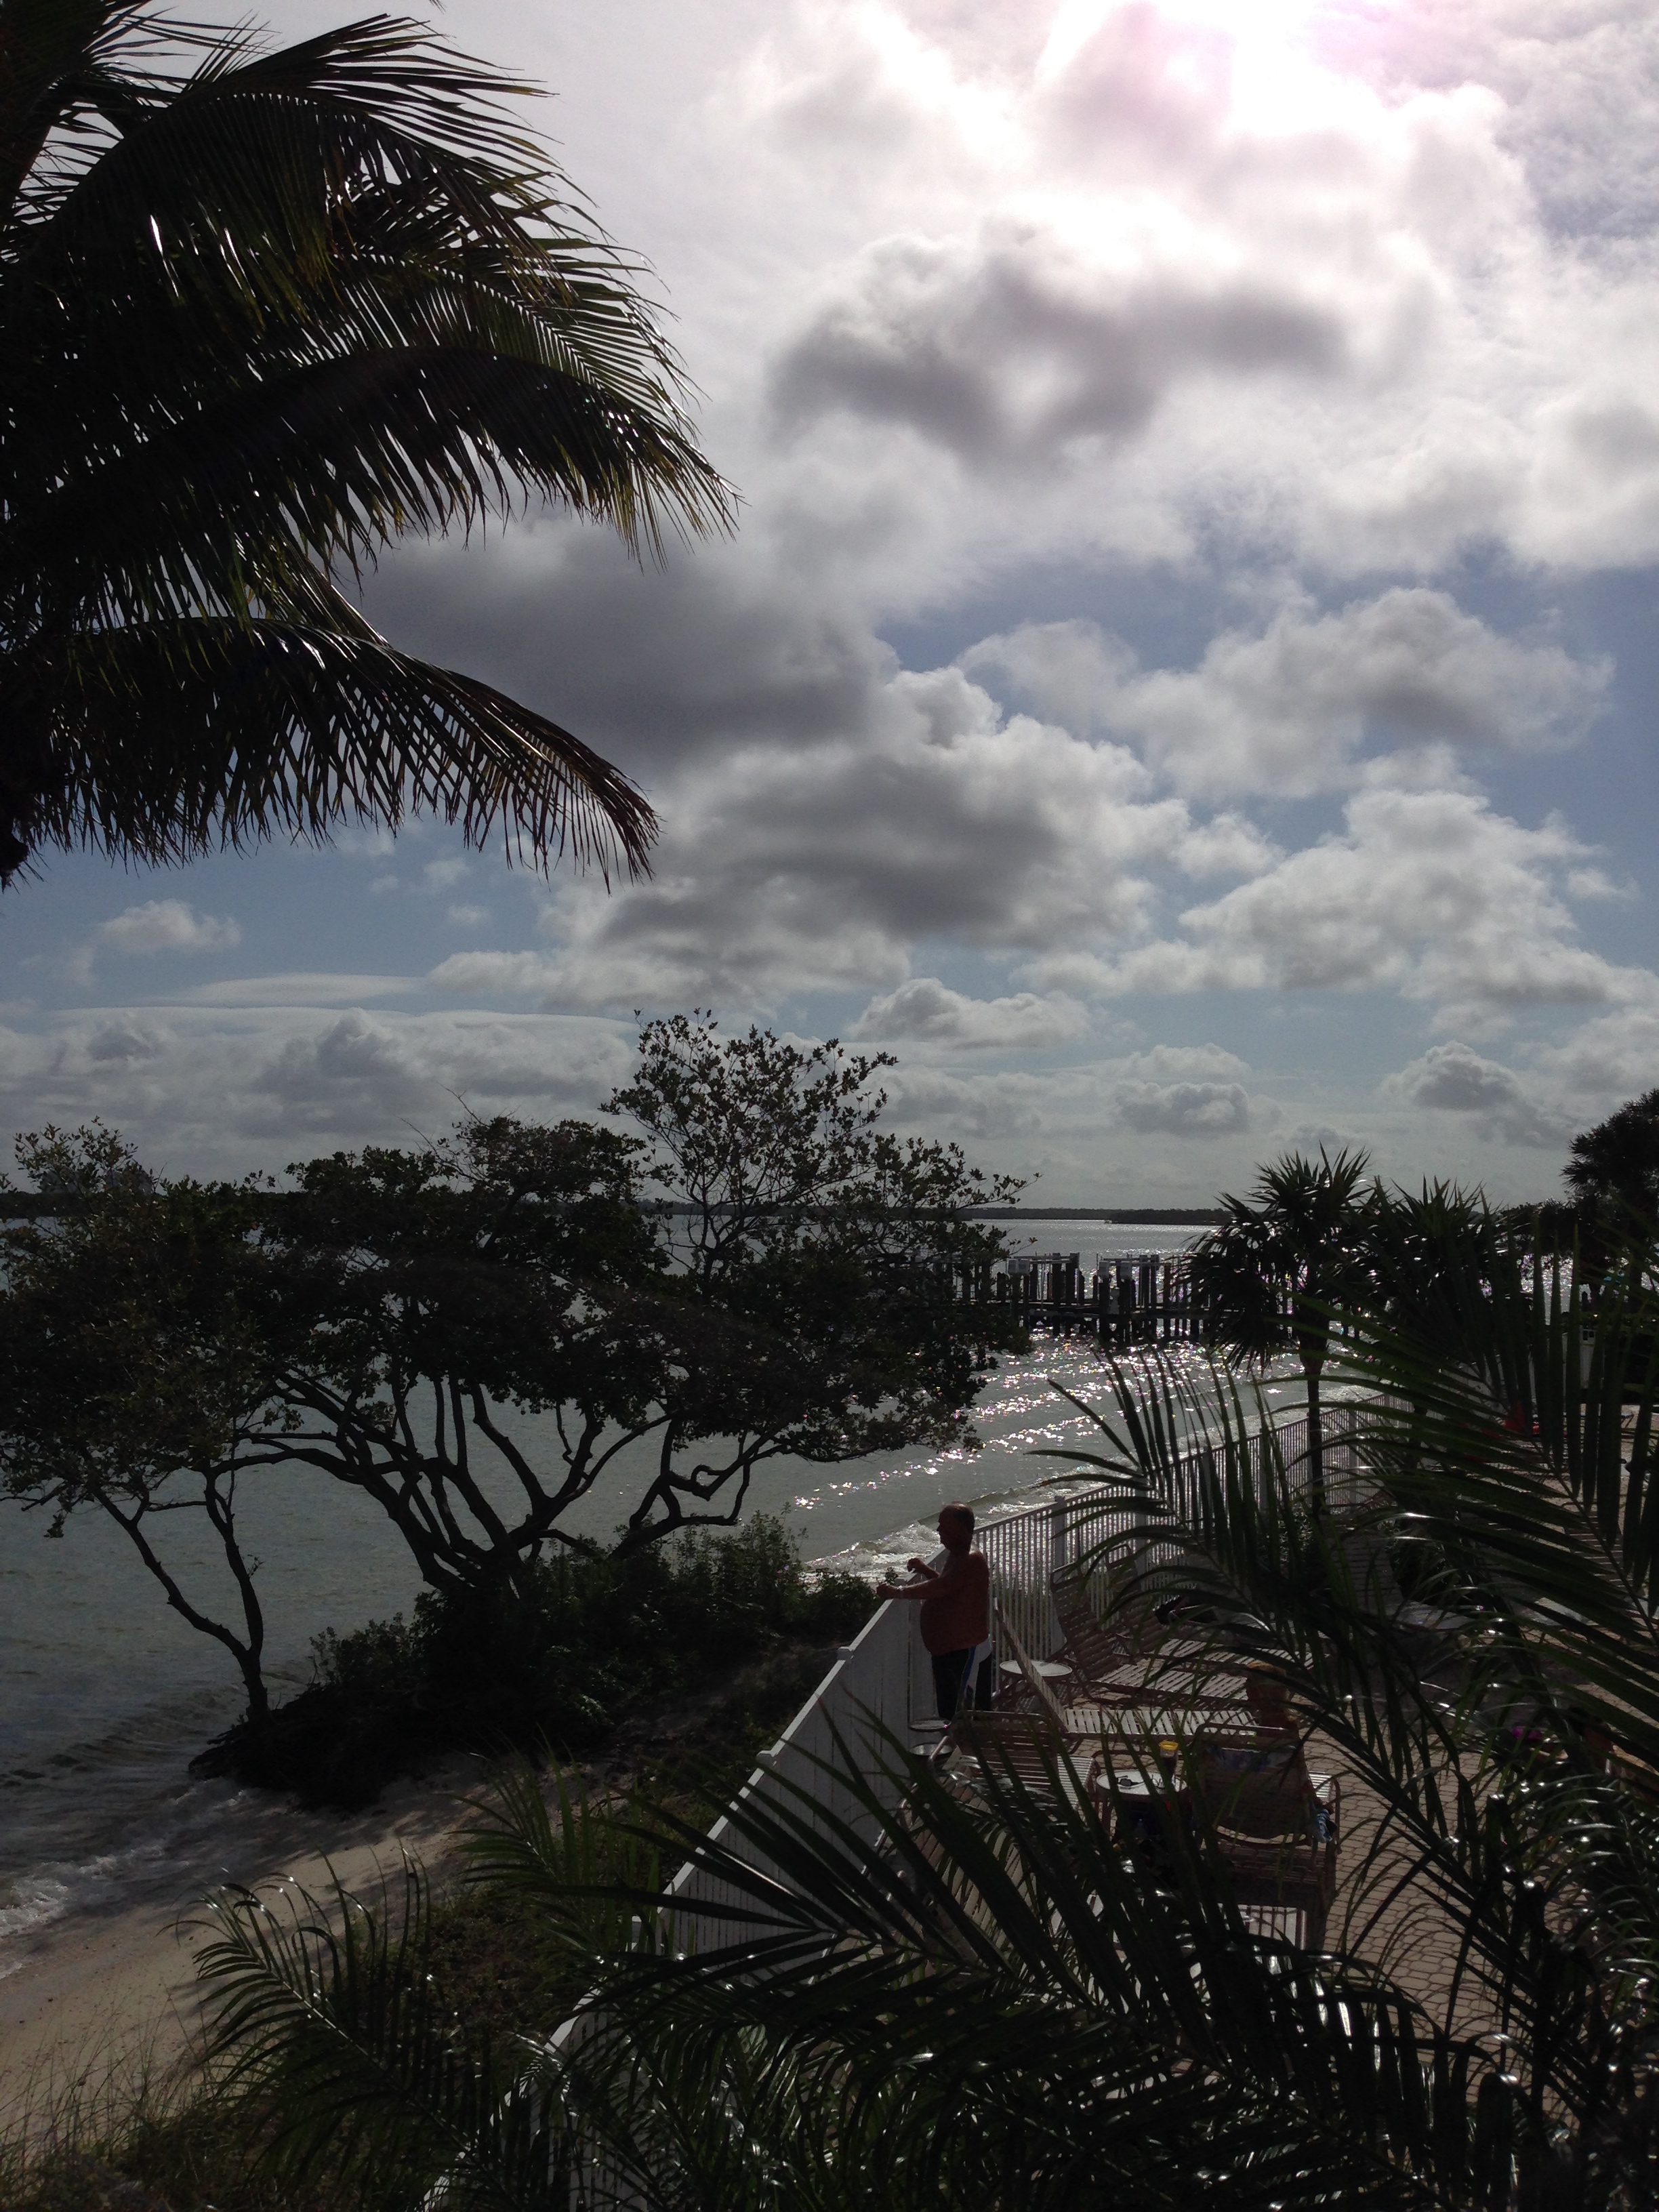
A few pics from my weekend: Sunrise in Bonita (although it was overcast quite a bit, the Florida sunshine still managed to peek through the clouds : )

IMG_6718Breakfast at Flippers on the Bay overlooking the Gulf

IMG_6721The Easter Bunny came and hid tons of eggs for the kids

IMG_6720Beautiful inlaid mosaic sea creatures at the entrance to the Naples Pier.

Sea Turtle At Naples PierA fun, relaxing, but very moving weekend, as once again, I mourned the loss of beloved ones, but rejoiced in the continued good health of others who have fought the fight and are winning the battle against cancer!  Hope you have a sunny Friday everyone, and please wish Jan and her team good luck while participating in this weekend’s Relay for Life in Bonita Springs! Susan


Broken Mirror=Lucky Find!


HomeGoods Driftwood MirrorYou know that moment when you see something in a store and your heart starts beating faster and you think “wow, I really need to have that-I don’t care how much it costs!!” And then you discover it is marked down in the clearance section and you think “OK, you’re mine!!” Recently, I stumbled upon this large painted driftwood flower mirror in the clearance bin at HomeGoods. It is painted the perfect colors for my kitchen/family room, and I knew in an instant it was to be mine!

driftwood mirror beforeSo ridiculously cheap, and it was there because the center mirror was missing so it was being sold-I love these words-AS IS. To whomever broke the mirror- sorry about your seven years of bad luck. But for me, my lucky day!! Now, how to repair it and replace the missing mirror? Simple. The back piece was already pulled away from the frame. I am assuming that it was removed to clear away all of the broken glass shards. No problem, easier for me. I happened to have a large round unframed mirror that I had purchased from Ikea quite awhile ago, and it was just the right size to fit in the opening.

Ikea Mirror

So, I pried the backing off the frame,

Driftwood Mirror Backing Removedthen centered the mirror into the opening, ensuring that the little squares around the edges of the mirror were evenly distributed.

Driftwood Mirror Insert

Now, how to affix it to the irregular driftwood pieces of the frame? What else but duct tape? Super strong and pliable so I could wrap it around the circular shape and affix it to the frame. (of course, this is where I should insert the pic of the duct taped mirror, but alas, I was so excited I forgot!) Once secured, I re-attached the backing to the frame with some screws,

Driftwood Mirror Backing Screws

making sure I missed the mirror (that would have changed my luck in a flash!), and then re-attached the large hanging bracket, again avoiding the mirror with the screws and hiding it behind one of the large driftwood petals.

Hanging Bracket Behind Driftwood

And now it has a perfect new home in my kitchen, where it is a constant reminder of the hope of spring (yup, it’s coming…) and the thrill of bargain hunting. I received so many compliments about my latest find on Easter Sunday as well! Oh, and PS: the floral runner is from HomeGoods too!

Driftwood Mirror Easter Vignette PM

Always goes to show you, one shopper’s junk is another shopper’s treasure.  And, you don’t always need to go dumpster diving to find a hidden one that just needs a bit of TLC. Hope you are having a #HomeGoodsHappy Thursday, everyone! Susan 

Cottage Fresh Country Cupboard

A few days ago I shared a project that I had been working on: transforming a country cupboard from this ugly, broken, junky piece to a cottage fresh country cupboard. This was the before:

Country Cupboard Unpainted

this was the during

Country Cupboard Painted

this is now.

White Country Cupboard Signed

A simple fresh white country cupboard that is filled with some of my cherished blue and white pieces, including this vintage set of Block China that I have kept stored away for over 30 years!

Block China Blue Strawberries

I have treasured this dinner set with the luscious blue strawberries for so long, but have never had an open cupboard to display them…and now I do! In this close-up pic you can also see the wainscoting wallpaper that I had installed and painted. It just gives a little extra depth to the otherwise plain back of the piece.

Blue & White Country Cupboard

You can read about the initial transformation process, including the prepping and installation of the wainscoting wallpaper here:

https://countrydesignhome.com/2014/04/10/wow-wainscoting-wallpaper/

Once I had finished painting the cupboard, I wanted to add just a bit of glazing to the detailed trim to enhance it. BUT, I did not want to change the overall look of the piece. It needed to remain bright white to contrast with the red walls of my dining room. This concoction of DecoArt Metallic Pearl White Paint + Behr Custom Color Sample (kind of a soft tan-but I’m not sure of the color because it was in the OOPs bin at HomeDepot for 50 cents!) + Martha Stewart Tintable Glaze Effects.

Martha Stewart Glaze, Americana Metallic Paint, Behr

I mixed it all together- lets say 6 parts glaze to two parts metallic paint to one part tan paint. Very scientific.

Martha Stewart Glazing Mixture

Then I painted it only on the areas where I wanted the trim to be defined- then wiped it off with a damp rag.

brushing on glazing mixture

Just a hint of color was left behind to enhance the deep trim work.

Country Cupboard Trim Glazed

Once it dried, I then mixed the Metallic Pearl White paint and the Tintable Glaze (about 50/50) and painted over all of the raised detail and trim areas. So what I have now is an elegant piece with a pearlescent glaze finish that captures the light and makes the detail pop.

Country Design Home White Glazed Trim

Perfect. It just goes to show you what a little TLC and elbow grease can do to transform any ugly duckling into a beautiful swan. And just in time-now I can clean up the dining room and get ready for Easter, whew!! Have a terrific Tuesday, everyone! Susan


An Easter Bunny Pattern For You!

I know Easter is just around the corner, and you are probably Easter-crafted out, but I couldn’t resist the chance to share my chunky wood bunny with all of you! Many, many years ago, a dear friend of mine made this wooden Easter Bunny for me.

Pink Wood Easter BunnyFor all these years, he has been the center of my Easter decor, whether on the table, on the mantel or sitting on the buffet surrounded by yummy desserts. When Coach brought him down from the barn loft this year, I noticed that his pink coat had become dirty, worn and scratched. Not good for a bunny who needs to look his best while roaming the world delivering Easter baskets! I decided he was in dire need of a facelift. And, since I was taking him apart anyway, I thought I would trace the pattern and share it with all of you!  He was cut out of 1 1/2″ planks-very heavy and sturdy. But you could certainly use any width you would like. Here are the patterns (you just need to right-click and download them, then resize them to your specs)

The body is  14 3/4″ high by 8″ wide. You will need to cut one.

Wood Easter Bunny Pattern   The ears are  7″ long by 3 1/4″ wide. You will need to cut two of those, one for each side.

Wood Pattern Easter Bunny Ear

The arms are  7 1/2″ long by 3″ wide. You will need to cut two of those, one for each side.

Wood Pattern Easter Bunny Arm

The legs are  10″ wide by 6″ high.  You will need to cut two of those.

Wood Easter Bunny Leg

Once you have cut the pieces, you will need to cut three 3/8″ dowel pieces into 2 1/2″ lengths (assuming you are using the 1 1/2″ width wood for the bunny), one each for the arms, the ears and the legs. Using the proper size drill bit (it needs to be snug, so don’t use a larger one or else the extremities will just flop around!), drill the three hole completely through the bunny’s body. Tap the dowel through so there is 1/2″ protruding from either side.

With the same 3/8″ drill bit, drill 1/2″ deep holes into the extremities in the indicated spots on the patterns (the big black dot). Make sure you drill one on each side to create mirror images. Otherwise you’ll have a holy bunny!

The fun part: paint the bunny! Go nuts and make him polka dot or plaid or just plain and simple. He’s your bunny to keep, so have a ball. You can even have your kids give him the finger paint treatment : )If you do decide to make one, please share your pics!!

Painted Wood BunnyNow just gently twist the extremities onto the dowel sections of the body: Ears on top, arms in the middle, legs on the bottom. Or, you can mix it up and go all Picasso on him- that’s fine too. The fit should be snug so they stay in place and he stays upright. If you have made the holes too large, you will need to glue the pieces in place or add a little putty. And there you have it- a bunny that is ready to join in all the Easter fun! And my little guy? Well, he’s being painted right now, and he’s not quite ready to show off. But I wanted to get this pattern to you, just in case you need some last minute Easter fun. Have a warm and wonderful Wednesday, everyone! (I know I will : ) Susan


WoW! Wainscoting Wallpaper!

Coach and I recently purchased this country-style cupboard at auction for…wait for it…$10!!! It was pretty grimy and the front doors were missing, but I just fell in love with the detail in the top trim and base.

Country Cupboard Before PaintingThe color was a faded and chipped greenish-mustardy yellow with some sort of stenciling on it. So not country pretty, so time for a makeover. First step, clean it up! Second step, I had to remove the middle piece of wood where the now-MIA doors would have normally closed and latched. (If anyone knows what that piece is actually called, let me know : )

Country Cupboard Middle trim pieceIt was easy to pop out with a tap of a hammer, but there was a wood spindle at the base that needed removing, since I wasn’t planning on replacing the doors.

Removing Spindle from Door(This is the point when Bartlet the Frenchie was exiled into the hall closet, as he was none too pleased with the noise of the saw and kept trying to attack it!)

Bartlet the French BulldogEasily done with a small saw, then I patched up the holes and was good to go. The first coat, my go-to primer, Glidden Gripper. It covers lots of sins : )

Glidden Gripper PrimerAmazing how one coat of primer can change the entire look of a piece! See how the detail pops with the clean, white paint!?

Country Cupboard Primed DetailMy finish paint choice? A lovely shade of creamy white called Snowfall White by Benjamin Moore in a matte finish.

Benjamin Moore Snowfall White

If Linen White and White Dove were married and had painty children, this is the color they would be. Before I applied the top coat, I decided I wanted to add some sort of trim or wainscoting to the back panels to give the cupboard a bit more interest. I went searching through Lowes (well, first I scoured the basement workshop and the barn but came up empty handed there), where I perused all sorts of wood, metal and vinyl options. I wanted something simple and lightweight to install that would give a nice finished look. At Lowes I discovered this roll of faux paintable, pre-pasted wallpaper wainscoting by Allen & Roth. Score!

Allen & Roth Paintable Wallpaper WainscotingIt looks like a regular roll of paper, but It had the feel of foam, so it is very lightweight and easy to cut with scissors. No dragging out my saw and sanding down edges, then gluing and nailing in place. Just measure, cut, dip and paste. Perfect.

Measuring Faux Wainscoting

Simple to cut, just measured it out, marked with a pencil and used scissors.

Faux Wainscoting Measure and CutDipped it in a warm bath in the sink for 30 seconds, then removed it and allowed it to sit for 3 minutes to allow the glue to really gel up.

Dipping Wallpaper in Warm BathThis is some seriously sticky and gluey glue! The panels went on so easily over the primed surface, and since I had already premeasured and cut, no additional trimming was necessary. I just placed the paper into position and used a damp sponge to wipe it down and remove any excess glue.

Wiping Faux Wainscoting with damp spongeAccording to the instructions, I waited 24 hours prior to painting, then I painted the entire piece with the Snowfall White.

Painting Faux WainscotingAnd folks, this really does look like raised wood wainscoting!

Faux Wainscoting PrimedThis painted piece is so much better, BUT, I am not finished.

Country Cupboard Painted

I need to decide on an accent glazing color, and I am open for suggestions. Red, lavender, gray, blue, brown, what color would you choose to enhance the beautiful trim and the wainscoting without changing the overall feel of the cupboard? I am loving the white, but it needs just a touch of something!

Country Cupboard Trim Detail

And this needs to be completed quickly, as Easter is fast approaching, so time is of the essence. Help! Susan

Coronado Captured in Color

This past weekend I spent a little R & R in California to recharge my blogging soul and warm my freezing bones. Mission accomplished. Sharing just a few sights and sounds of colorful Coronado, a resort city that sits across the bay from San Diego, connected by the spectacular San Diego/Coronado Bridge.

Coronado Bridge View
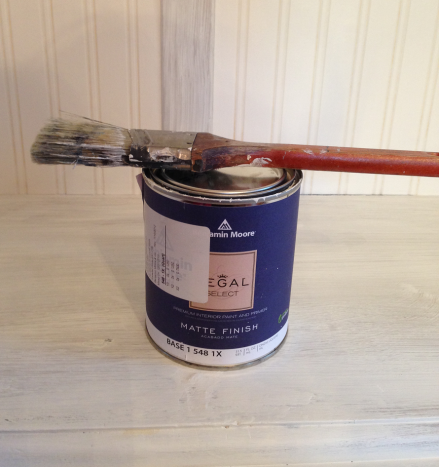
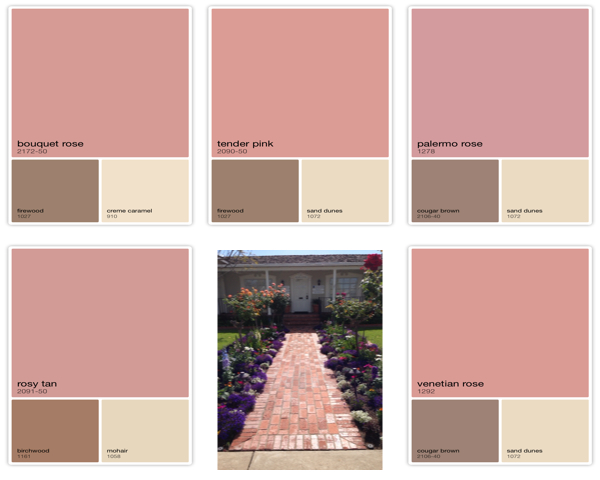
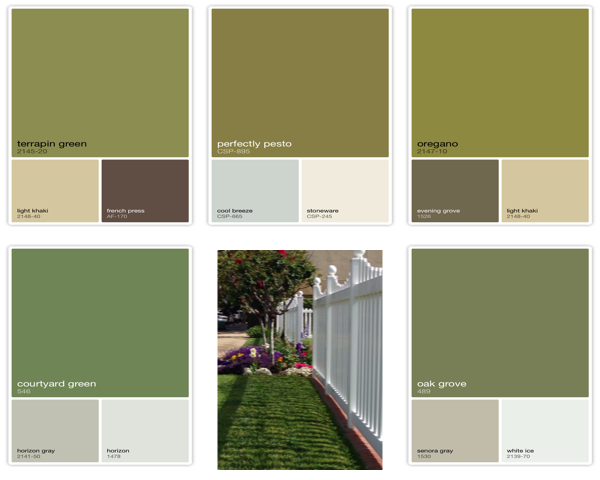
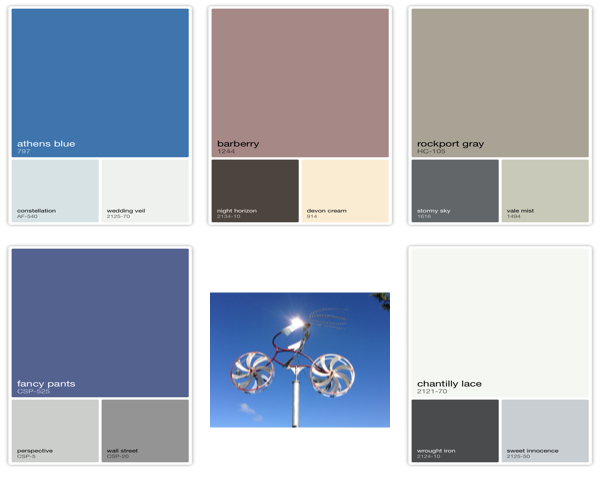
View From The Bridge Color Capture

Colorful Coronado Bridge ViewWhenever I go walking to explore my surroundings, I always have my iPhone at the ready to take photos. And, with my Benjamin Moore Color Capture App, I can replicate those exact colors of nature in paint-to add a touch of sunny California to my home! Hmmm, I wonder if they have an EARTHQUAKE app?!?

San Diego Harbor-A View From Coronado

San Diego View From Coronado

San Diego Harbor Color Capture

Colorful Coronado San Diego Skyline

Coronado Brick Walkway

Brick Walkway Coronado

Brick Walkway Color Capture

Colorful Coronado Brick WalkwayPurple Flower Color Capture

Colorful Coronado Lavender Floral WalkwayGreen Grass and White Picket Fences

20140330_172102772_iOS

Green Grass Color Capture

Colorful Coronado Green Grass

Coronado Flower Gardens

Malibu Beach Photo

Lavender Daisies Color Capture

Colorful Coronado Daisies


Fresh From the Farm

Famer's Market Produce

Luscious Red Tomato Color Capture

Red Tomato Color Capture

Boney’s Bayside Farmer’s Market

Boneys Farmers Market

Fresh From the Farm Color Capture

Colorful Coronado Farmers MarketCoronado Bicycle Weathervane

Bicycle Windmill CoronadoWeathervane Color Capture

Weathervane Color Capture

If you haven’t downloaded the Color Capture App to your smartphone, do it now! You will be amazed at all of the colors available in each picture frame that you can’t see with the naked eye. Have a spring-in-your-step kind of Thursday, everyone!! Warmer temps will be here soon… maybe. Susan