This past weekend was a whirlwind of events including a surprise birthday fiesta for our beautiful daughter,

followed the next day by a “leftover” enchilada party featuring our favorite legendary local sports heroes,

Illustration by
Larry Johnson
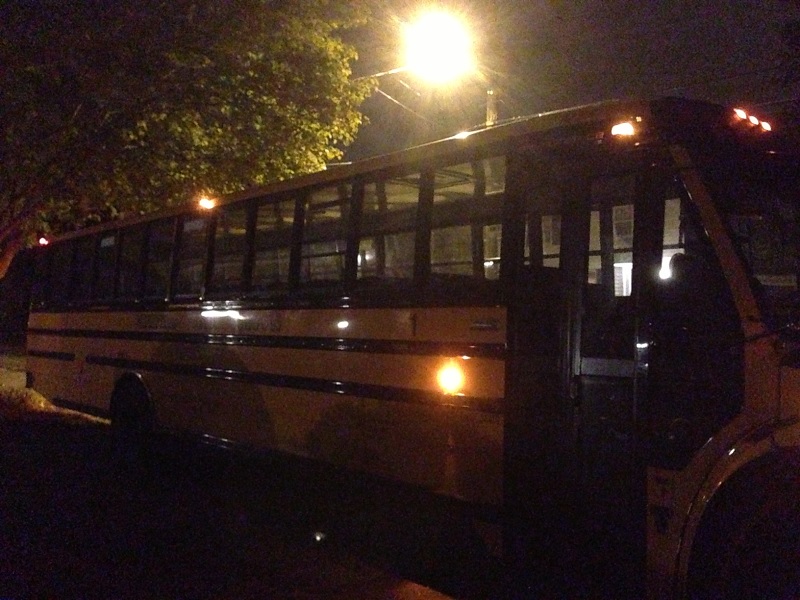
followed by yet another birthday party (we do have a lot of family birthdays in October!) PLUS the 4 day Vintage Thymes Monthly Market-whew! Didn’t leave any time for DIY’ing or blogging, but I am slowly cleaning up the final messes and getting back on the blogging bus. Sort of. This was the actual party bus we hired to move the party to Boston- fun!
Today I am featuring this little project, a before and after of a footstool that I picked up in a thrift shop for a couple of bucks. It was very outdated but pretty sturdy, even though the middle was sort of sunken in.

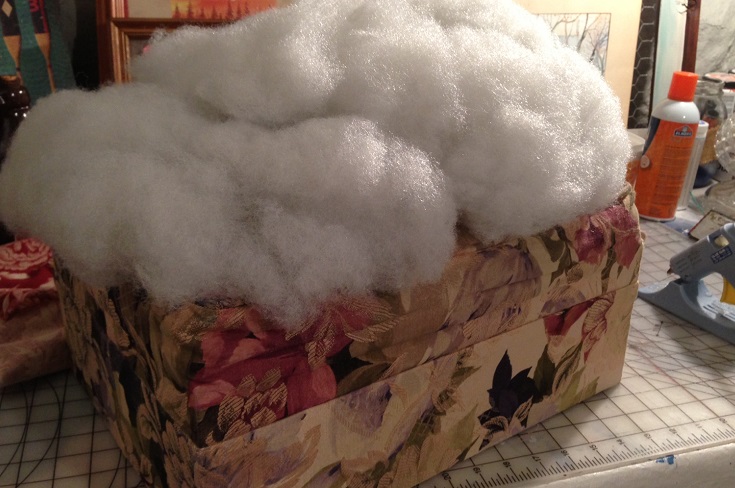
Here’s the how-I-did-it: Pulled off the old, tattered dirty fringe, but left the rest intact, since I was just going to cover it anyway. Piled some batting on top of the sunken middle, as I wanted it to have more of a “poof” appearance than a flat top.
I recently heard the name “gout stool” for the first time, which was apparently a term used in the Victorian era regarding footstools for people to rest their feet on while suffering from gout. So I thought that a poufier cushion might be a bit more comfy for any sore feet-this poor guy has two!

Cut the top fabric to fit over the new poufy top.

Stapled it all the way around,

folding the corners down, but leaving the rest kind of casually creased.

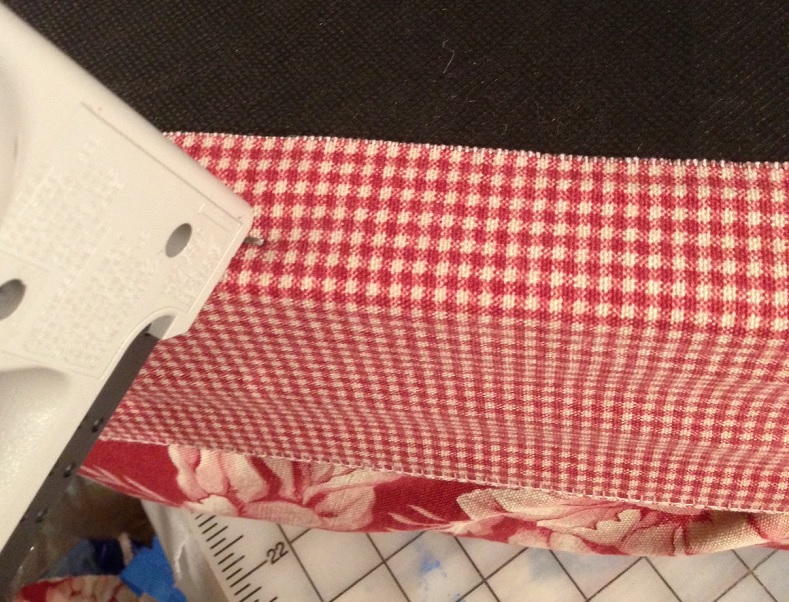
Measured the height of the bottom fabric- there was already a dividing line in the stool where the seam was, so I just used that. I had already finished off the top edge with a buttonhole stitch on my sewing machine, but you can just fold it over and press if you don’t have a machine. 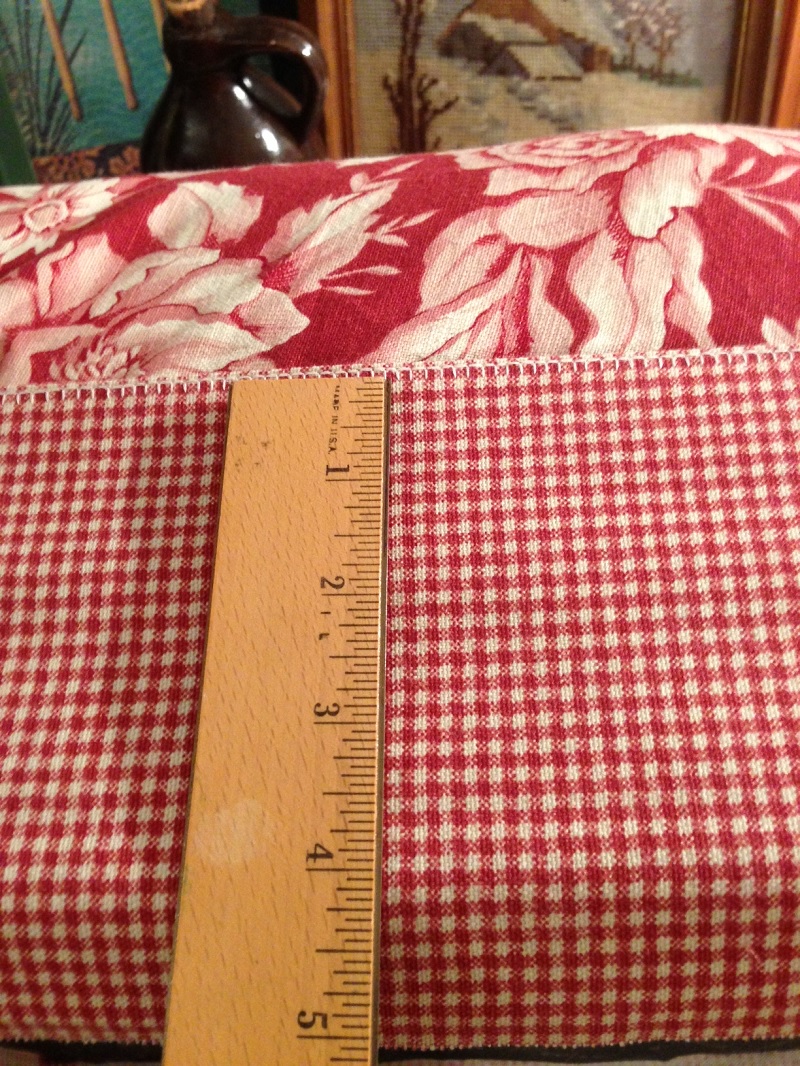
I glued it around the edges overlapping the floral fabric, then flipped it over and stapled it to the bottom.
Since it just looked like a big lumpy pouf, I decided to add the covered button, with one large stitch that pulled through all the foam and batting into the bottom, which tucked the middle down to create a tufting effect.

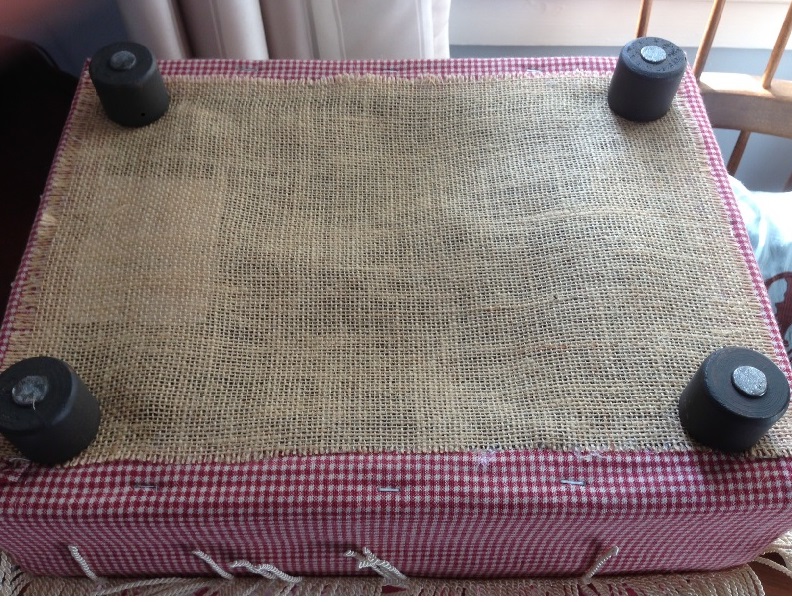
The feet were just simple cylinders, but they had the nice metal sliders on the bottoms, so I simply painted them.

The easiest way to paint anything mounted on a screw is to stand it up, so I put them into place in their existing corner brackets, but screwed them in just enough to hold them upright, then added some wax paper to mask the fabric.

Painted two coats of Behr Stealth Gray,

allowed to dry and then pulled away the wax paper. Before I securely tightened the feet, I glued down a piece of burlap I had handy just to finish the base.
Added the fringe with a hot glue gun.

This is the finished “gout stool” that co-ordinates with an antique oak chair that I had already recovered with the matching Waverly Fabric. Which creates a lovely fireside vignette.

Both will be available at next month’s Vintage Thymes Market. In the meantime, I think I might use that stool to rest my weary feet while I watch the game today. Go Sox! Susan


Beautiful job.
LikeLike
Thanks!
LikeLike
May I come live at your house; it looks lovely and just my style. Wasn’t the October/Anniversary Market wonderful?
LikeLike
LOL-sure you can! Actually, I would love to live at the shop- isn’t it just so full of amazing and beautiful pieces!? What a great time this past weekend’s market was- just sad I couldn’t make it to the outdoor fair on Sunday!
LikeLike