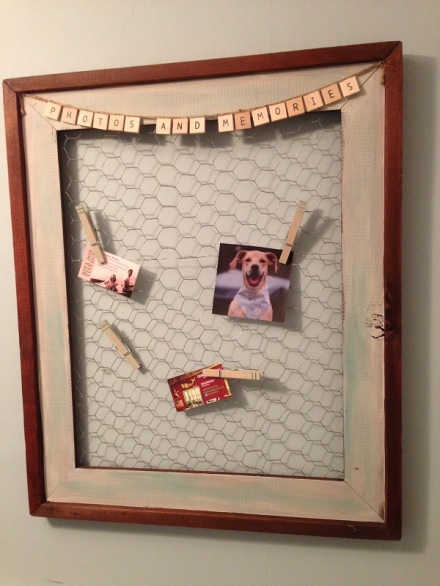
Today I am sharing a simple D.I.M. (Do It Myself) project that’s fun and quick and pretty simple, assuming you have the right tools and stuff. I saw something similar to this at HomeGoods awhile back and thought, gee, I have some chicken wire and an old frame, I can make that!
So I did. Here’s the how-to:
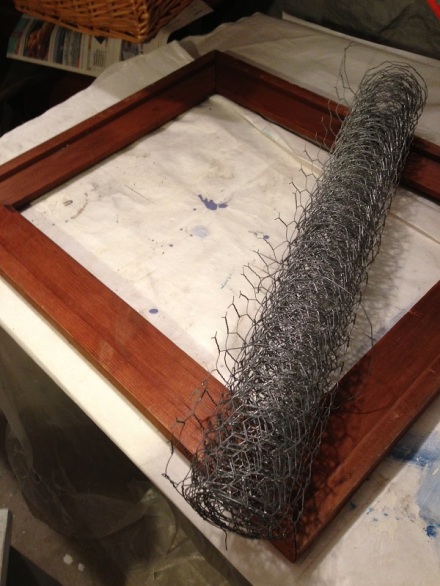
1. Ask Coach if he knows where that old frame and the chicken wire is. He disappears into the barn, and a few minutes later he emerges with both in hand.
2. Fix the frame- it was a little old and dinged and faded, so I glued the edges and added a touch of Minwax to brighten it up.
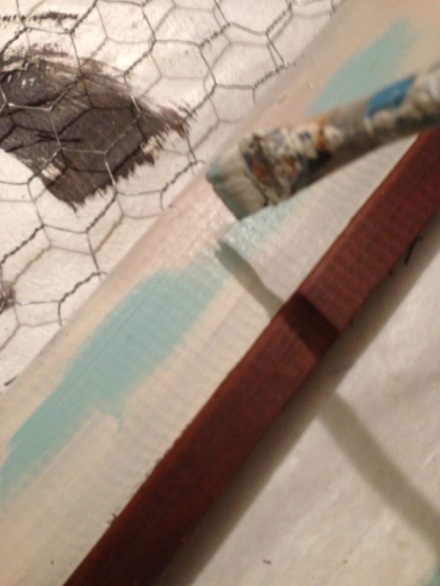
I painted the inside edge, first with a coat of off-white, then I dry-brushed it with Gulf Winds.
Dry-brushing technique is what it sounds like: take a small amount of paint on the brush, then wipe most of it off onto paper.
You lightly brush the surface with the remaining paint, which gives you a soft, aged look.
I always keep a supply of wet wipes to clean up the many errant paint marks I make along the way. To get into really tight spaces, just wrap it around the end of a flat head screw driver-perfect edge!
3. Cut the chicken wire-turns out that scissors work just fine. But not your good sewing scissors, unless you want to go with the raggedy look the next time you are cutting taffeta!
4. Attach the chicken wire to the back of the frame. This got tricky because I couldn’t figure out what would work. Tried my electric staple gun- those staples were too big. Then I tried thumb tacks. Well first I had to find some thumb tacks, which you would think would be a breeze considering I have a “thumb tacks” drawer in my little nail organizer. NOT. Anyone need a giant bolt?
So I went to the junk drawer- please tell me you all have a junk drawer that looks like this?!
Nope, none there, either. Finally found a few, along with an American flag pin-so that’s where that went!- in my desk drawer.
And so, after all that, I tried the tacks and guess what-big fail!
I would push them into place, then as soon as I tugged on another corner, the wire would slide over and the tack would pop off! Next option, my trusty old Bostitch stapler, which worked great.
5. Add the decorative lettering. I had a bag of old “fake” Scrabble letters hanging around (doesn’t everyone?), so I used those.
You could put whatever you want, but no profanities please : ) Well, I suppose you could, but it probably wouldn’t sell very well. Then again, maybe it would. Something like The F***ing Egg Plate might work. (If you have no idea what I am referring to, click the link for a good laugh…) So, now you measure out the amount of twine you will require to fit all of the letters.
Hot glue the letters to the twine and affix twine to the frame with the glue.
6. Color the clothespins. I threw them in a little can with some watered down paint and stirred them around, then let them sit for awhile.
Hung them to dry-the reverse clothespin effect.
You’re going to use the clothespins to affix the photos or whatever else you would like to display.
7. Add a picture hanger to the back and you’re done! Cute, simple project. I like the fact that there is no backing, that way you can use it on whichever wall you would like to have as the background color (like the red shown here from my dining room, or the blue above from my hall).
8. So, I guess for this week’s High Five for Friday will go to chicken wire! It’s cheap, pliable, cuttable with scissors and adds a rustic, country charm to any project you might be considering. Happy weekend everyone! Susan





I love chicken wire, I’m making a few like this for the bazaar. I use my pneumatic staple gun when I attached it…it’s fast and easy but only if the frame is thick lol.
LikeLike