 Over the holidays, I was working on quite a few projects simultaneously, neglecting to take either before or after pics or even no pics-my bad. Which makes for not very good DIY instruction-giving. But, I have managed to piece together enough photos of a couple of chalkboards I created so I could share them with you. Both of these chalkboards were originally vintage doors-the cupboards long gone, but the doors rescued for another purpose. One was very old pine
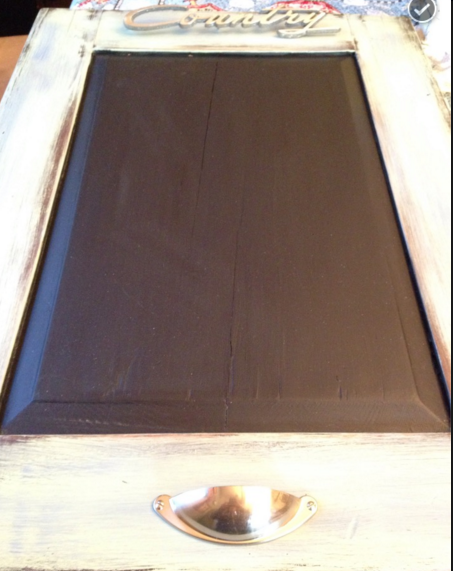
 that I painted and one was a beautiful cherry that I revived with stain and poly. The centers of both doors were painted with Benjamin Moore Chalkboard Paint (my personal favorite),
 then the hardware was added. In both cases, I used cup pulls, attached upside down, to create chalk holders (because what’s a chalkboard without some handy chalk?!). After much trial and error and incorrect measuring, I discovered that the simplest way to mark the drill holes for the handles is…paint. Place a tiny dab of paint on the edges of the posts…
 …flip it over and press down on the surface of the wood. Lift up and voila, two holes spaced perfectly apart and ready for drilling.
 For the wood door, I used a copper cup pull, then added a matching copper knob for an interesting, more elegant detail.
 Awhile ago, Coach and I had been fortunate enough to find a bunch of old metal “stuff” at a yard sale- clamps and bolts and covers and registers and what not- which I have been using as needed for building and creating. When I first spotted this metal Country emblem,
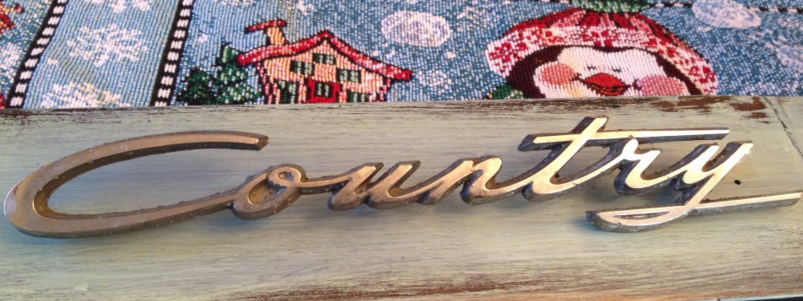 it immediately brought back memories of all of us kids in the back of our Ford Country Squire station wagon (no seat belts or car seats back then, folks, just pile in and off you went!)
 So I saved it until I could find just the right piece to use it on…and this is it! An old country pine door that was painted with a few coats of greens and blues and then waxed. (Sorry, I have no clue what colors these are- I just kept adding colors and sanding and then adding more colors til I got the desired effect.)
 I have about 100 of those little Behr paint pots in all different colors.
 A little goes a longgggg way, so they just keep accumulating as I need another color for a project.
Once dried, I drilled a couple of holes at the top of my old door and tapped the “country” emblem into place.
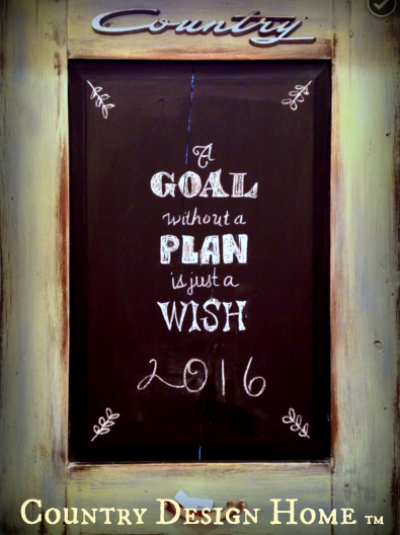
 Of course, both of these pieces were intended for our shop in the Barn at Todd Farm, but I just couldn’t part with my Country Door Chalkboard. It now hangs proudly in our family room…for the holidays I used some children’s coloring page graphics for my message. This is so simple…reverse chalking for perfect chalkboard graphics! Print out your graphic on any paper,
 then flip it over and rub chalk all over it.
 Tape it into place on the chalkboard, then use a pencil and lightly trace the lettering (try not to press down with your whole hand, as any pressure on the chalk outside the lines will result in lots of smudginess.
 Which you will then clean off with a damp Q-tip.)
 Once its time for a new graphic, simply wipe off with a damp cloth and say what you want to say! Which is:
A gentle reminder to keep working towards my goals, not just keep thinking about them. So my goal for 2016 is to remember to take photos of my work to share, and my wish if for all of you to have a great weekend! Susan


i have a bad case of chalk board envy here, love these xx
LikeLike
Thanks Chris! They are soooo easy to make! The hard part is thinking of something clever to write on them : )
LikeLike