Hi, all ! Happy Labor Day!
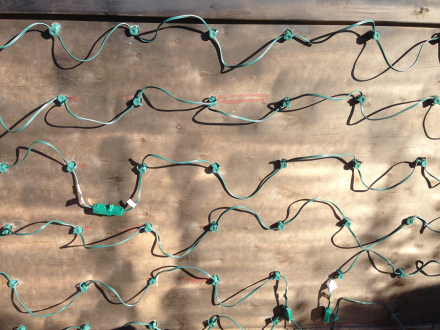
So, ever since Coach acquired that first set of rusty bedsprings, I had an idea for creating a marquee light for the barn shop. Inspired by the rusty bedspring coil lights in Salvage Secrets Design & Decor by Joanne Palmisano, I figured I could just take the bedsprings and attach some lights in the shape of an arrow to the back of the bedframe using pieces of wire.
 It worked, somewhat, and the arrow became a beacon in our shop in the barn. (This is another one of my creations that, like the vintage sink, that is NOT FOR SALE…says me.) But it bothered me because the cords showed,
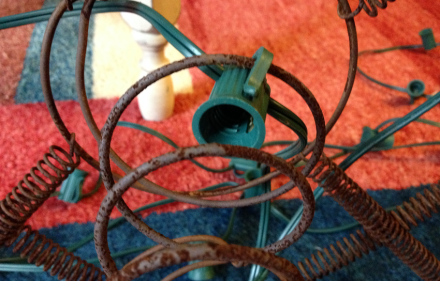 the lights were all crookedey and I wouldn’t be able to change the light shape without removing them and starting all over. Plus, because the background was the antique brown wood of the barn walls, you really couldn’t see the form unless you squinted. Or took a photo.
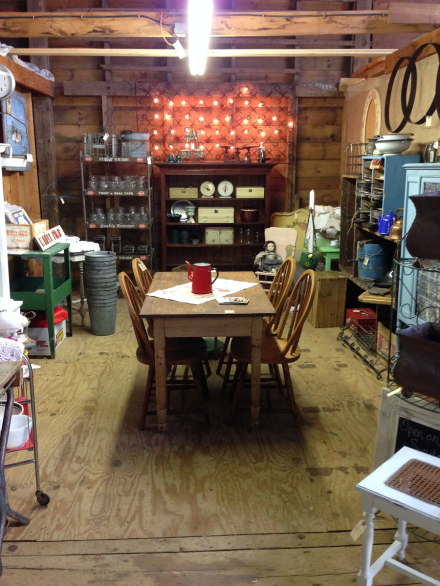 Or looked at it in reverse in the mirror across the barn. So, I decided to take it down and remake it into a true marquee sign. Here is the how-I-did-it:
1. Removed all the little pieces of wire and the lights from the bedsprings. THAT was fun. 2. Went to Home Depot and purchased a 4 x 8 sheet of lightweight plywood.
 They have a nifty wall-mounted cutter thing and a very nice guy who will do the cutting for you, which is pretty awesome. LOVE Home Depot!
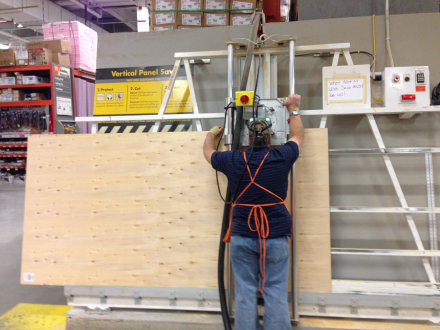 The plywood was cut down to the size of the rusty bedsprings with a 2 inch edge all around to allow for framing.
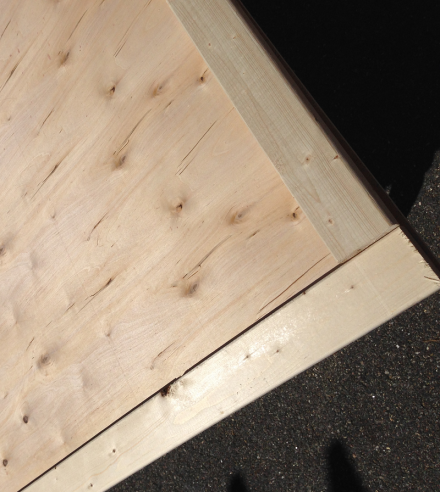
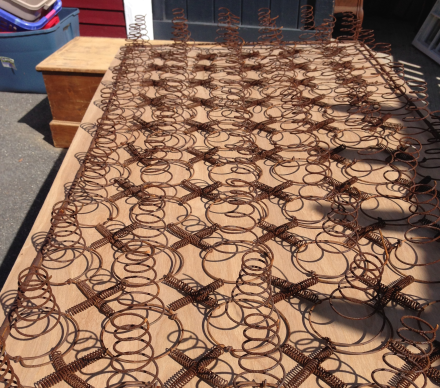 3. I built a frame out of 2 x 4’s and secured it to the back of the plywood to give me something to screw the brackets into that would hold the springs in place.
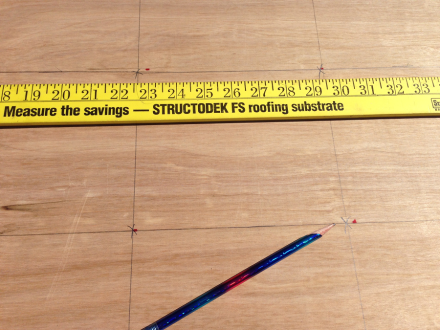
 4. Measured and marked the holes I would have to make for the light sockets to be installed.
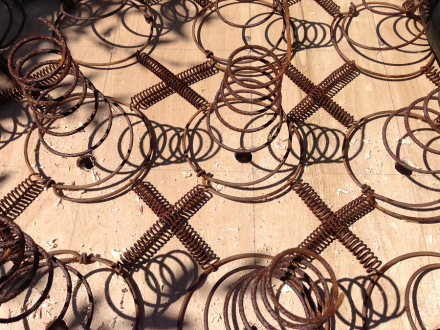 Of course, rusty old bedsprings are not necessarily even, so once I measured and marked the holes, then put the springs back onto the board, I noticed that several did not actually line up with the markings. So I tweaked them just a bit, and then a bit more, and then I drilled the holes.
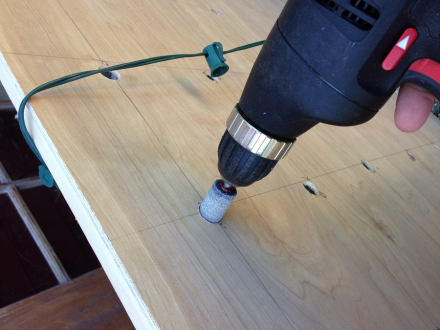
 After drilling, I used this handy sheet metal grinder bit to make the holes smooth and just big enough to fit the sockets so that they were snug.
 5. Painted the board with Rustoleum High Heat spray paint.
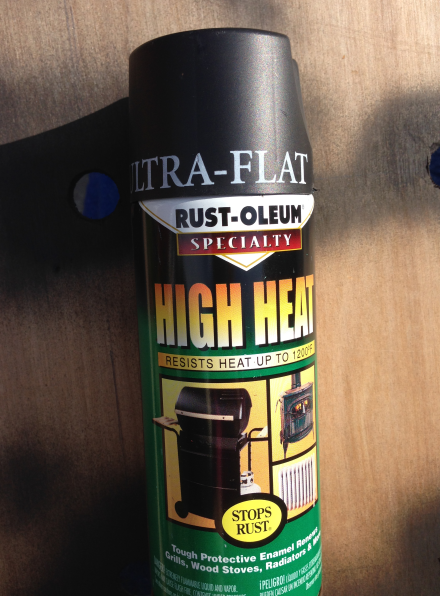 Now, these little patio globe lights (from Target, LOVE these!) do not get up to a temperature of 1200 degrees Farenheit, but it’s good to know I’ll be safe just in case.
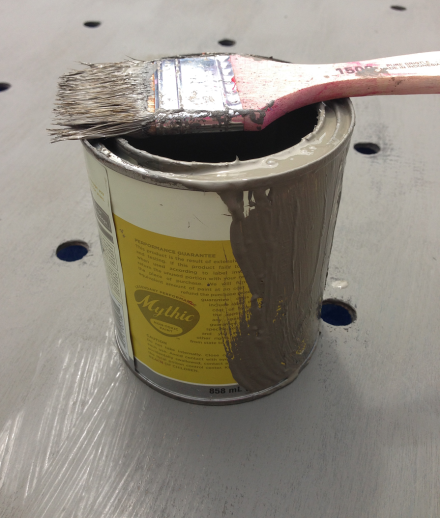
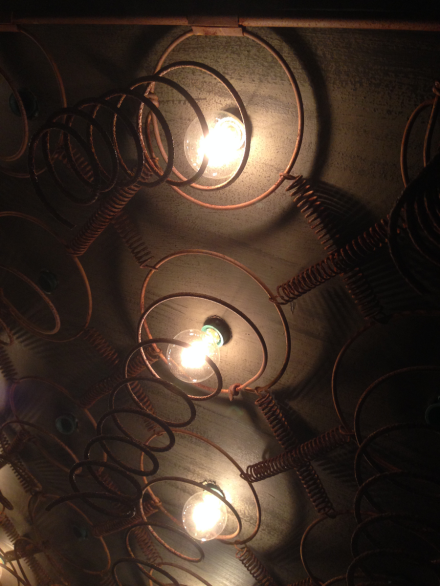 6. Painted a base coat of dark gray. Why gray, you ask? White would be too bright so the lights wouldn’t show up when lit. Black would be too dark so the bedsprings wouldn’t show up. Gray seemed like the perfect neutral alternative. This can of dark gray was a yard sale find, but a very nice quality paint from Mythic Paint. Went on smoothly, minimal drippage, good coverage and is completely non-toxic. Unfortunately, there aren’t any local stores near me that sell it : (
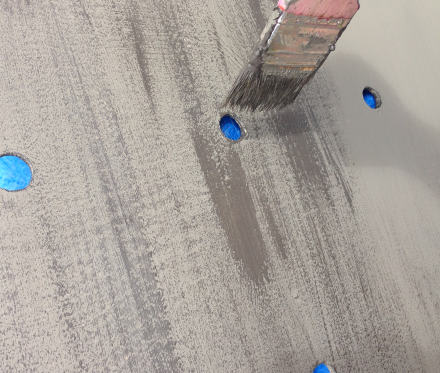
 7. I wanted the plywood to not look like plywood, but more like some antique barn board or metal. So I dry brushed some darker gray streaks over it.
 8. Once the paint was dry, I placed the bedsprings back on the board to make sure everything lined up nicely, which it did.
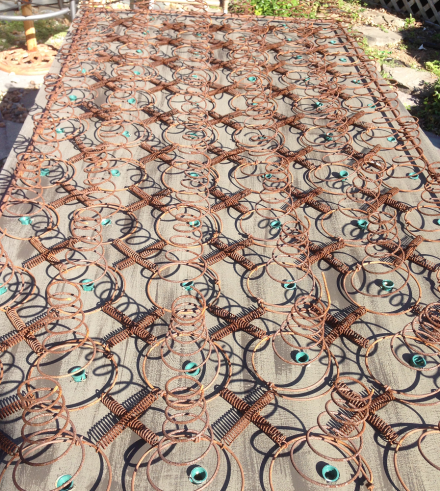 To attach the springs to the board, I used some steel plumbing clamps that I spray painted.
 First with some metallic oil-rubbed bronze, but then with a rusty metal primer, both by Rustoleum.
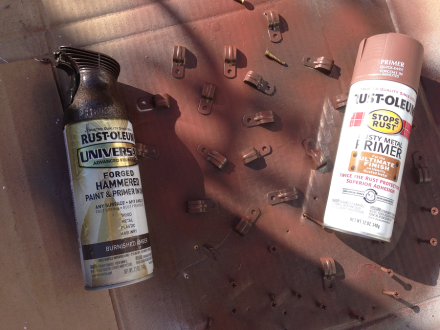 I know the primer was supposed to go on first, but I really wanted the bracket and screws to look rusted to match the springs. Done.
 9. Attached the springs to the board, then flipped the board over and placed the light sockets into each hole. Note that the wires are now nicely hidden behind the board where they are not all tangly and messy.
10. Tested out the board by screwing in the lights into the shape I wanted just to ensure they were in proper working order before transporting it back to the barn. In this case, just Hi!. Sent a text to my friends and family : )
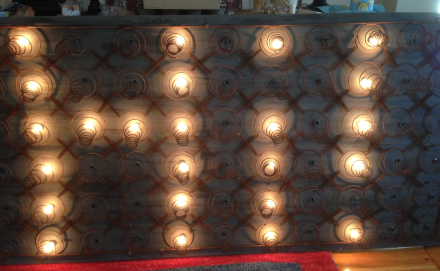 There is one problem with using rusty bedsprings as your form: there are exactly 66 coils, so there are 66 lights in total: 6 down and 11 across in straight horizontal and vertical rows. Which means that I can’t really make any curved letters. Block letters it is.
11. Re-installed the “light bright” board onto the rear wall of the barn using some big-ass brackets to make sure it didn’t come tumbling off the wall and onto someone’s head! This thing is HEAVY!! Here is the new, improved Rusty Bedspring Marquee Sign that is now the beacon of light on our shop.
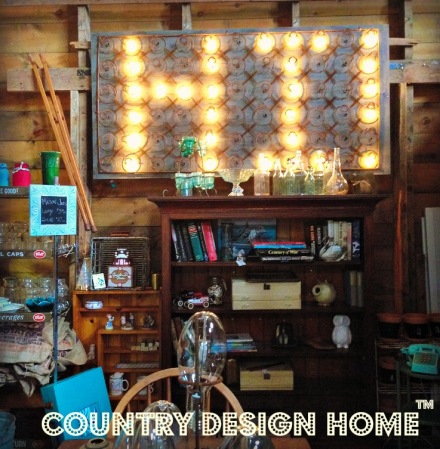 Which is really fun and draws a lot of attention. And, I heard more than a few browsers say “that must be a new sign, it was an arrow before.” Which is great, because that means they are returning to the Barn at Todd Farm to shop some more! Yay!
12. We do a lot of standing around at the shop (oftentimes the booth is so full of shoppers, we can’t fit in it-which is a very good thing!) Sometimes we’re just taking a break from all of the furniture moving, like this old girl.
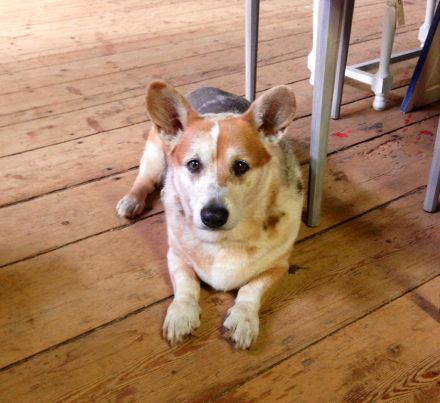 Other times we’re just goofing off-good thing we’re the bosses…).
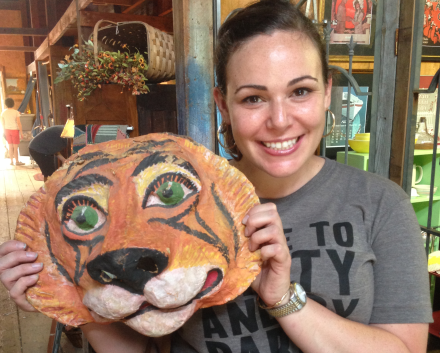 So we had some time to try to come up with other words for the light board, now that we can easily change it out. Subliminal messages like BUY could work, but I am thinking HUH? or MEH might draw a smile. Do you have any suggestions?? (no profanities, please : 0 Remember, we only have 11 letters across, 6 letters down and no curves!! Have a great holiday Monday, everyone! Hope you are enjoying the fruits of your labor : ) Susan









I llovme your “ you don’t have to live in the country …..”. It validates my try at country. Great blog, oh for stores like yours in Australia.
LikeLike
Thank you! Oh, to live in your lovely country- one of my favorite places on earth!!
LikeLike
great stuff
LikeLike
This is so neat! I’m thinking that I could do something similar in our space by clipping the springs smaller and doing more shiny industrial finish. Thanks for the inspiration!
LikeLiked by 1 person
Thanks so much for linking this up to my weekly Thrifty & Vintage Finds party on Dagmar’s Home! This is the most amazing project — I’m so impressed with your willingness to take this on. It looks fabulous! Come back next Monday to see if you are features 🙂
Dagmar ~ Dagmar’s Home http://DagmarBleasdale.com
LikeLike
Thanks, Dagmar! It is one of my favorite projects ever : )
LikeLike
Wow! This is soooo cool! I love the unique look that the added bedsprings gives the marquee lights. Super creative! Thanks for linking it up on Merry Monday.
LikeLike
I LOVE this! So creative. Thank you for sharing at the Merry Monday link party!
LikeLike
Love this! What a clever idea.
LikeLike
Love this! What a clever idea.
LikeLike
Genius! Seasonal sayings could be fun – Fall, Y’all or Ho, Ho, Ho!!
LikeLiked by 1 person
We thought about BOO! For Halloween too : )
LikeLike
susan what a labor of love and awesome how about ” love it ”
great job xx
LikeLike
Very cool!! I love this idea, and why not just have them as random lights as well as words, right?!
LikeLiked by 1 person
wow love it – it looks beautiful. Another masterpiece!
LikeLiked by 1 person
Thanks!!
LikeLiked by 1 person
Thank you for featuring my Rusty Bedsprings for your Merry Monday Link Party! That was so aweseome!!
LikeLike
Thanks, Dagmar for featuring my rusty bedspring project!!
LikeLike