Blogger’s note: NO REAL WOOD WAS HARMED IN THE MAKING OF THIS CUPBOARD**
This past weekend, I completed a few more projects while awaiting the granite guy’s countertop installation at mom’s house. I have been working on this piece in my kitchen for quite awhile, and am happy to finally have it done! This is the before:
 a red cupboard (made of MDF) we purchased a few years back at Jordan’s Furniture Colossal Clearance Center in Avon, Mass (if you haven’t been there, it is so definitely worth the trip! Lots of great furniture at significantly discounted prices!) This piece fits nicely in the narrow passageway between our kitchen and dining room and holds a ton of stuff like paper towels, napkins and several pieces of kitchen equipment that just won’t fit anywhere else. The problem is, since it’s in the highest traffic point of our home, it had been scratched and worn-the finish was like a plastic veneer and scratched off quite easily (and I was tired of the dark red anyway…). Time for a fix, so this is the after: a pretty, light coastal cabinet with a top created from reclaimed window shutters!
 Here is the how-I-did-it: Sanded everything down to rough up the shiny veneer plasticy surface, and sanded the edges to round them off a bit.
 Nothing says “mass-produced” more than sharp, clean edges on furniture. Primed with my go-to primer: Glidden Gripper (you can find this at Home Depot in the paint dept)
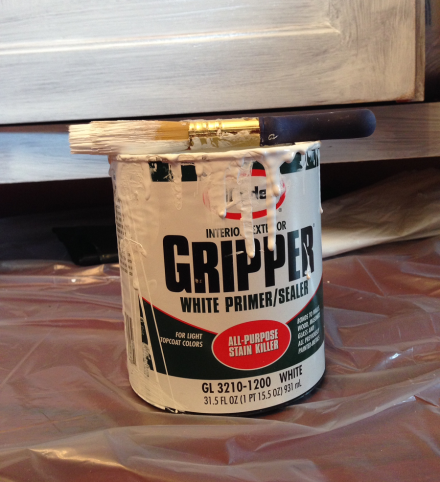
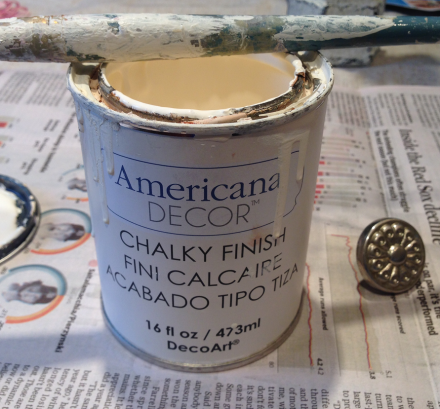
The Americana Chalky paint I planned on using says it doesn’t need a primer, but the before color was so dark, and the new color was so light, I figured I had better just to be safe.
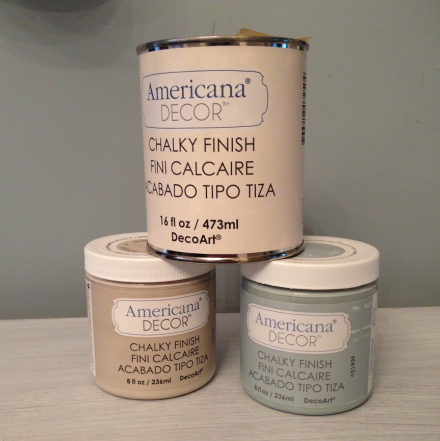
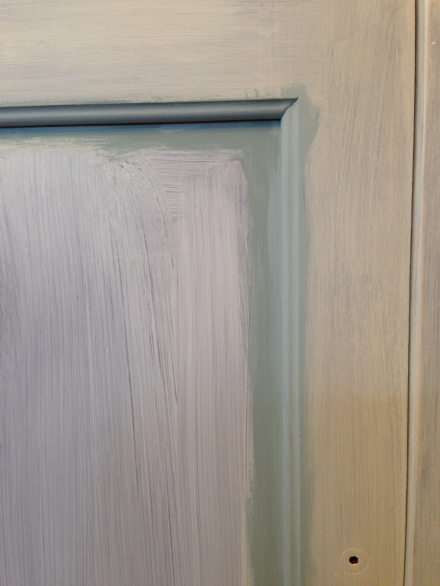
Before I painted the entire piece, I accented the frames around the door panel inserts with the Americana Chalky Paint Called Vintage. It is a soft blue/green color that ties in beautifully with the shutter slats on the top.
Then I applied some wallpaper wainscoting (LOVE this stuff too!) to the inside of the panels to give a more country feel to the piece. (For the DIY how-to on using the wallpaper, click here.
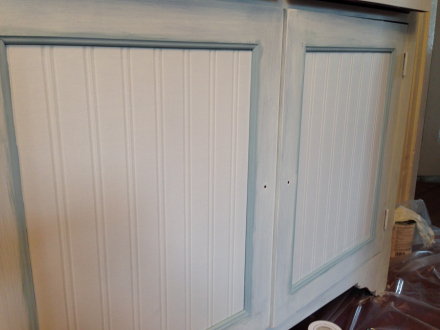
I then painted the entire cupboard, including the inside panels, with two coats of Americana Chalky paint in the color Everlasting-so soft and pretty white.
The more I used this paint, the more I love it. No brush strokes, so easy to apply and clean up. I then sanded the edges to give it a bit of character and contrast.

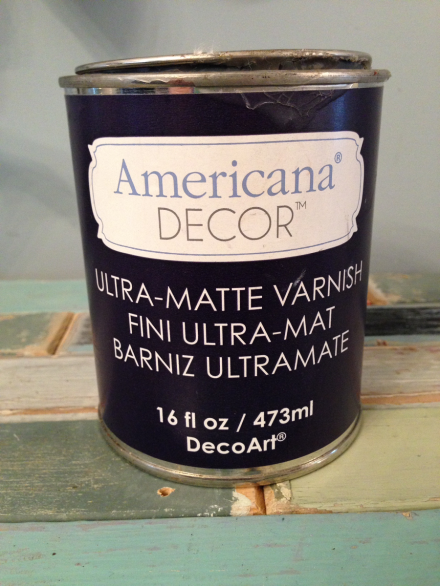
The final coat was the Americana Ultra Matte Varnish from DecoArt. No shine, protects the white paint from fingerprints.
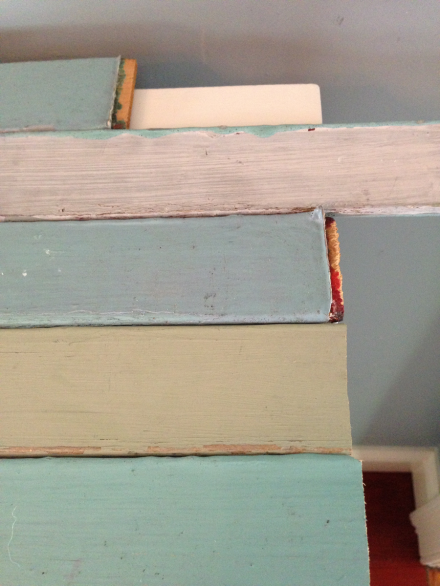
For the star of this show, the top, I used some old shutter slats that Coach and I had picked up off the side of the road on a drive to Cape Cod. That was one of my very first blog posts, and also one of the first times we trash picked on the side of the road. What a score! The colors are all the original ones-so coastal pretty!!
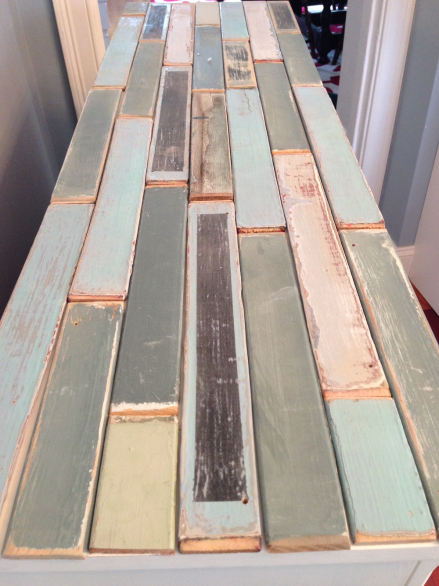
I have been using parts of them for several projects, including some little hanging chalkboards which I decided to reclaim for this project. As I was arranging the slats on the top, my original plan was to flip the chalkboard ones over and use the reverse side. But then I thought, why not just leave them so I could write cute little sayings on the surface? Fun!

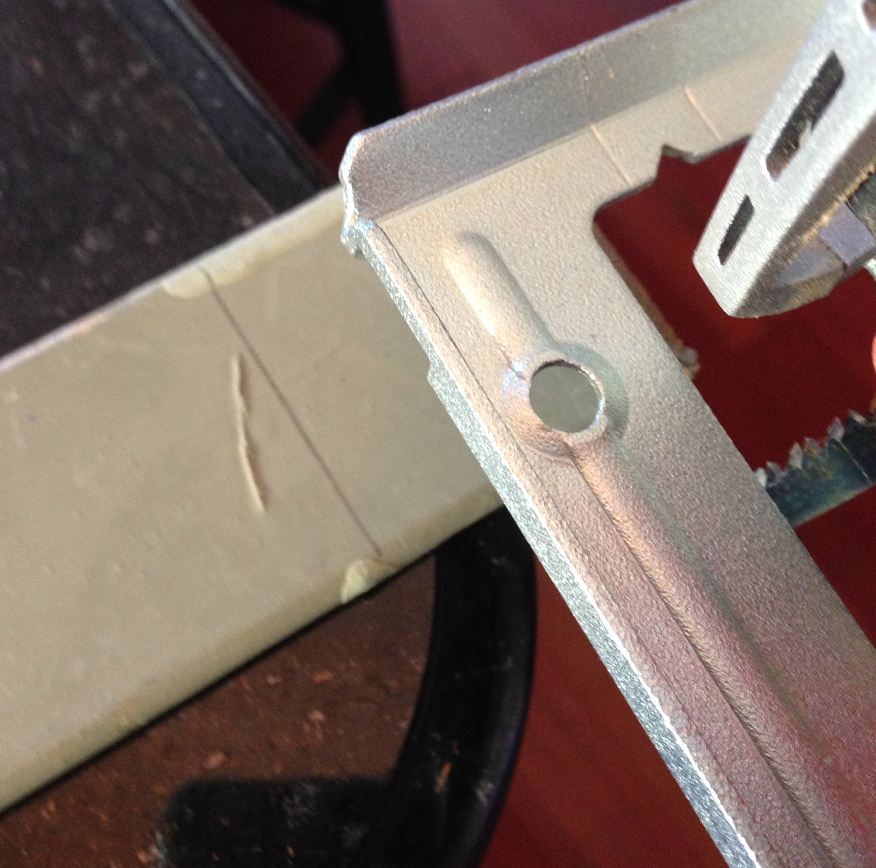
Once I had placed all of the slats, there were a few that hung over the edges, which I quickly remedied with a few jigsaw cuts.
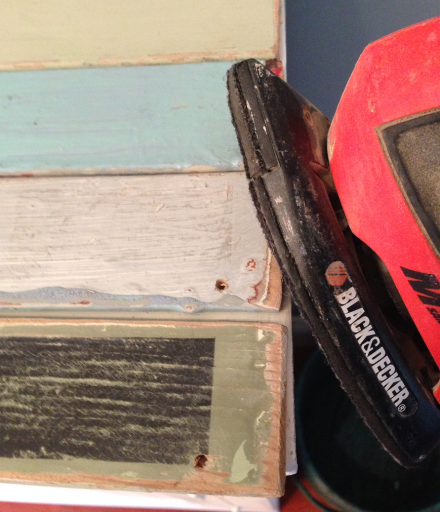
 Then sanded the edge smooth with my Black & Decker Mouse sander, which I also picked up at my local Home Depot. Honestly, I spend more time at Home Depot and Home Goods than I do at home!!
While I was sanding, I made sure that I sanded the top edge just a bit so that the cut pieces had the same worn edge as the rest. (this is the area that fits into the frame of the shutters when they are whole).
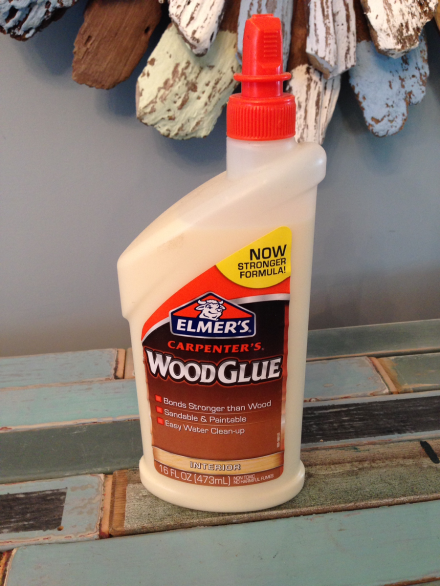
Once they were cut and sanded, I glued them into place with this strong sticky stuff-didn’t even require any nailing!!
The original knobs were a nice heavy iron, but I wanted something lighter so there wasn’t as much of a contrast. These mercury glass knobs I found at (where else) HomeGoods, but I couldn’t find handles for the doors that I really liked.
 So, I grabbed a pair of stainless ones I kept from my old kitchen and painted them with the chalk paint. What, you say?! Painted knobs? But, of course! This week’s Tuesday DIY Tip: you can paint any hardware quickly and easily, especially with this chalk paint! You just paint it on,
  making sure you get in all the tiny holes and crevices, then wipe it off,
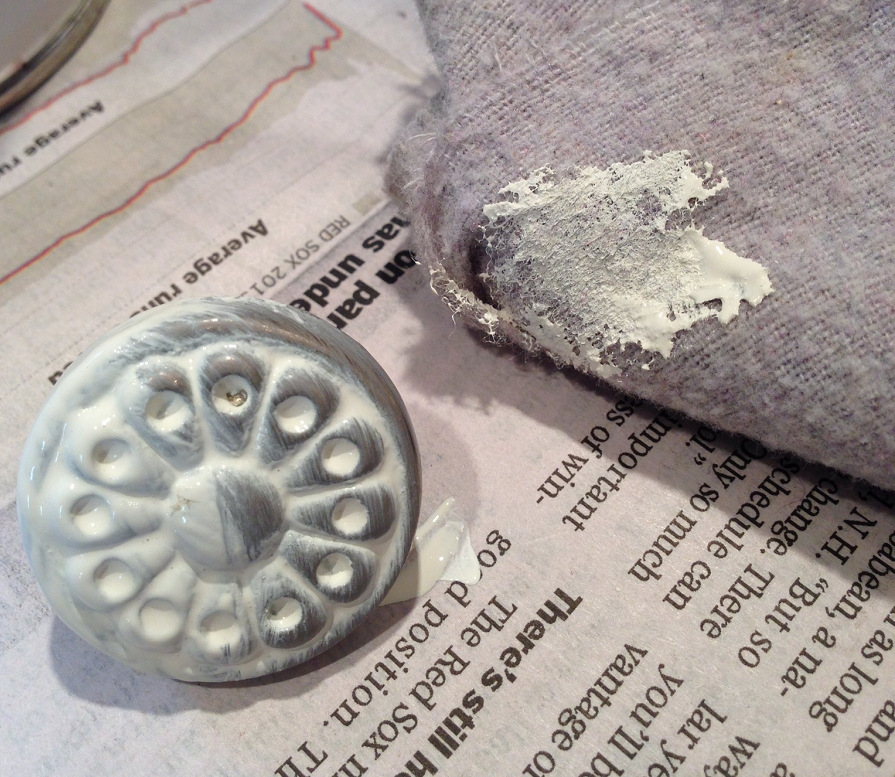 allow to dry and done. Wipe away as much or as little depending on the look you are going for.
 The finished cupboard now stands in the space under my incredible driftwood mirror I purchased at (where else) HomeGoods a few months back, along with some other coastal-inspired decor.

Which will all go so nicely in my coastal dream home (if I ever get a coast dream home…) In the meantime, have a dreamy Tuesday, everyone!! Susan
**PS: That disclaimer at the top of this article is for all the wood enthusiasts who think that no wood furniture should ever be painted…


I just painted an armoire with the Everlasting white chalk paint from Americana. I’m going to Varnish it with Americana but I’m afraid it will turn yellow. Since it’s been about 2 years since you’ve done it have you noticed it turning yellow?
LikeLike
Hi Kara! Nope, it has not yellowed at all. Since it is water-based and not oil, it doesn’t have that yellow tinge to it.
Looks exactly the same as the day I finished it and it has help up very well with lots of daily use. Occasionally I have to wash
fingerprints off the doors, but they come right off as well. Good luck!
Just as an FYI, I also use General Finishes Flat Out Flat and that does a great job as well.
LikeLike
Thank you for stopping by this week to share you project, I look forward to seeing more. Enjoy your day!!!
LikeLike
Thanks!
LikeLike
I love the transformation and your disclaimer is too funny 🙂
LikeLiked by 1 person
Thanks! And Thanks for the follow : )
LikeLike
Looks great Sue…now you have me thinking of what I can with an “old bureau” I found in the trash…love it!!!
LikeLiked by 1 person
Thanks!!
LikeLike
It’s beautiful! What a great find those shutters were.
LikeLiked by 1 person
That was a lot more steps than i was expecting, but the result is amazing!!
LikeLike
that turned out beautiful and looks so good under that awesome wreath, which by the way if you ever tire of it is mine i call first dibs lol xx
LikeLiked by 1 person
Lol- I don’t think I will tire of it any time soon : )
LikeLike