Nothing like a fun DIY project to get ready for the upcoming holidays! I had a box full of vintage jelly jars kicking around,
 so I decided to make some candles as stocking stuffers. This is really quite easy, as most of the products I used from Country Lane
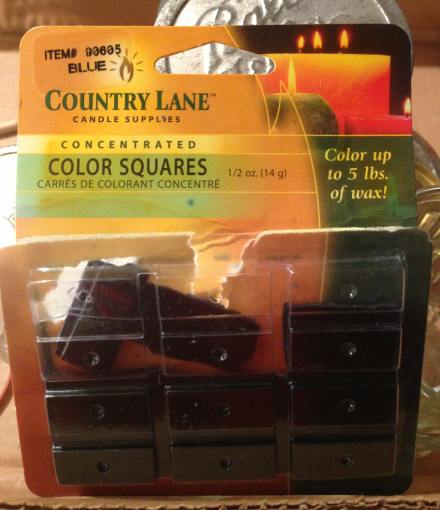
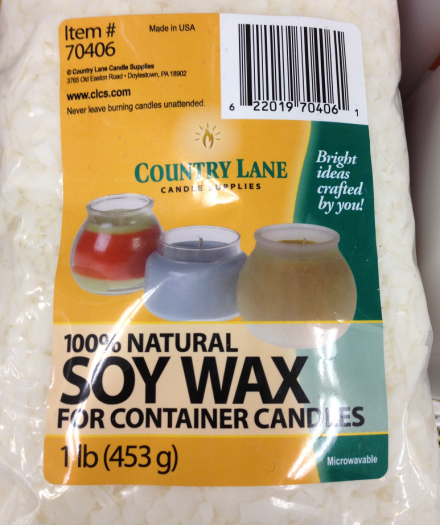
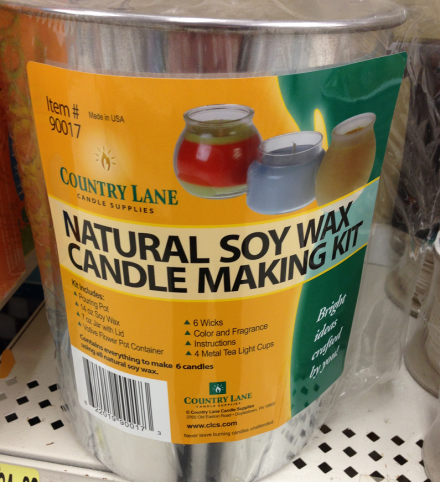 came with very explicit instructions on the packaging. I purchased the starter kit, plus all of the additional materials including the colorants
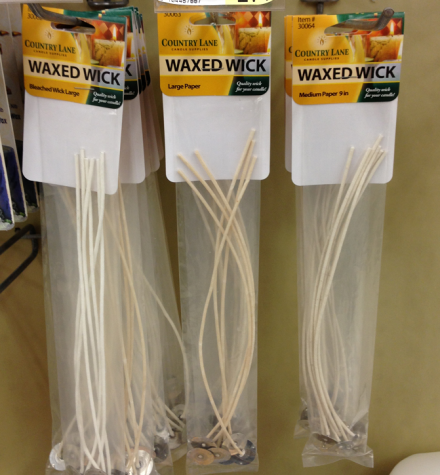
the scent bottles (so many yummy flavors to choose from!!)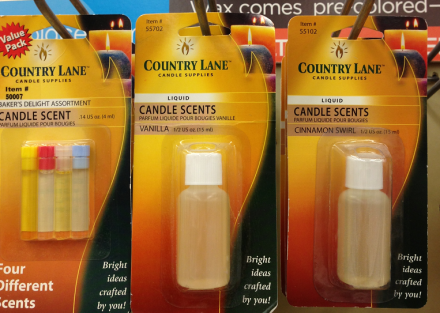 and extra wicks
 at AC Moore, but you can also buy in quantity from various candle makers through Etsy or Ebay as well. I figured I would give it a try on a smaller scale before I got into wholesale lots of wax and wicks. Here is the How-To-Do-It:
1. Wash the little jars or whatever you are planning on using. In my case, if the tops were really rusted, I spray painted them so you could see the embossed Jelly Jar writing.
 2. Bring water to a boil in a pan large enough to hold the candle melting pot, but with only enough water to submerge the bottom of the pot!
 The melting pot has a handle so it hangs onto the edge of the pan of boiling water. Once the water is boiling, reduce to simmer. Place pot filled with wax chips into the hot water, making sure you don’t splash any water into the melting pot!
 3. Leave the pot in the simmering water until the wax melts completely. DO NOT ALLOW THE WAX TO BOIL!!! Soy wax melts very quickly on the lowest setting, so it only takes a couple of minutes to melt the entire bag.
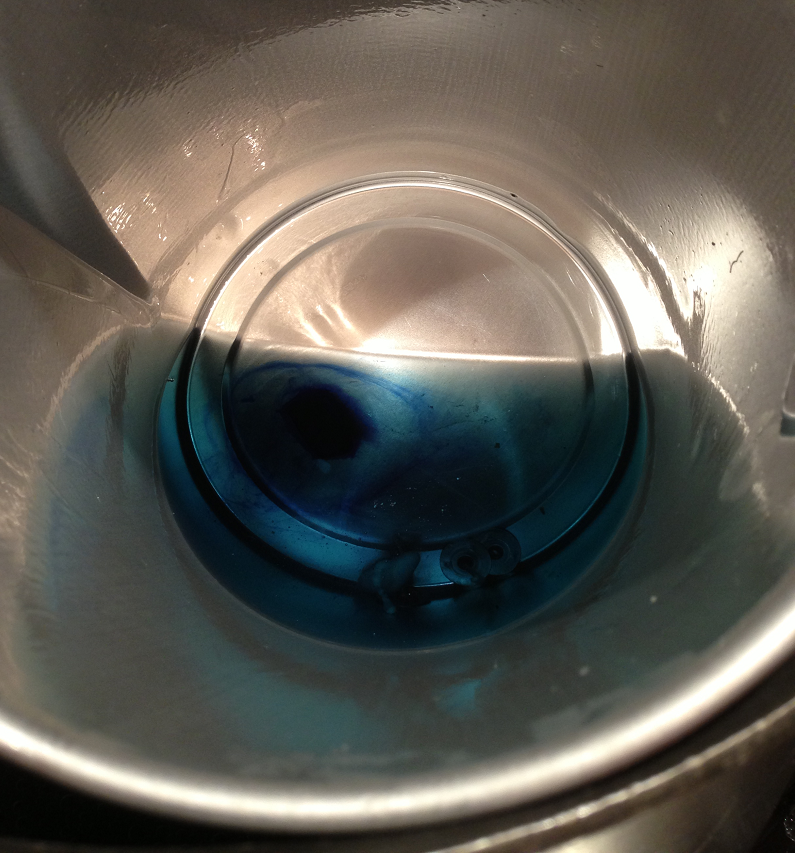
 4. Get the little wicks and dip them into the melted wax, then adhere them centered in the bottom of the jar. Allow to cool completely!
 That way when you go to pour the wax in, they will stay upright. Nothing worse than a crooked wick!
5. Add scent and colorant to the desired colors and scent levels. Obviously, the more you add, the darker the color and the stronger the scent. The melted wax appears darker than when it cools and sets, so color accordingly.
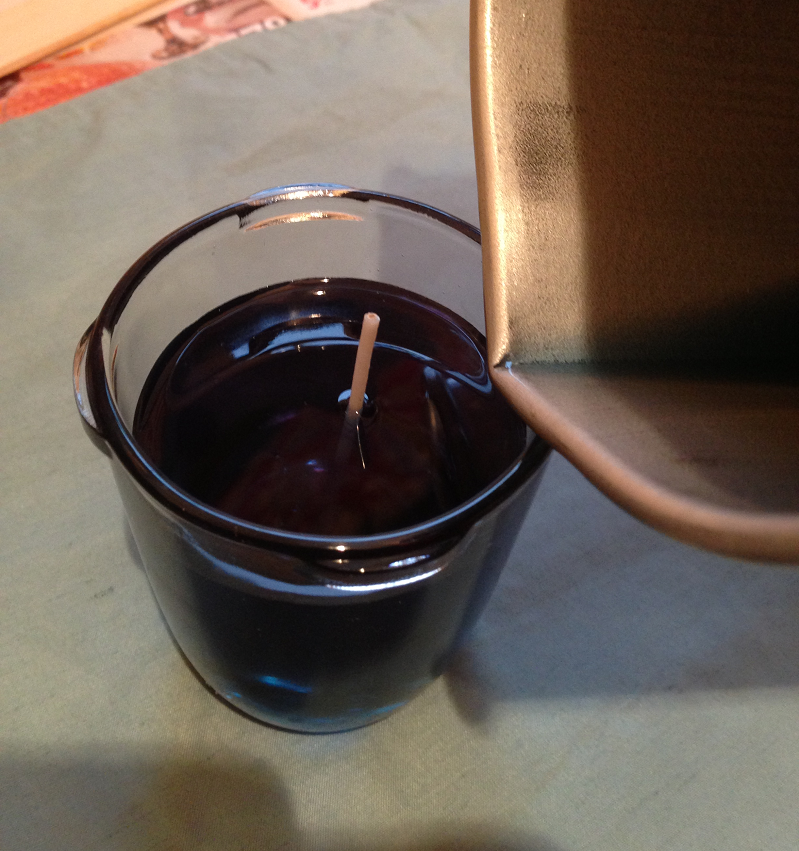
6. Pour melted wax carefully into prepared jars, making sure you avoid the centered wick, so it won’t melt and warp. Allow to cool.
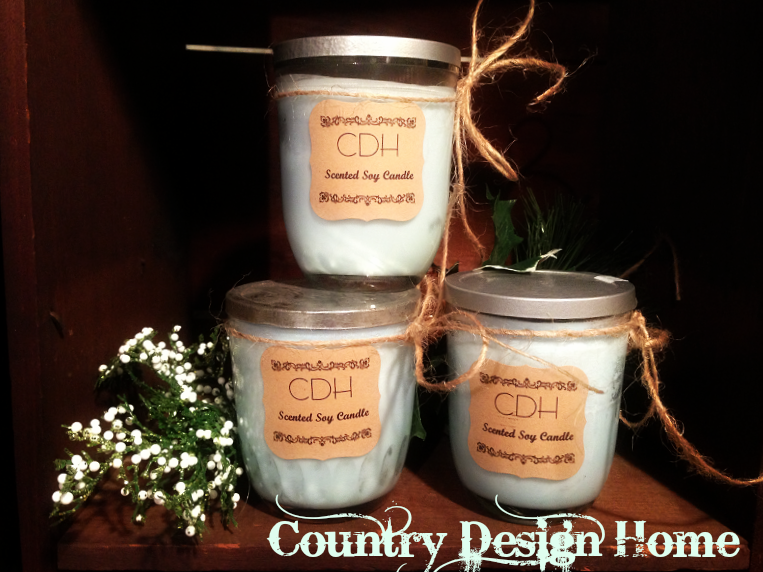
 7. To create some labels, I went to Staples and got these cute little Martha Stewart Brown Kraft Paper labels numbers 72428 and 72429. (If the packages look a little ink-stained to you, that is not your computer screen. They were in a bag with a jar of black grout and I was fumbling for my keys and dropped the bag in the driveway and…you can guess the rest.)
 8. Go to Avery.com Design & Print Online, and plug in the label numbers in the search box.

A template will pop up and you can design it however you would like your label to look. Remember, these are enlarged on the computer screen, so when you actually print them in sheets of 6, the print will be smaller!
 9. I have a pretty old printer, and it doesn’t take kindly to adjusting for different size cards and papers. So I simply taped my labels onto a sheet of standard copy paper in the proper position,
 then printed them-perfectly placed and spaced!

10. Add the printed labels to the jars and put the tops on. Cute! And they smell great too! If you have questions or are looking for additional information, go to Soap Expressions.com and they have lots of candle-making tutorials using their Country Lane product line.
Have a fab Friday, everyone! Time to start preparing for Turkey Trot Thursday!! Susan


I found your candles on Serenity Now’s linkup. They look beautiful! Thank you also for the label tutorial, I’ve been wanting to print some out forever and now I have a guide! Happy Friday!
LikeLike
It was really easy and they look great too. Good luck with your label making-loving Avery.com!!
LikeLike